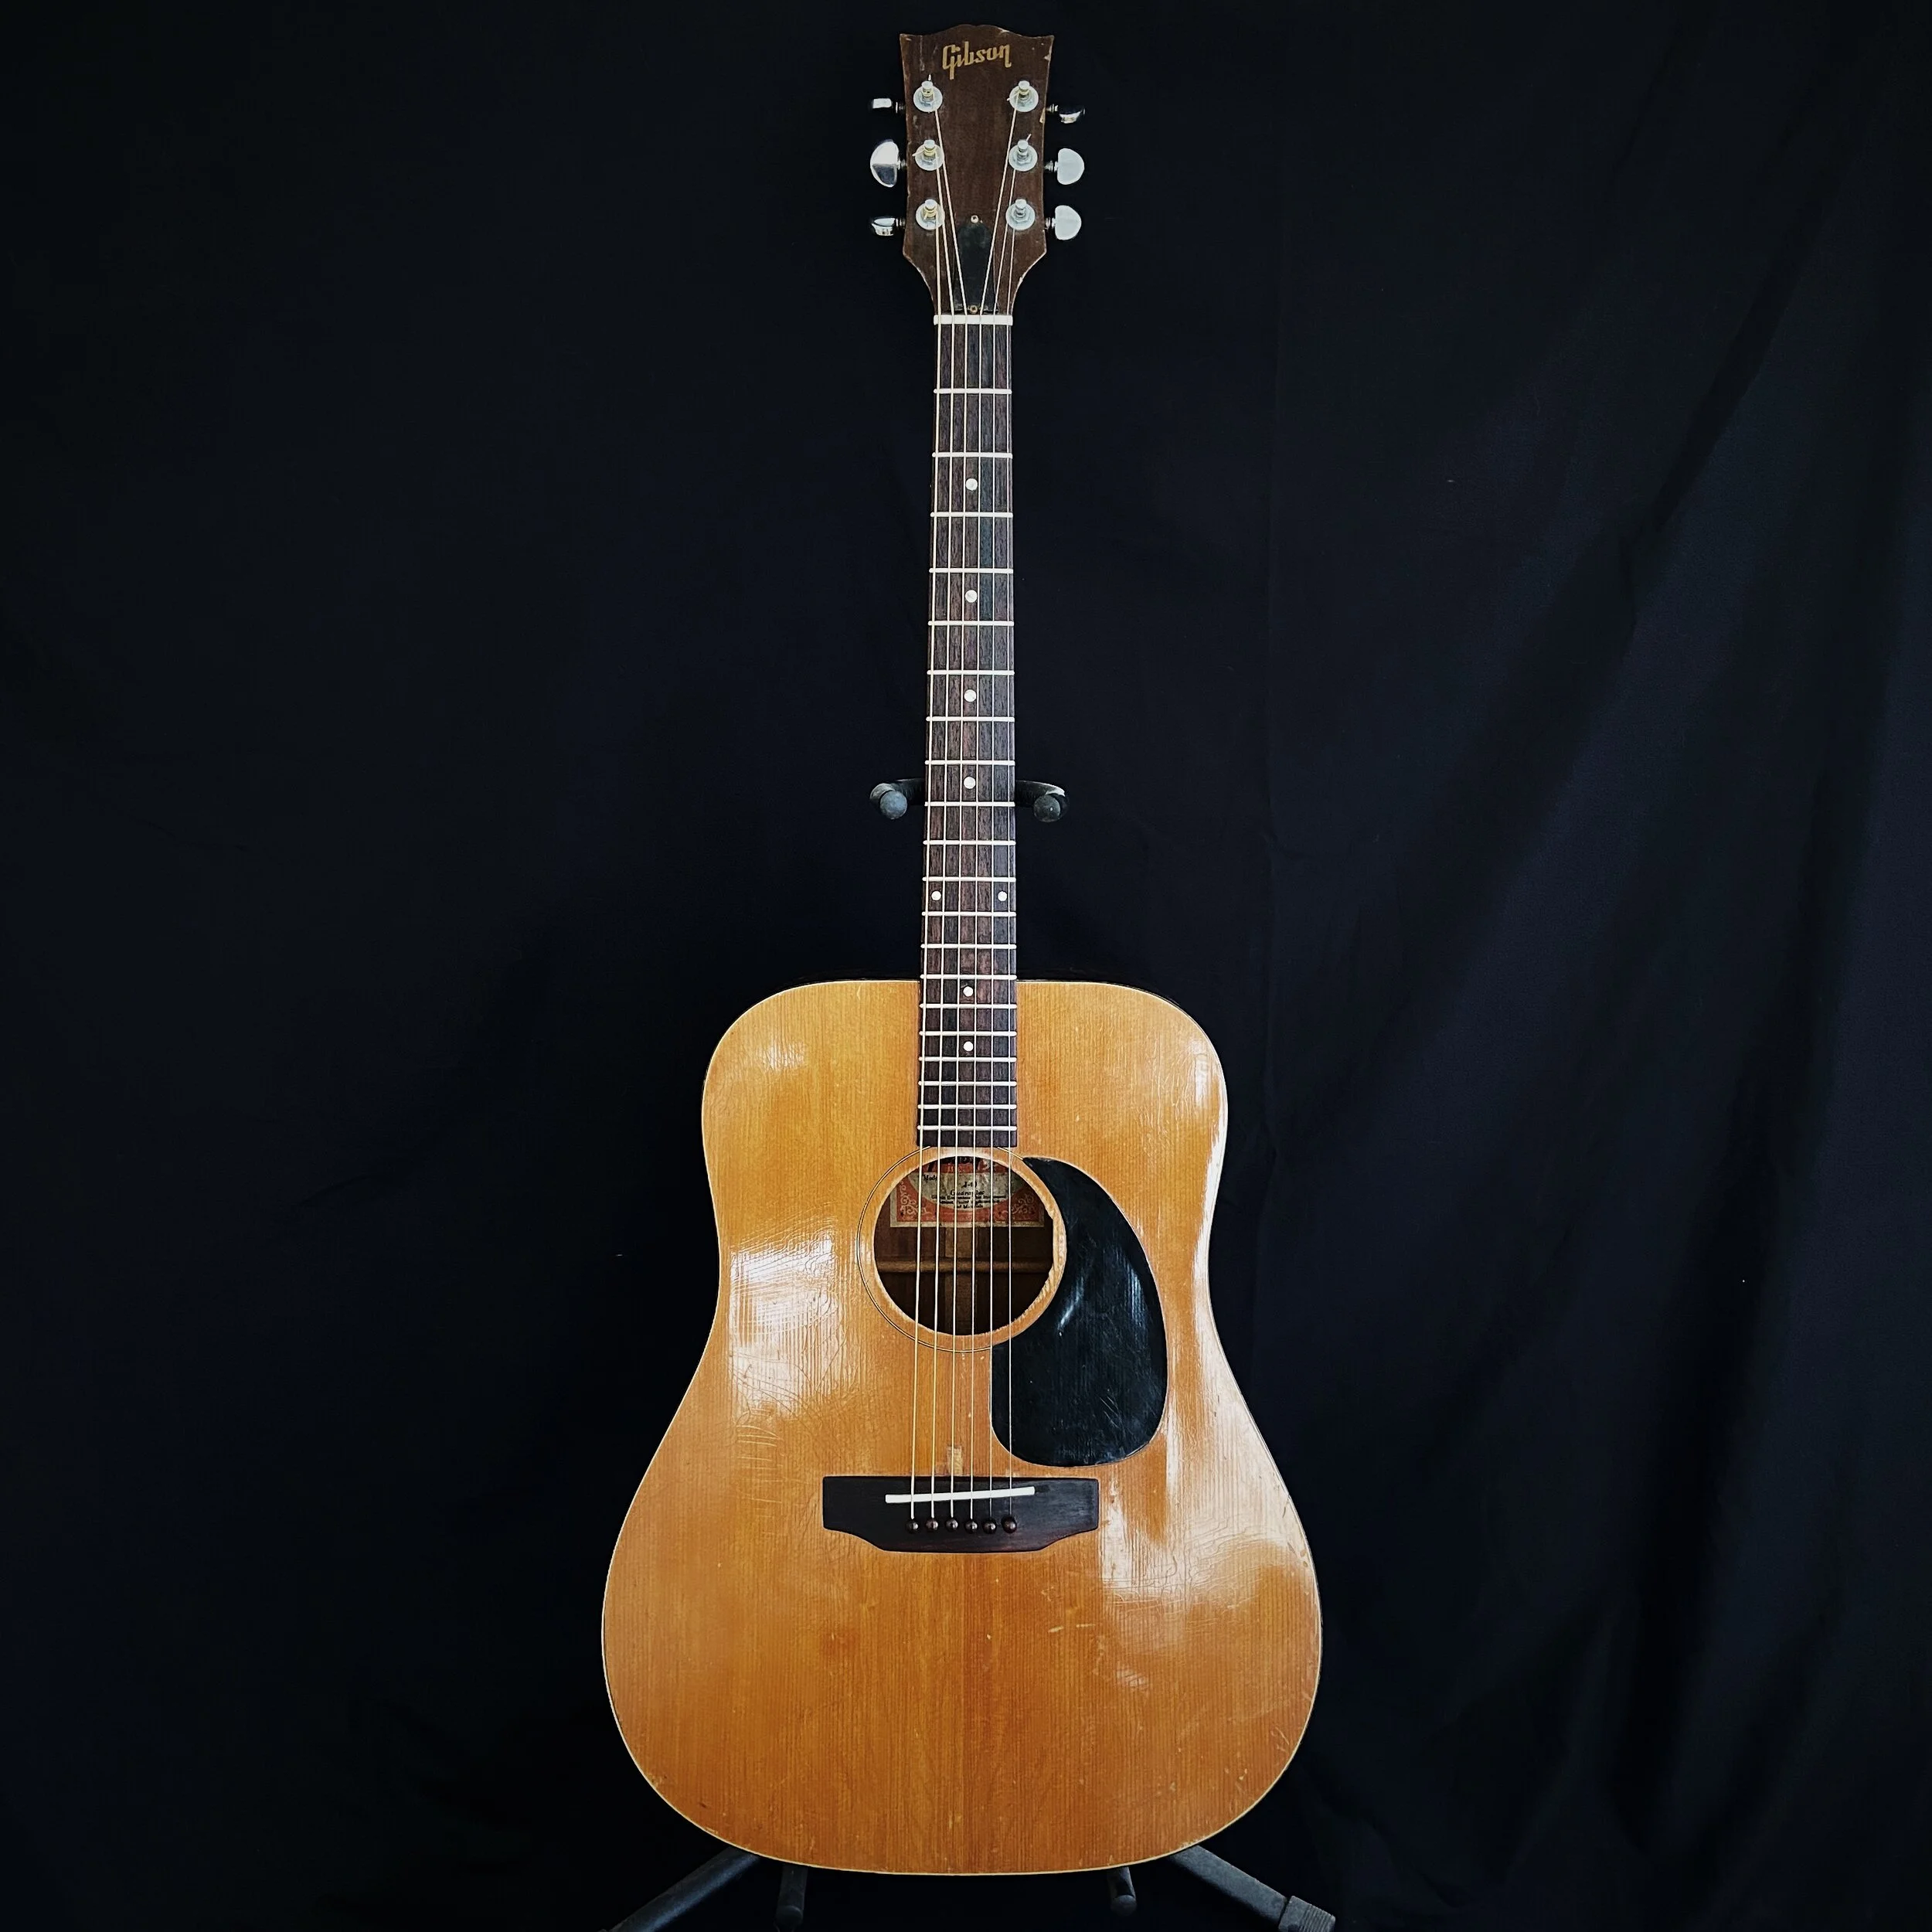
1977 Gibson J-40
X-Brace Conversion | Neck Reset | Fingerboard Leveling | Refret | New Bridge | New Saddle & Nut | Repairs

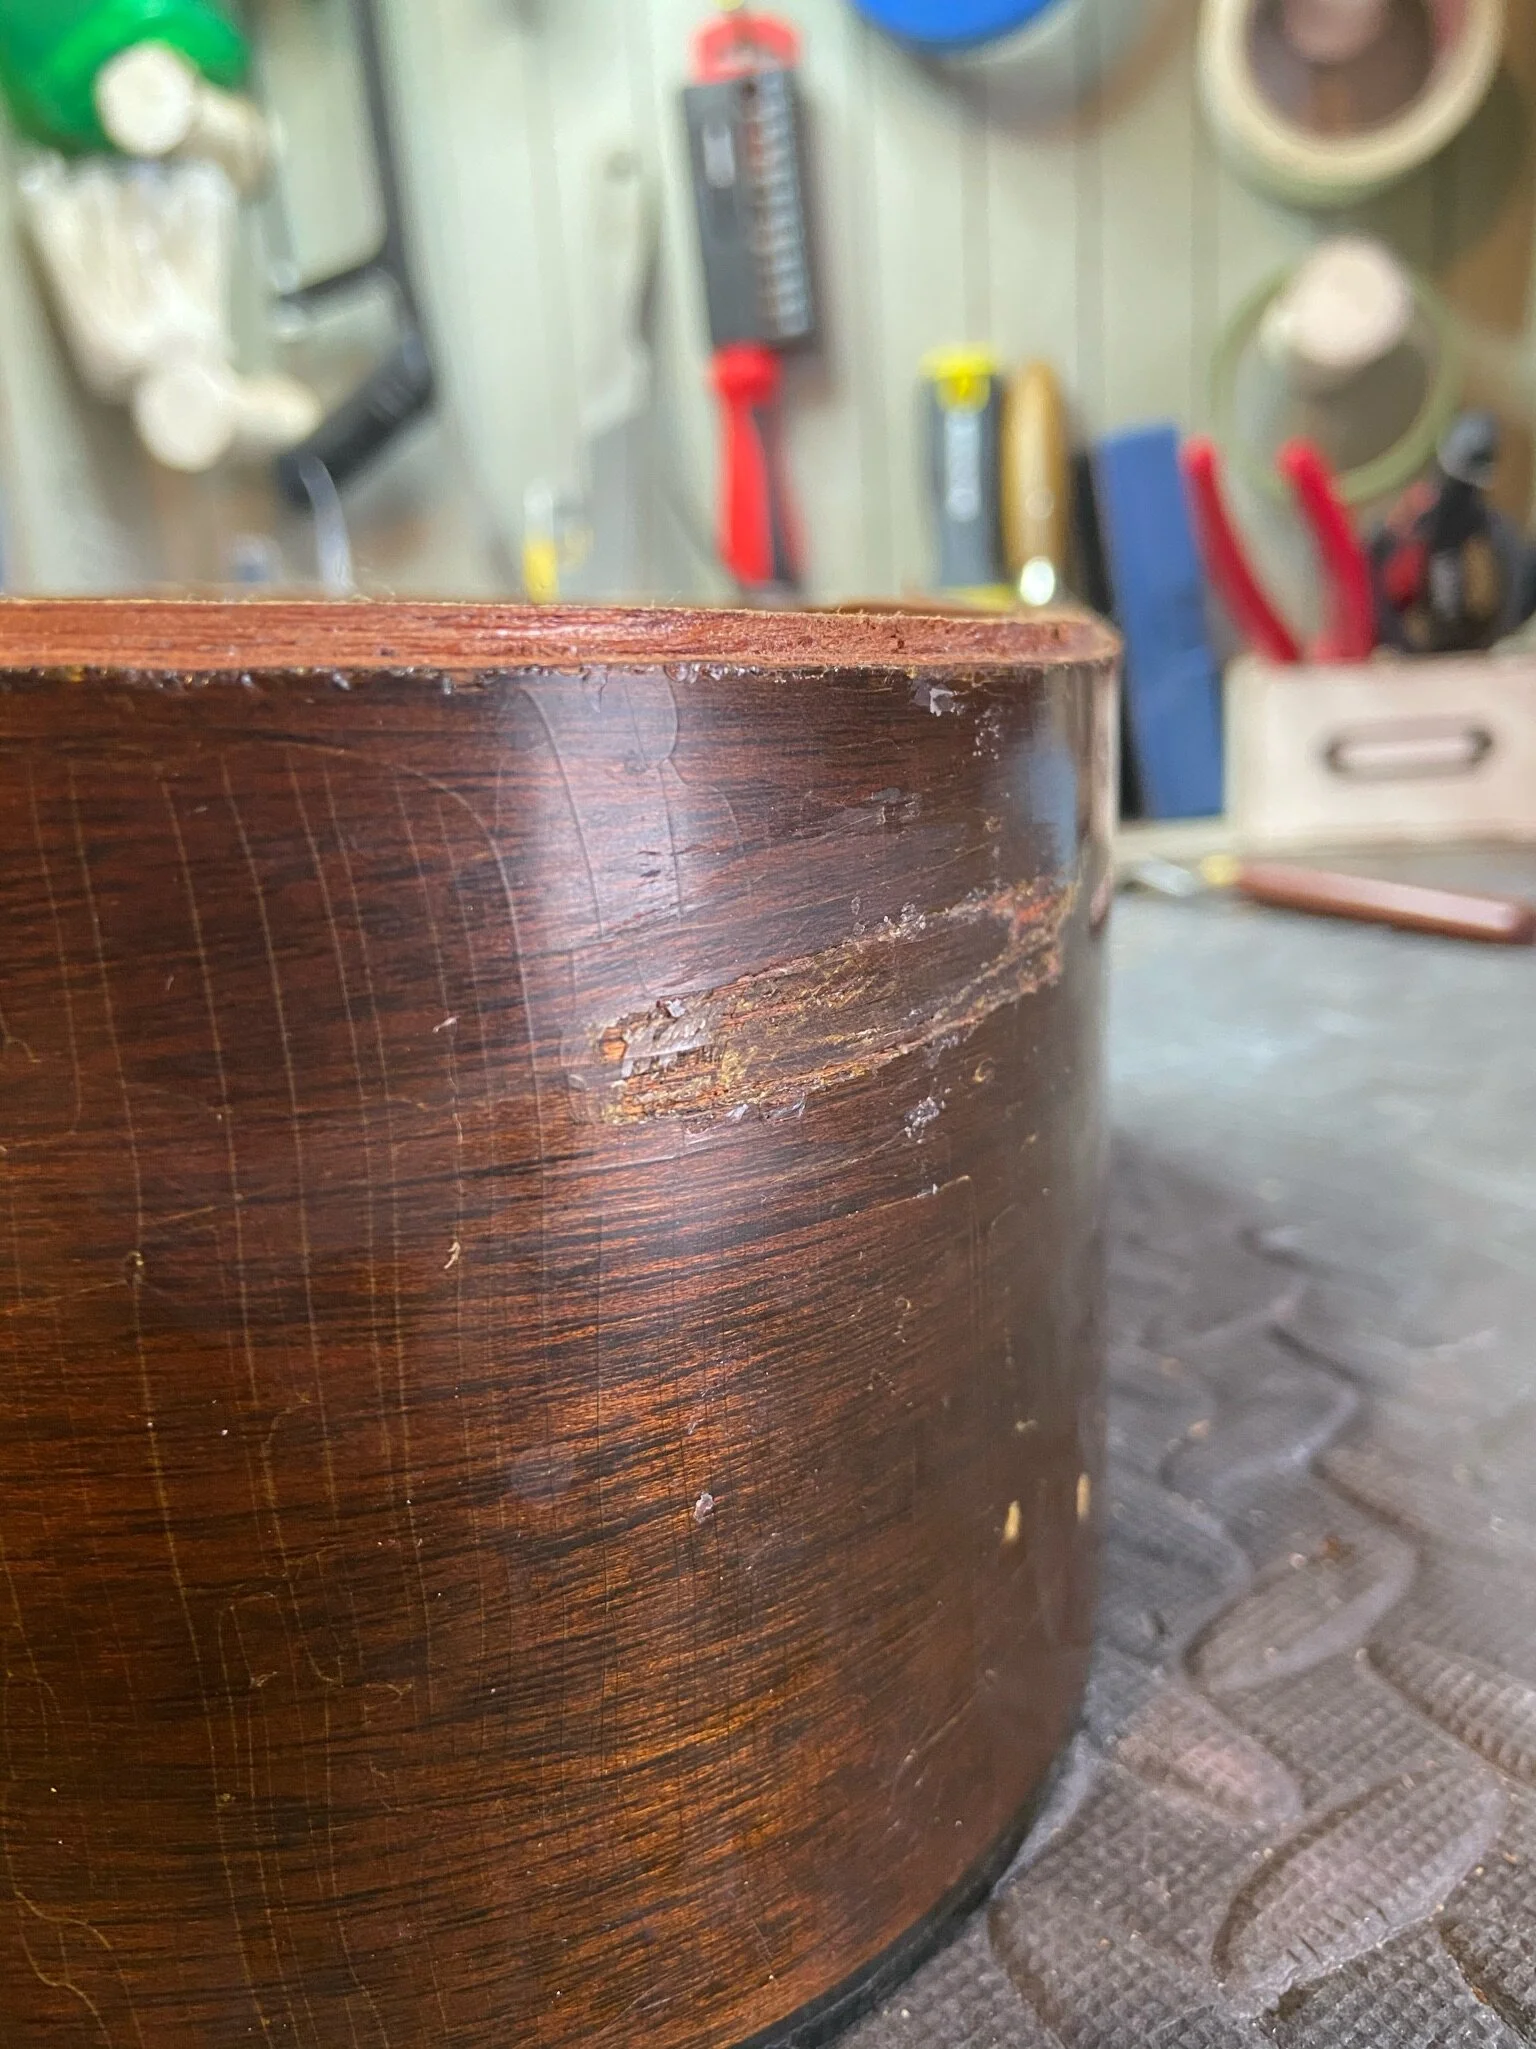
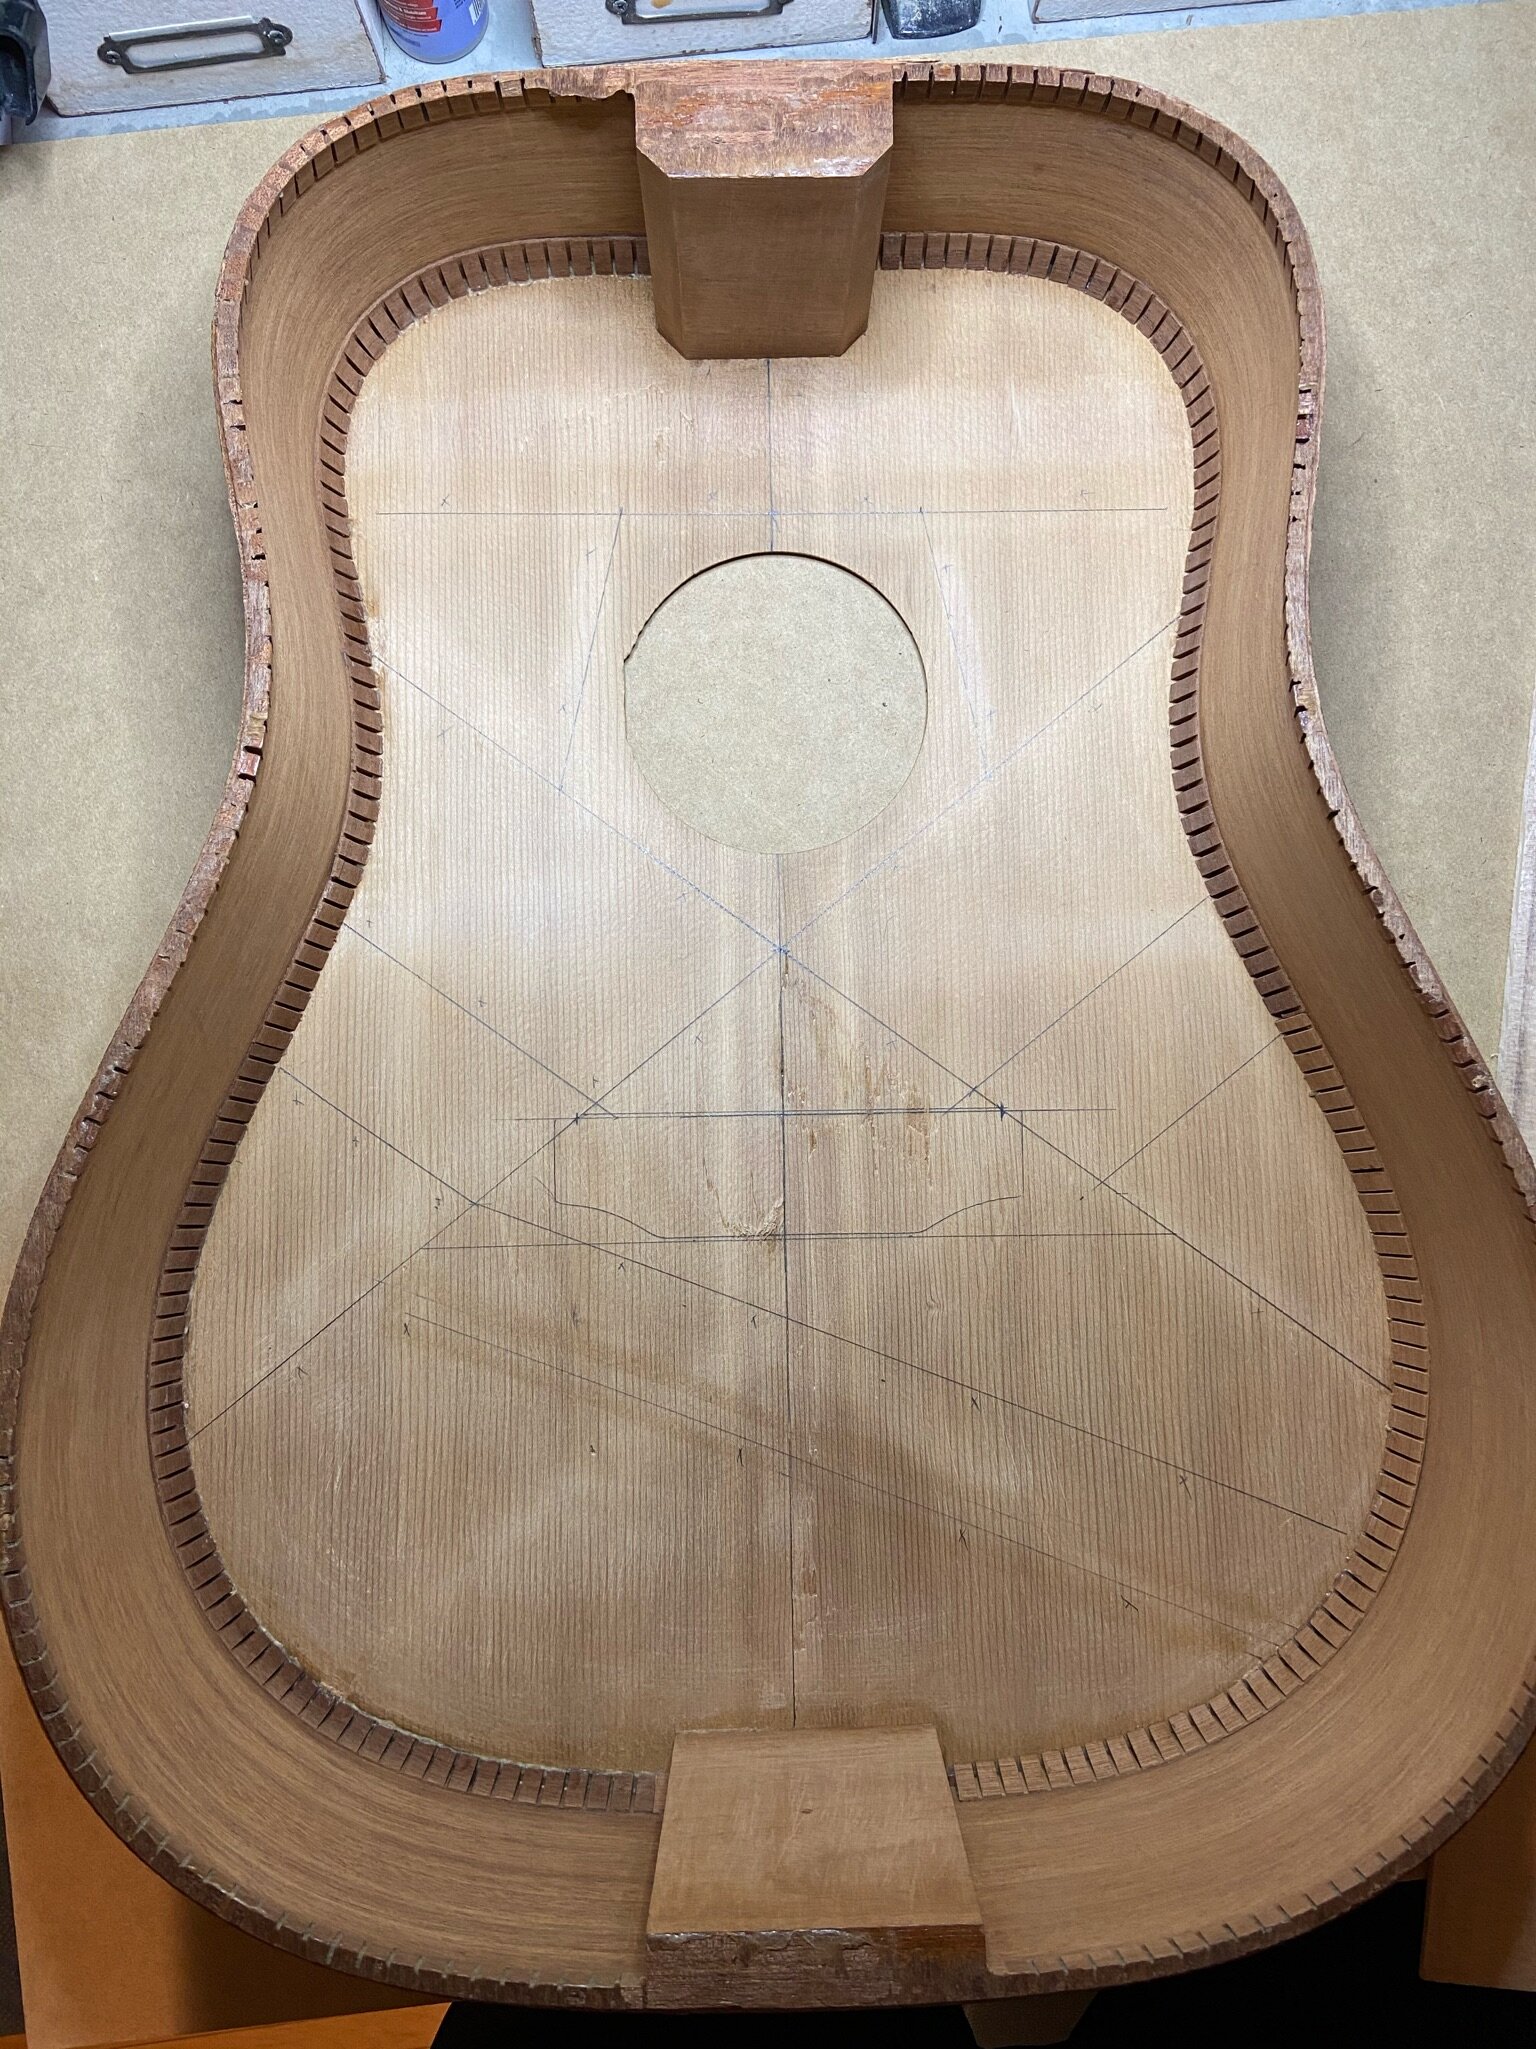
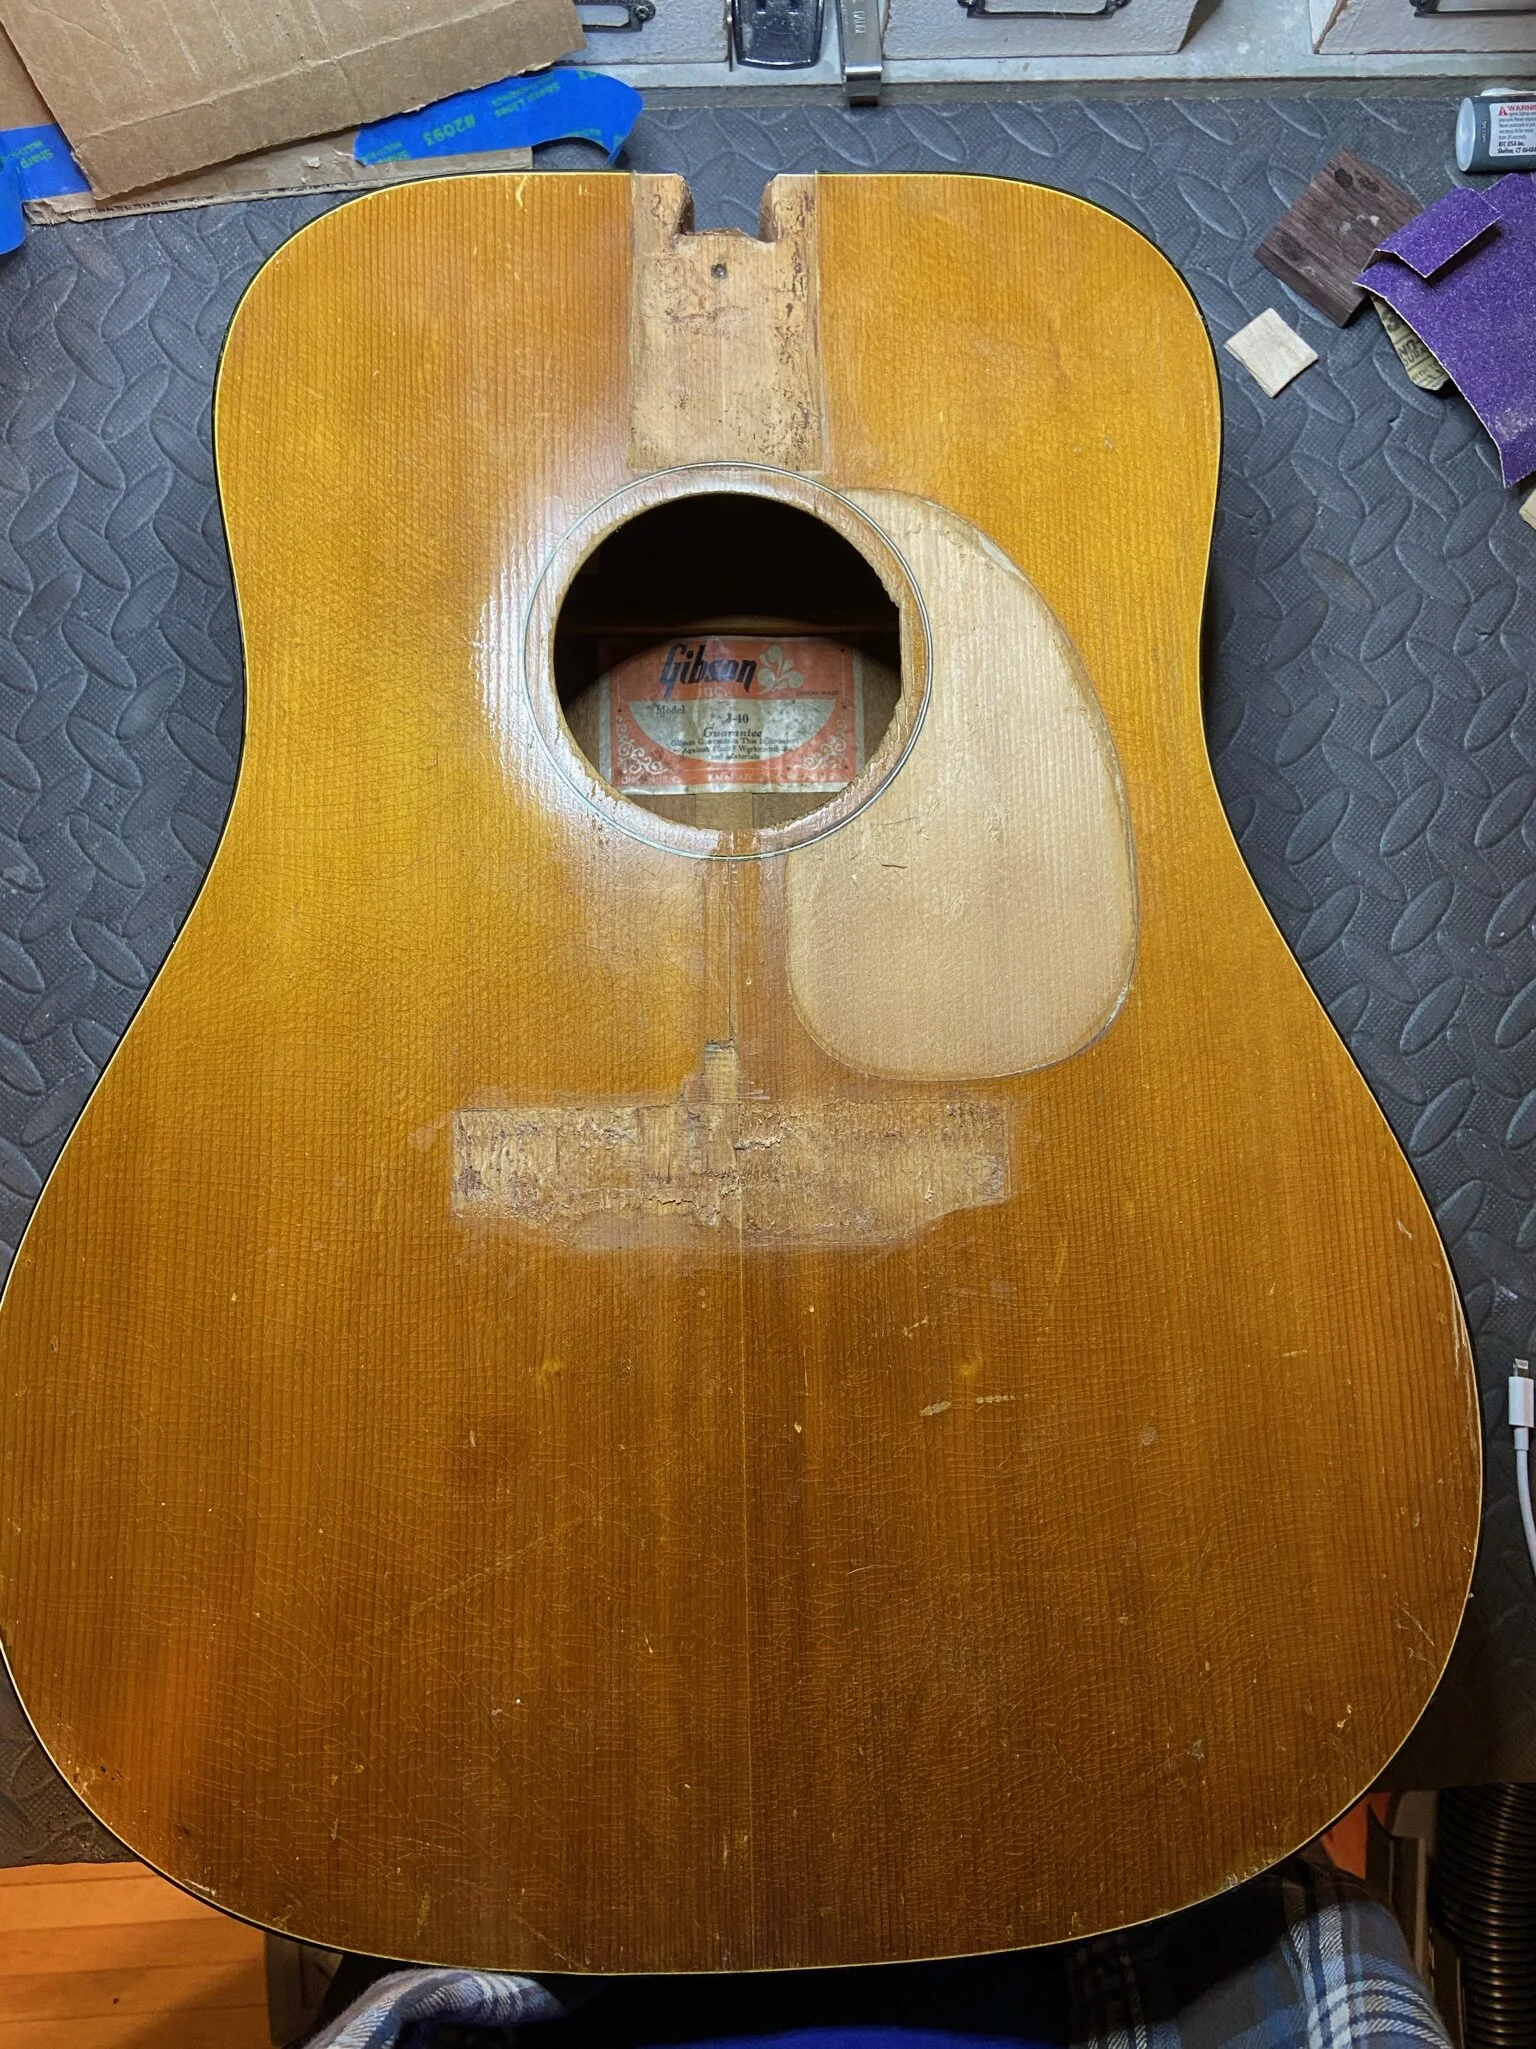
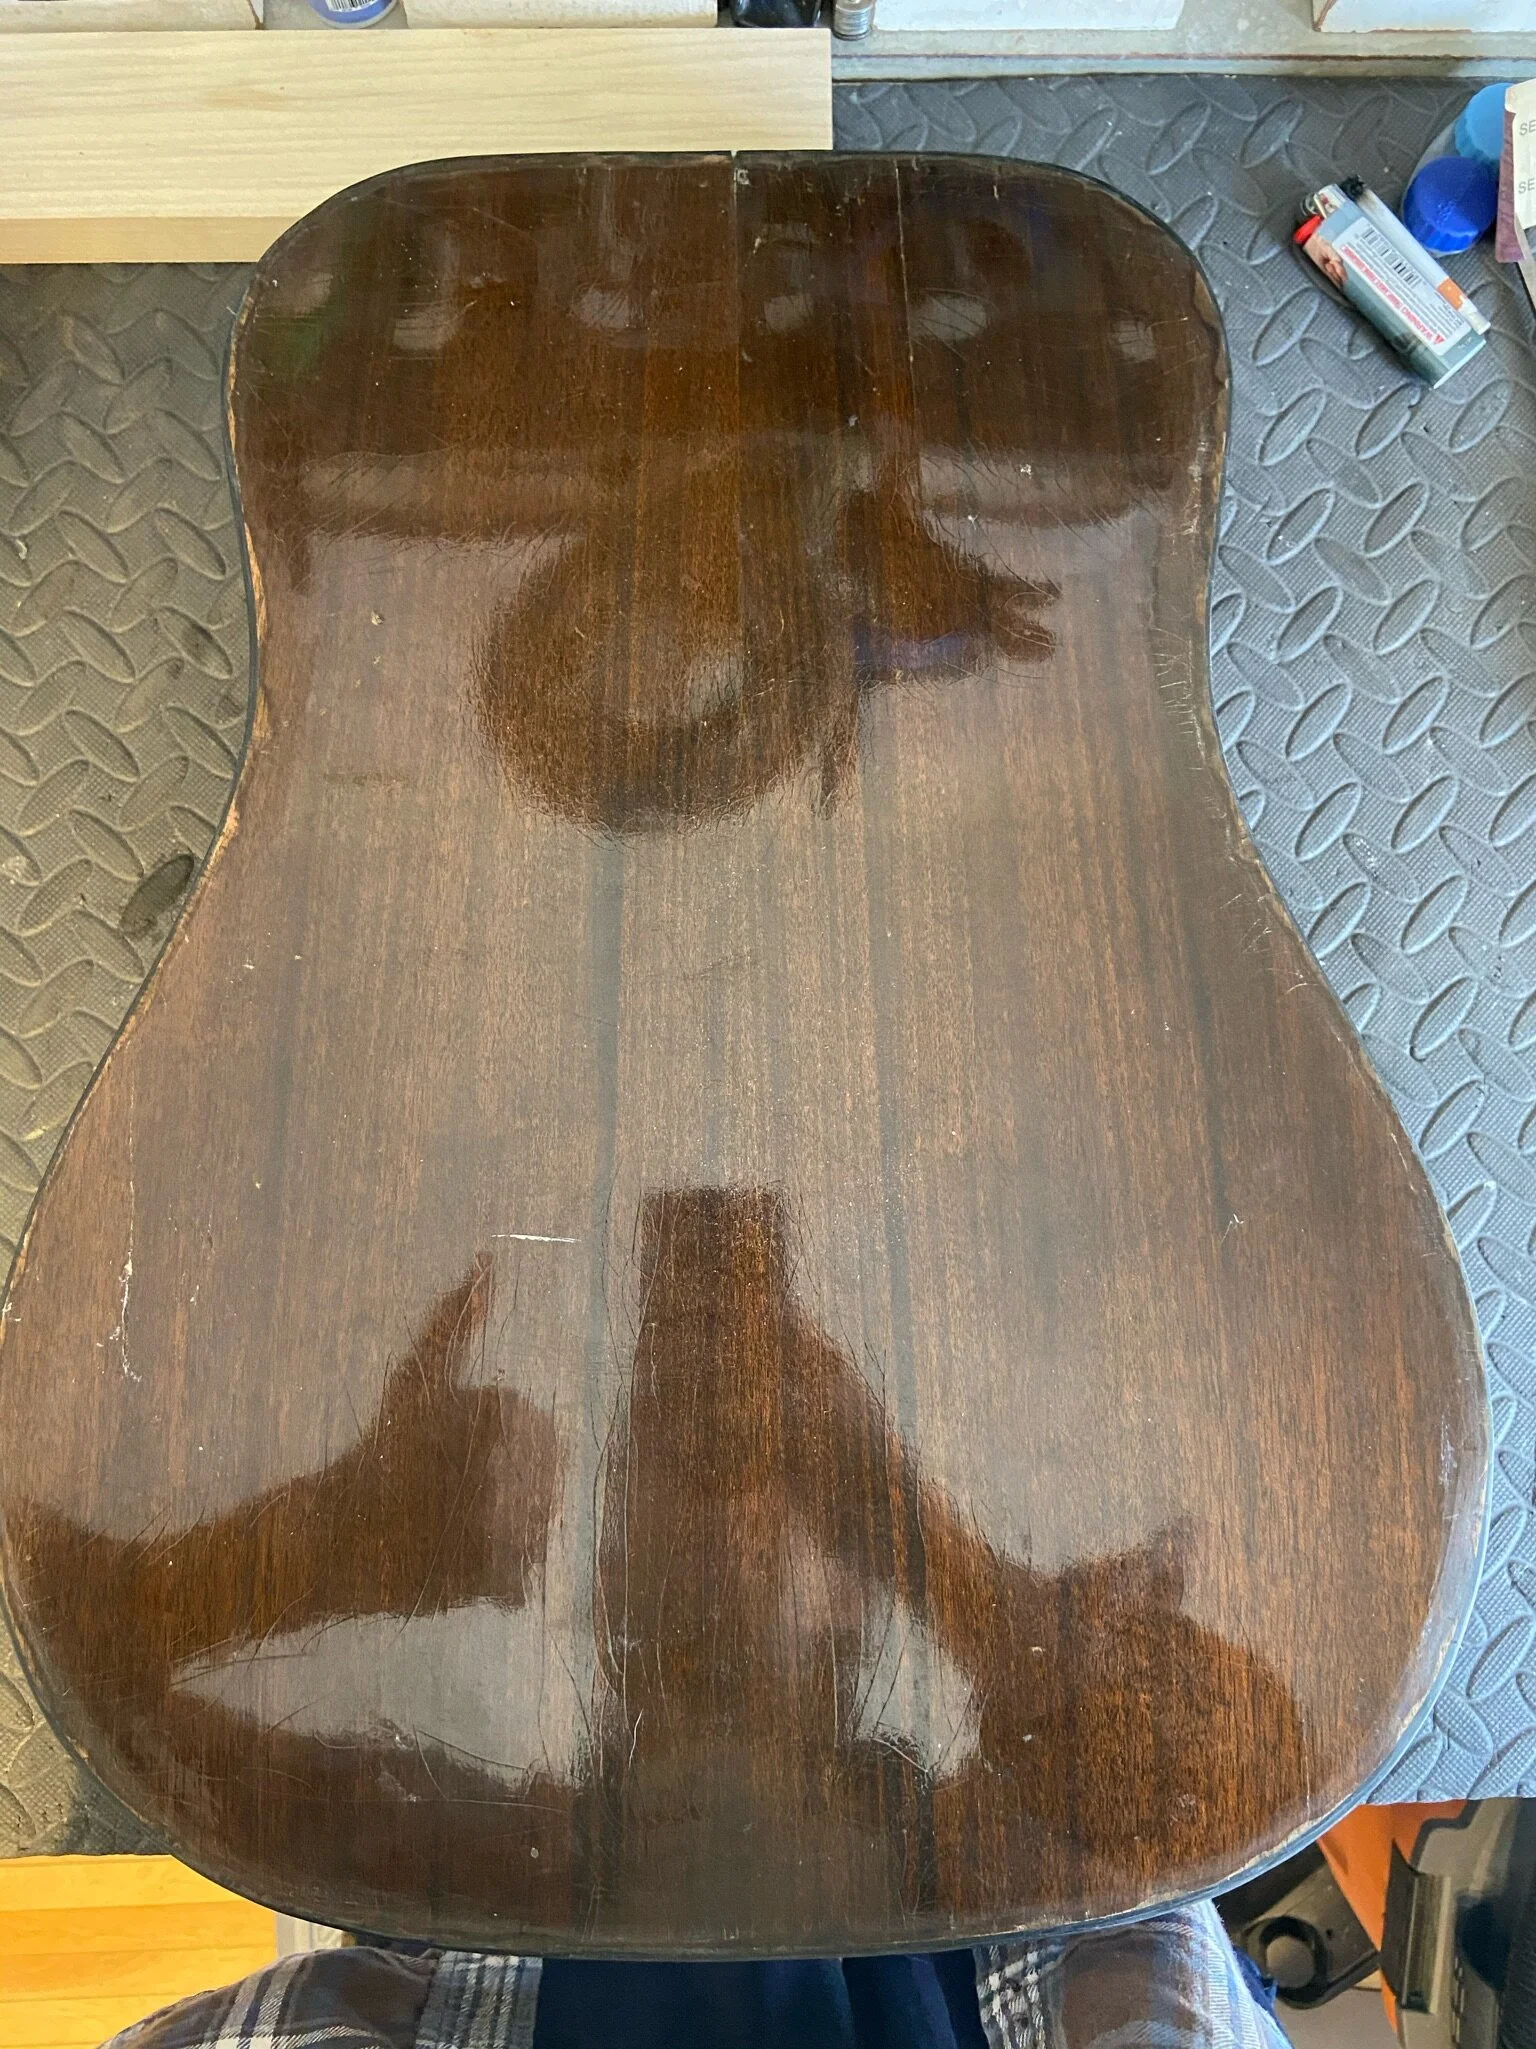
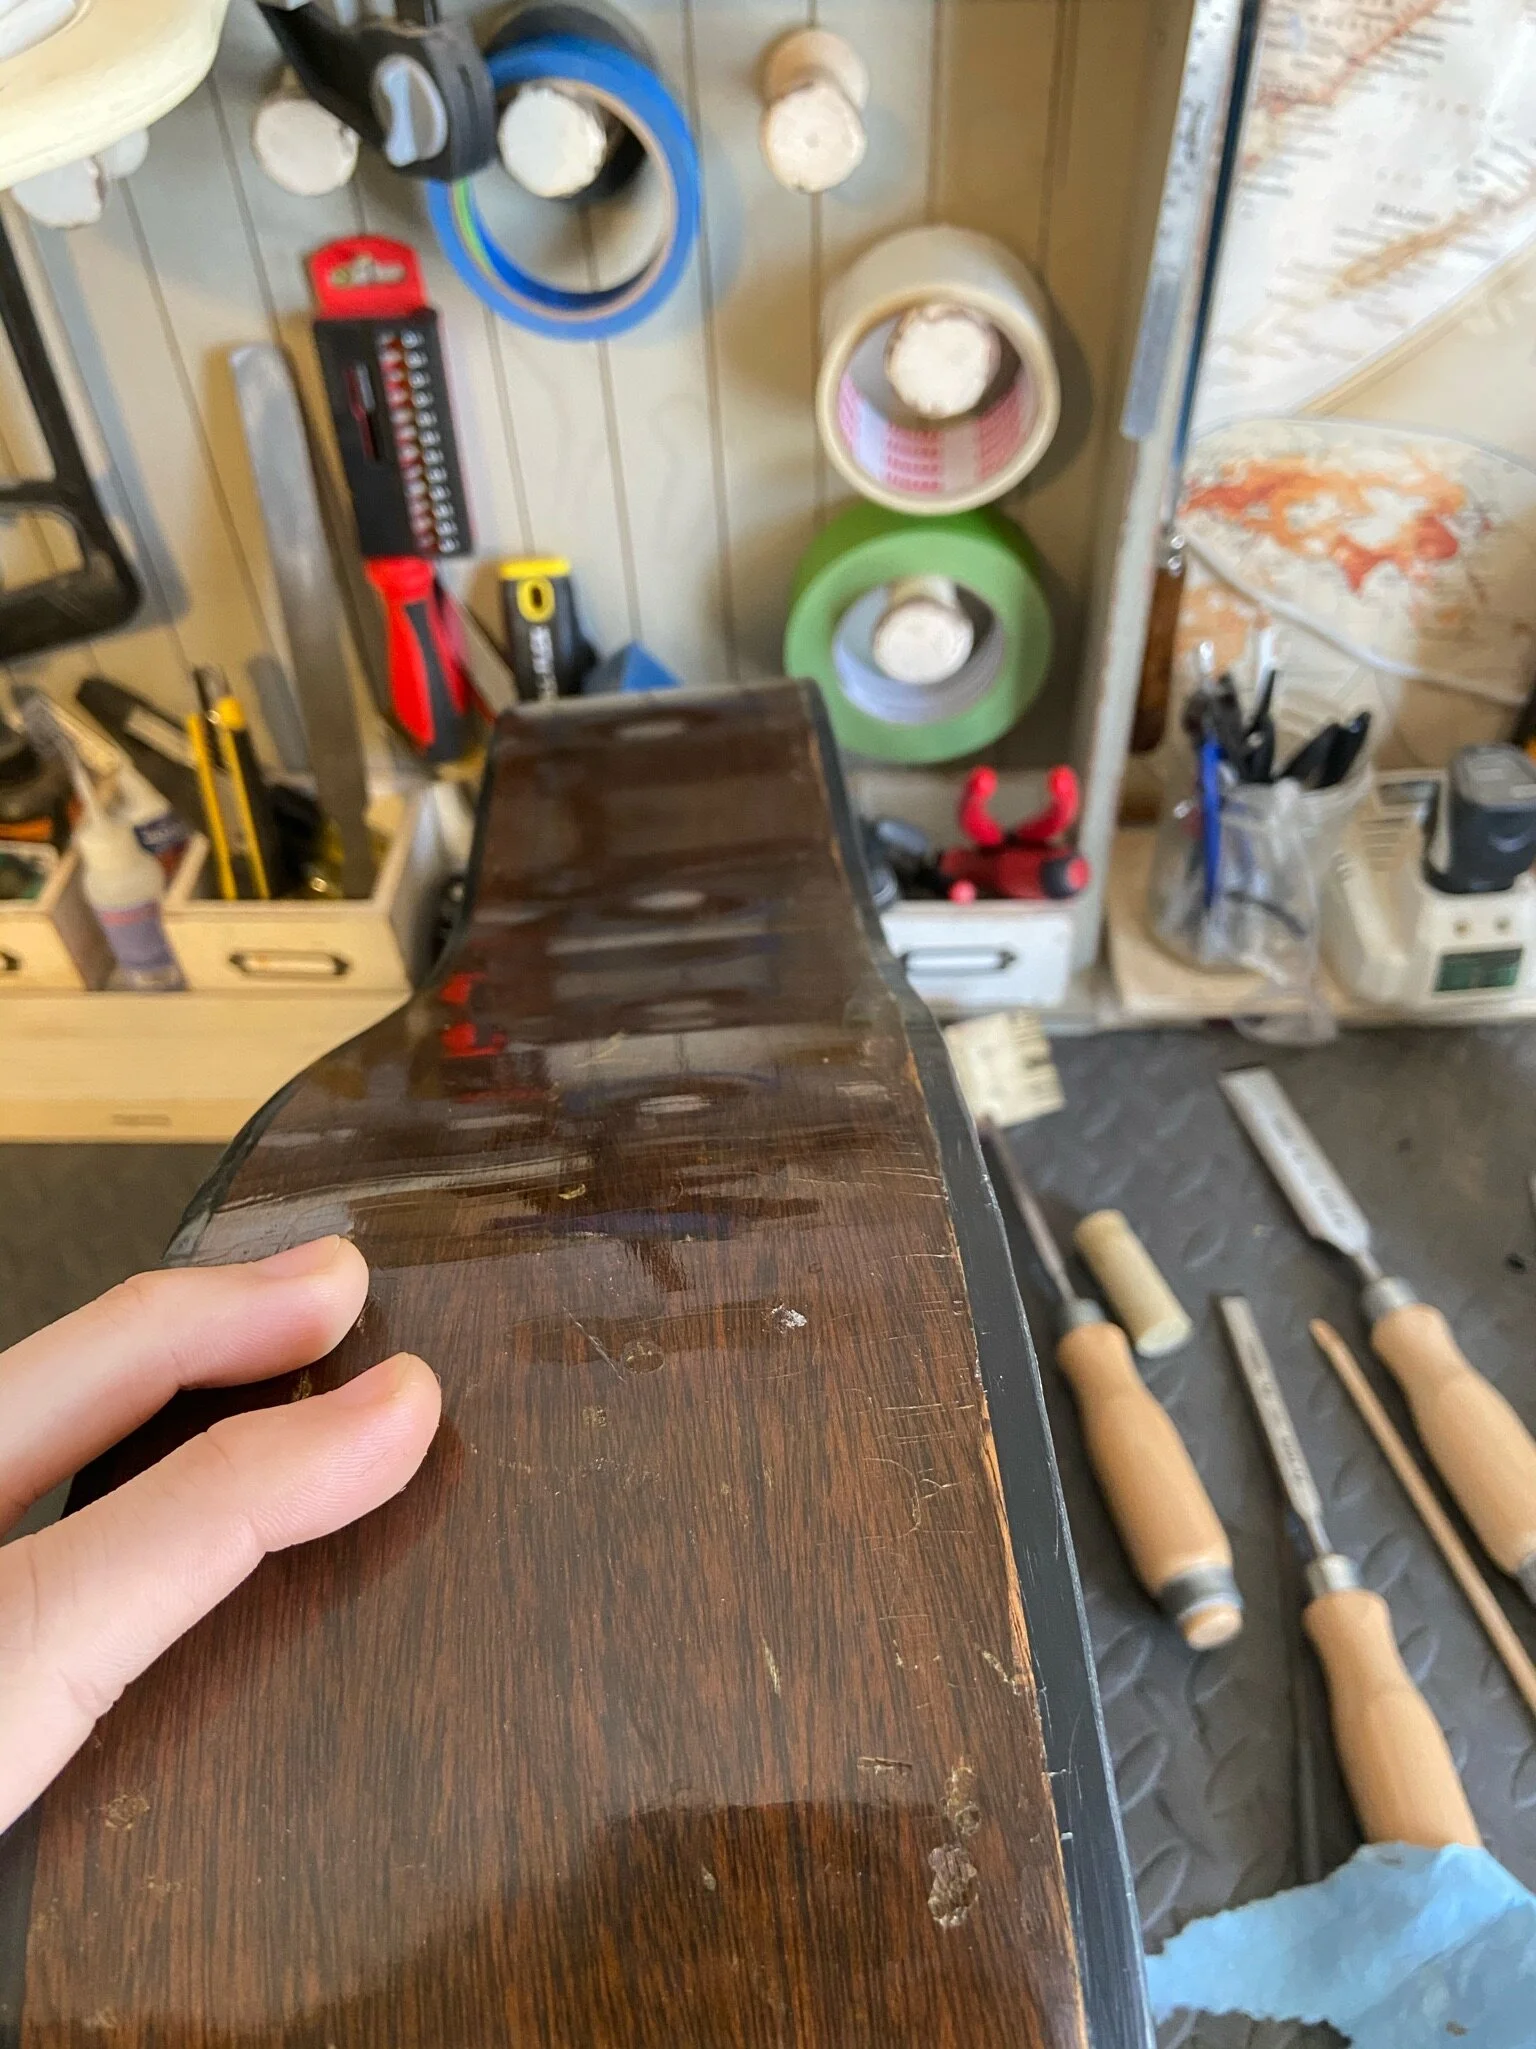
The "before"
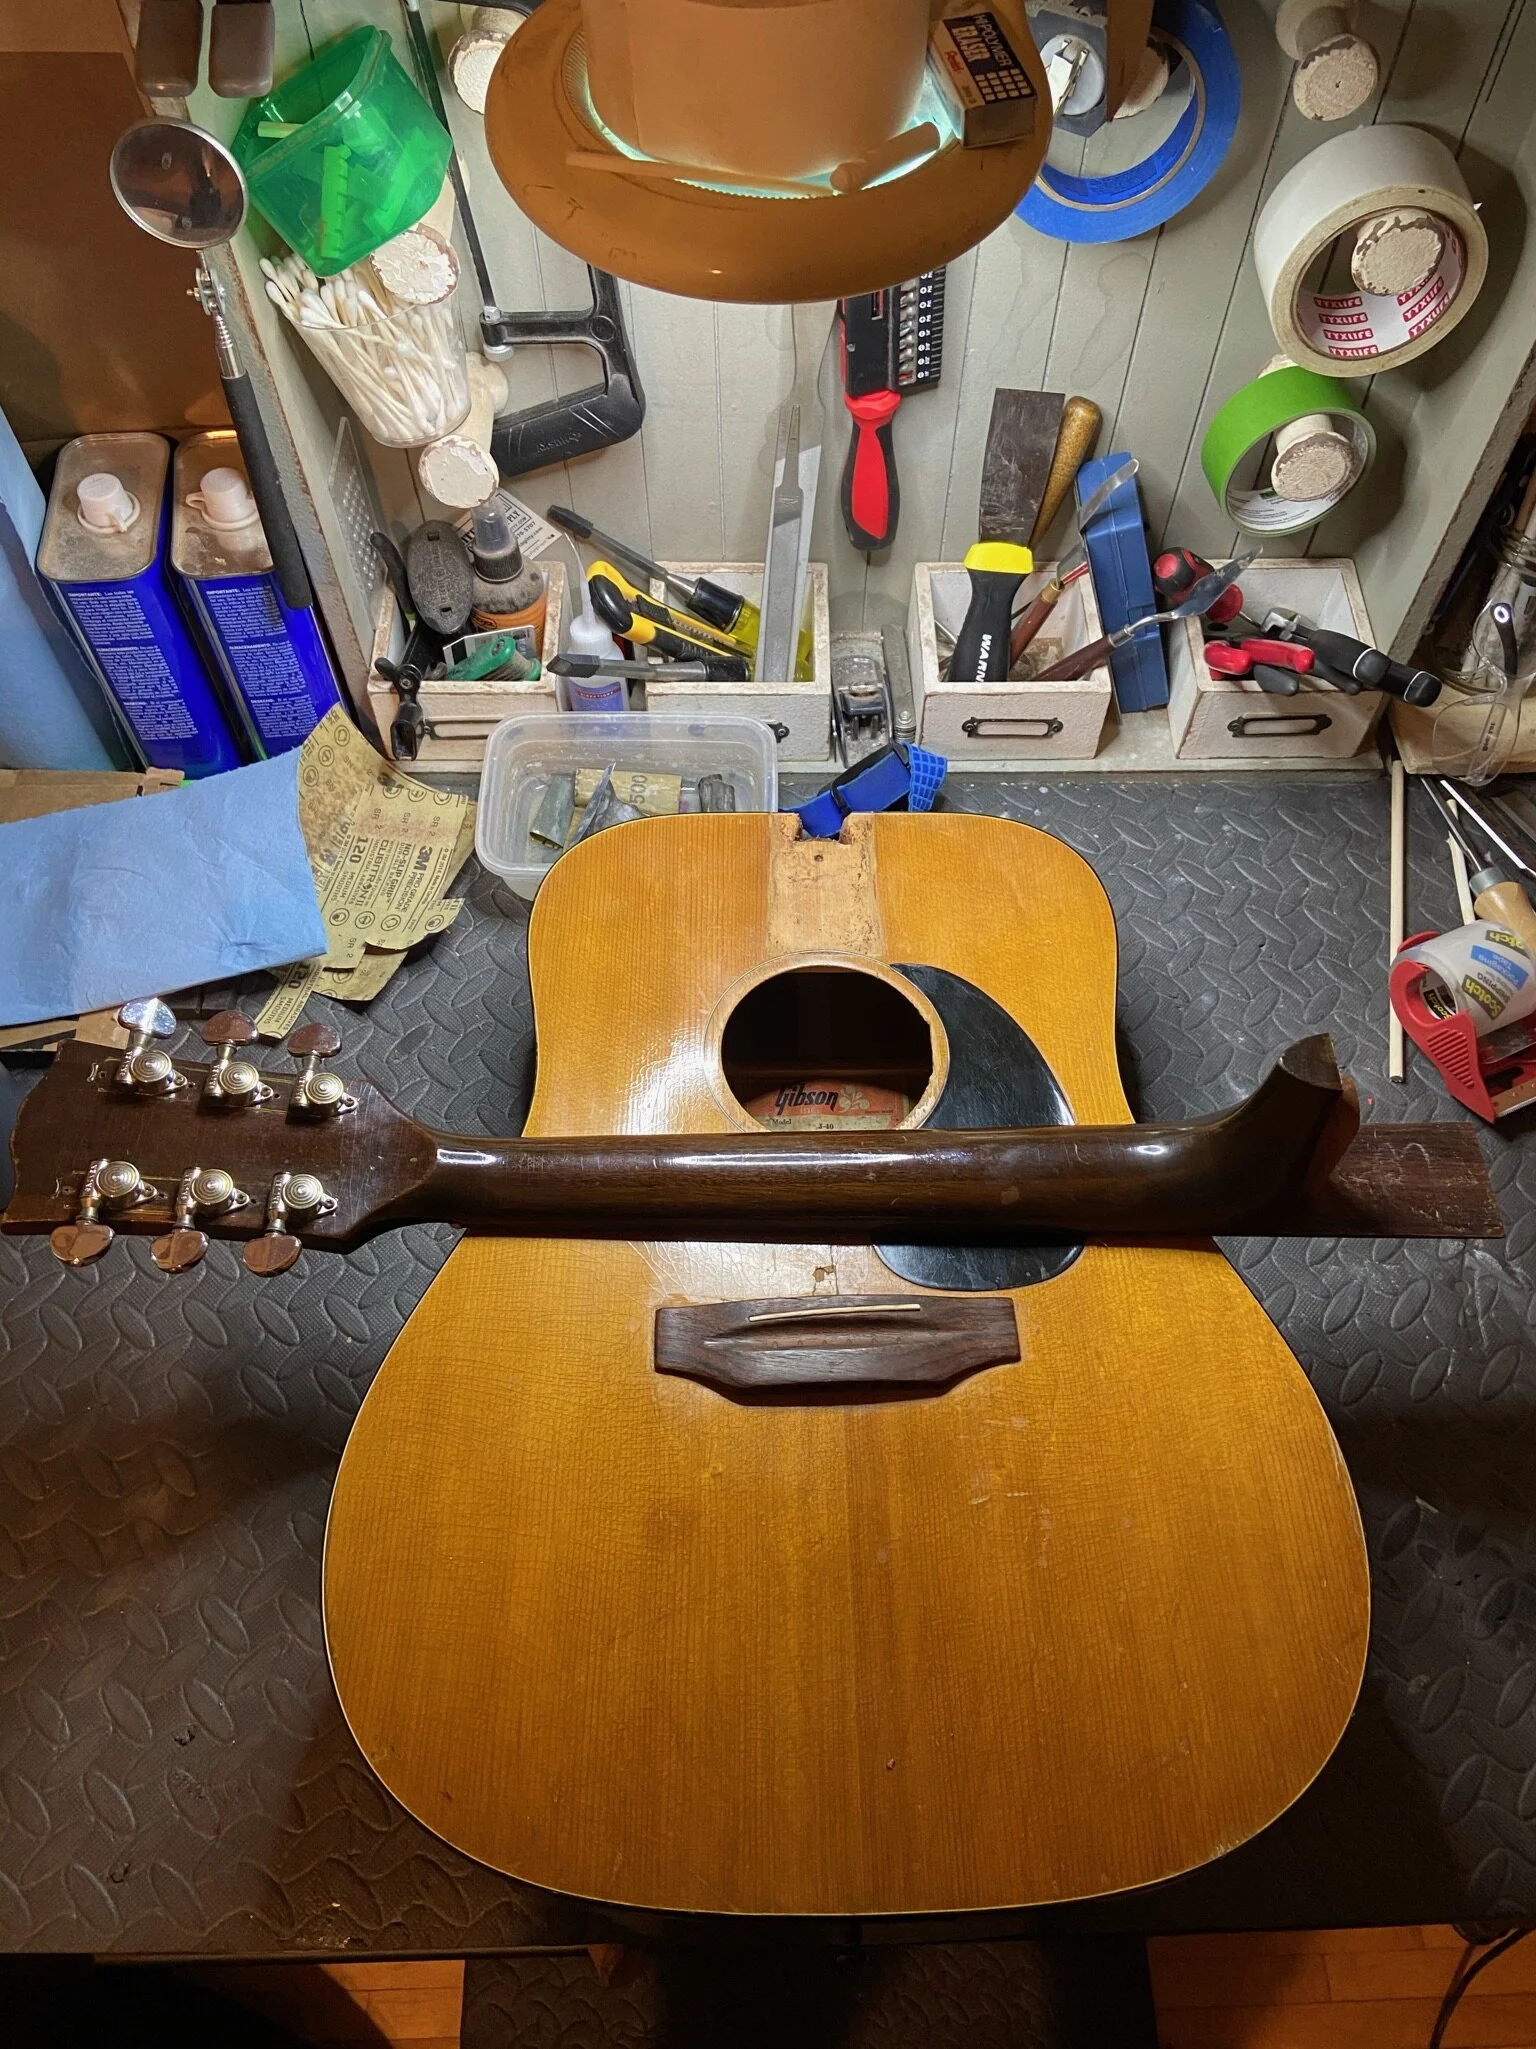
Didn't get a great shot of the neck joint, but this was a tough one to take apart. The mortise & tenon are equal thickness from top to bottom -- not V-shaped like a normal dovetail. So the joint is tight no matter how deep the tenon is.
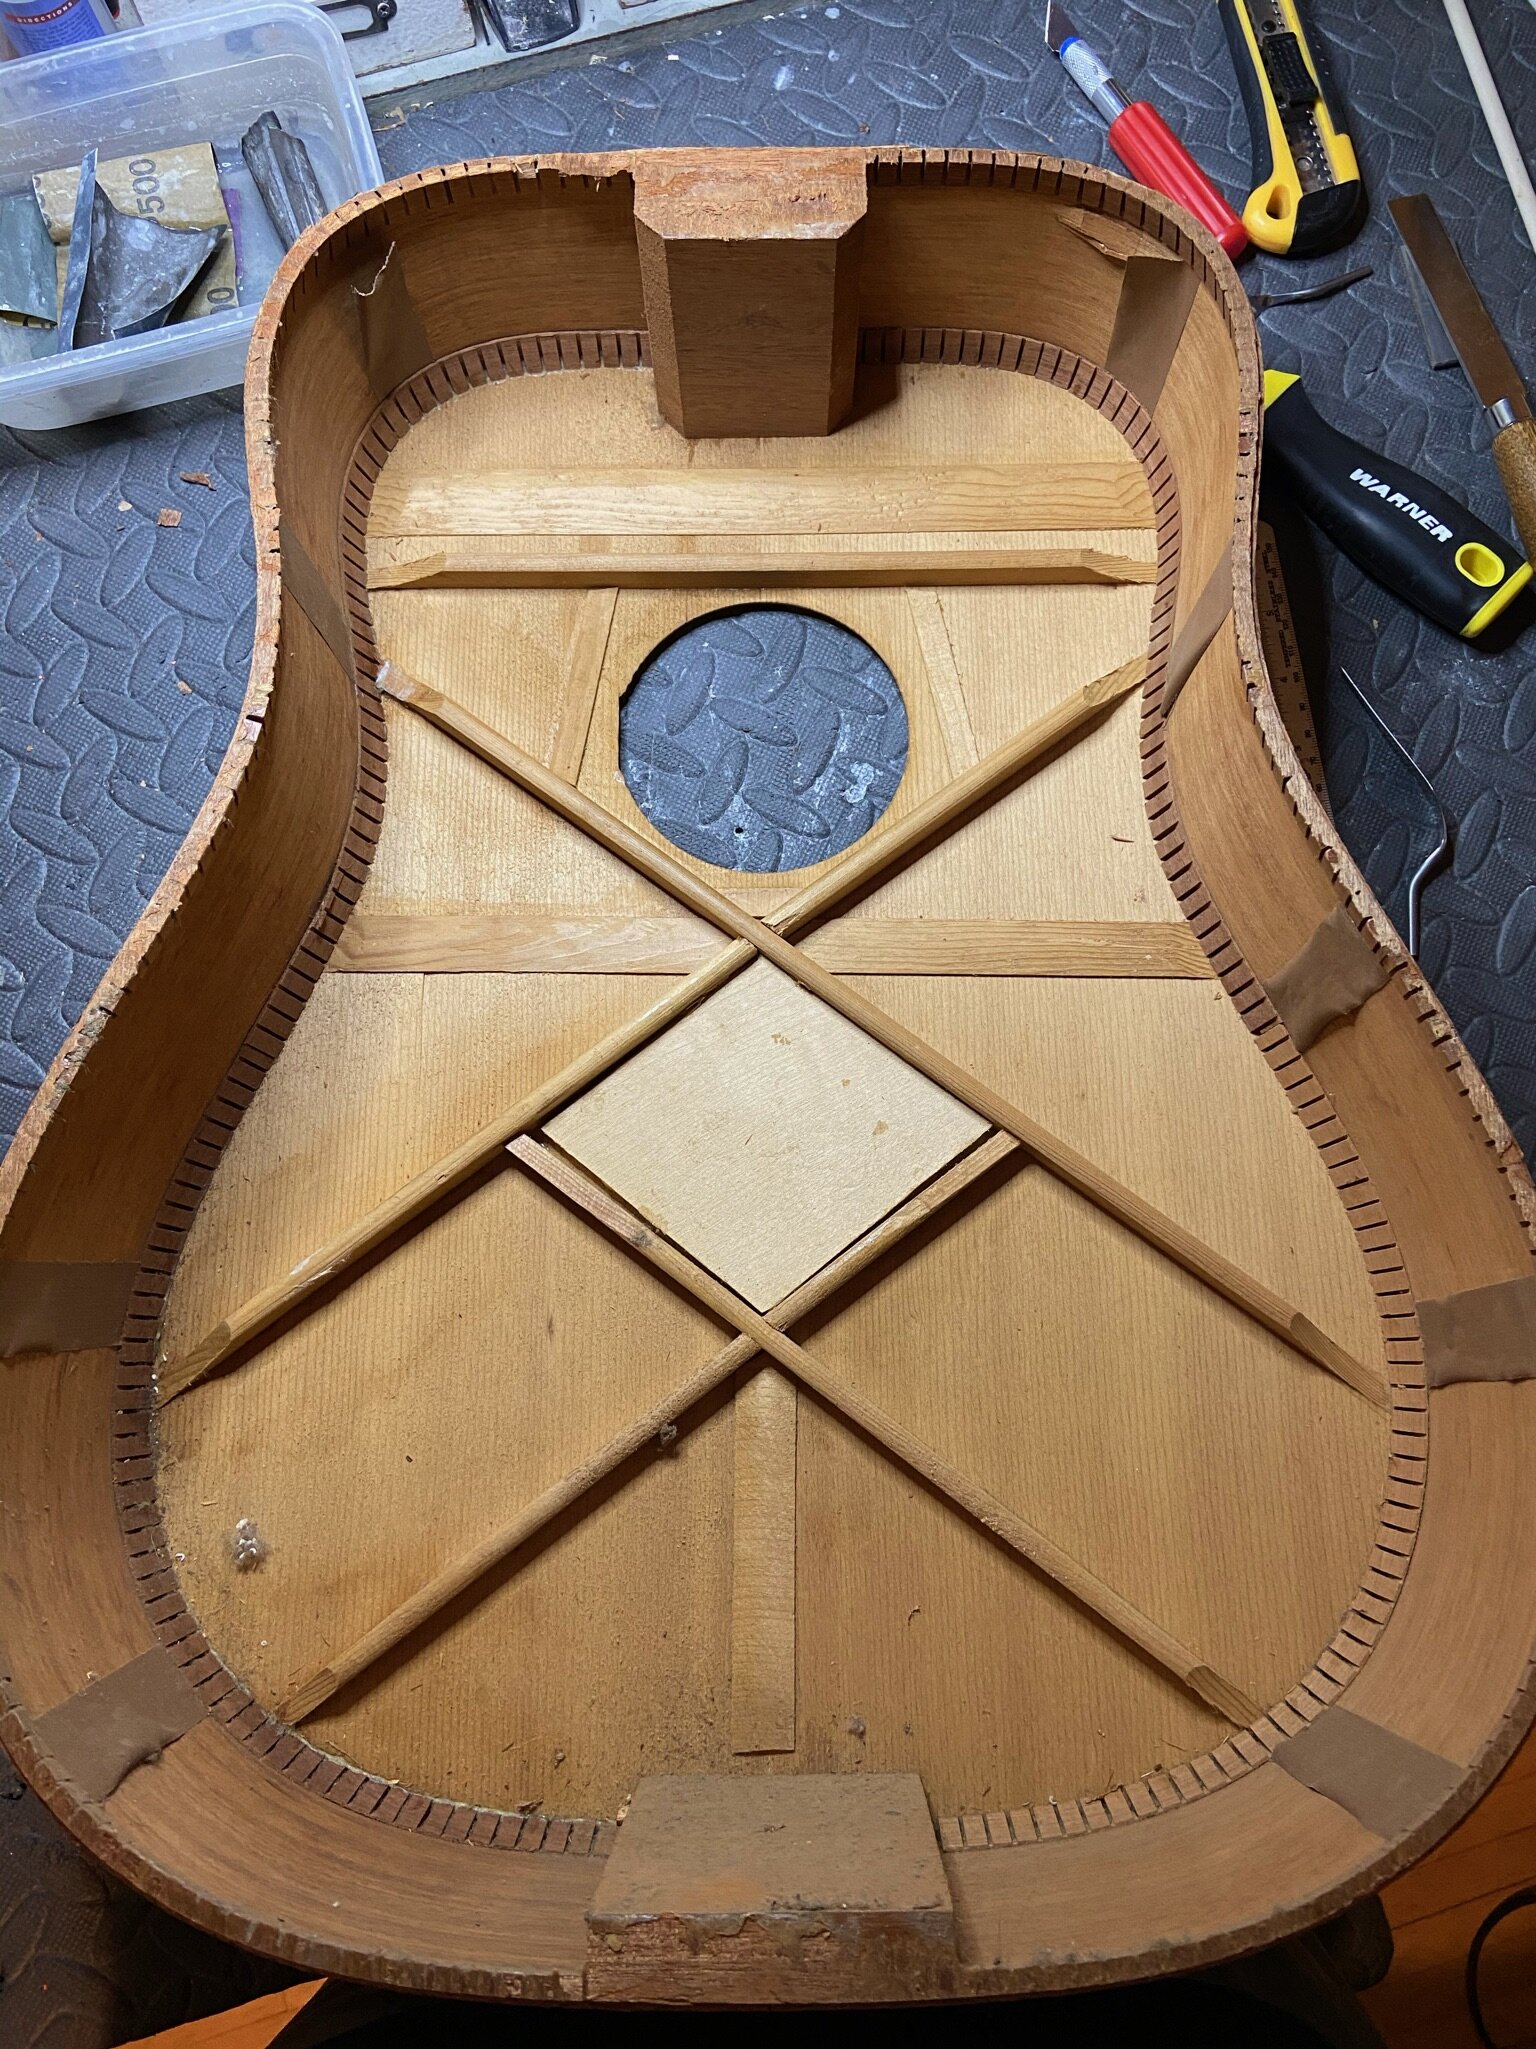
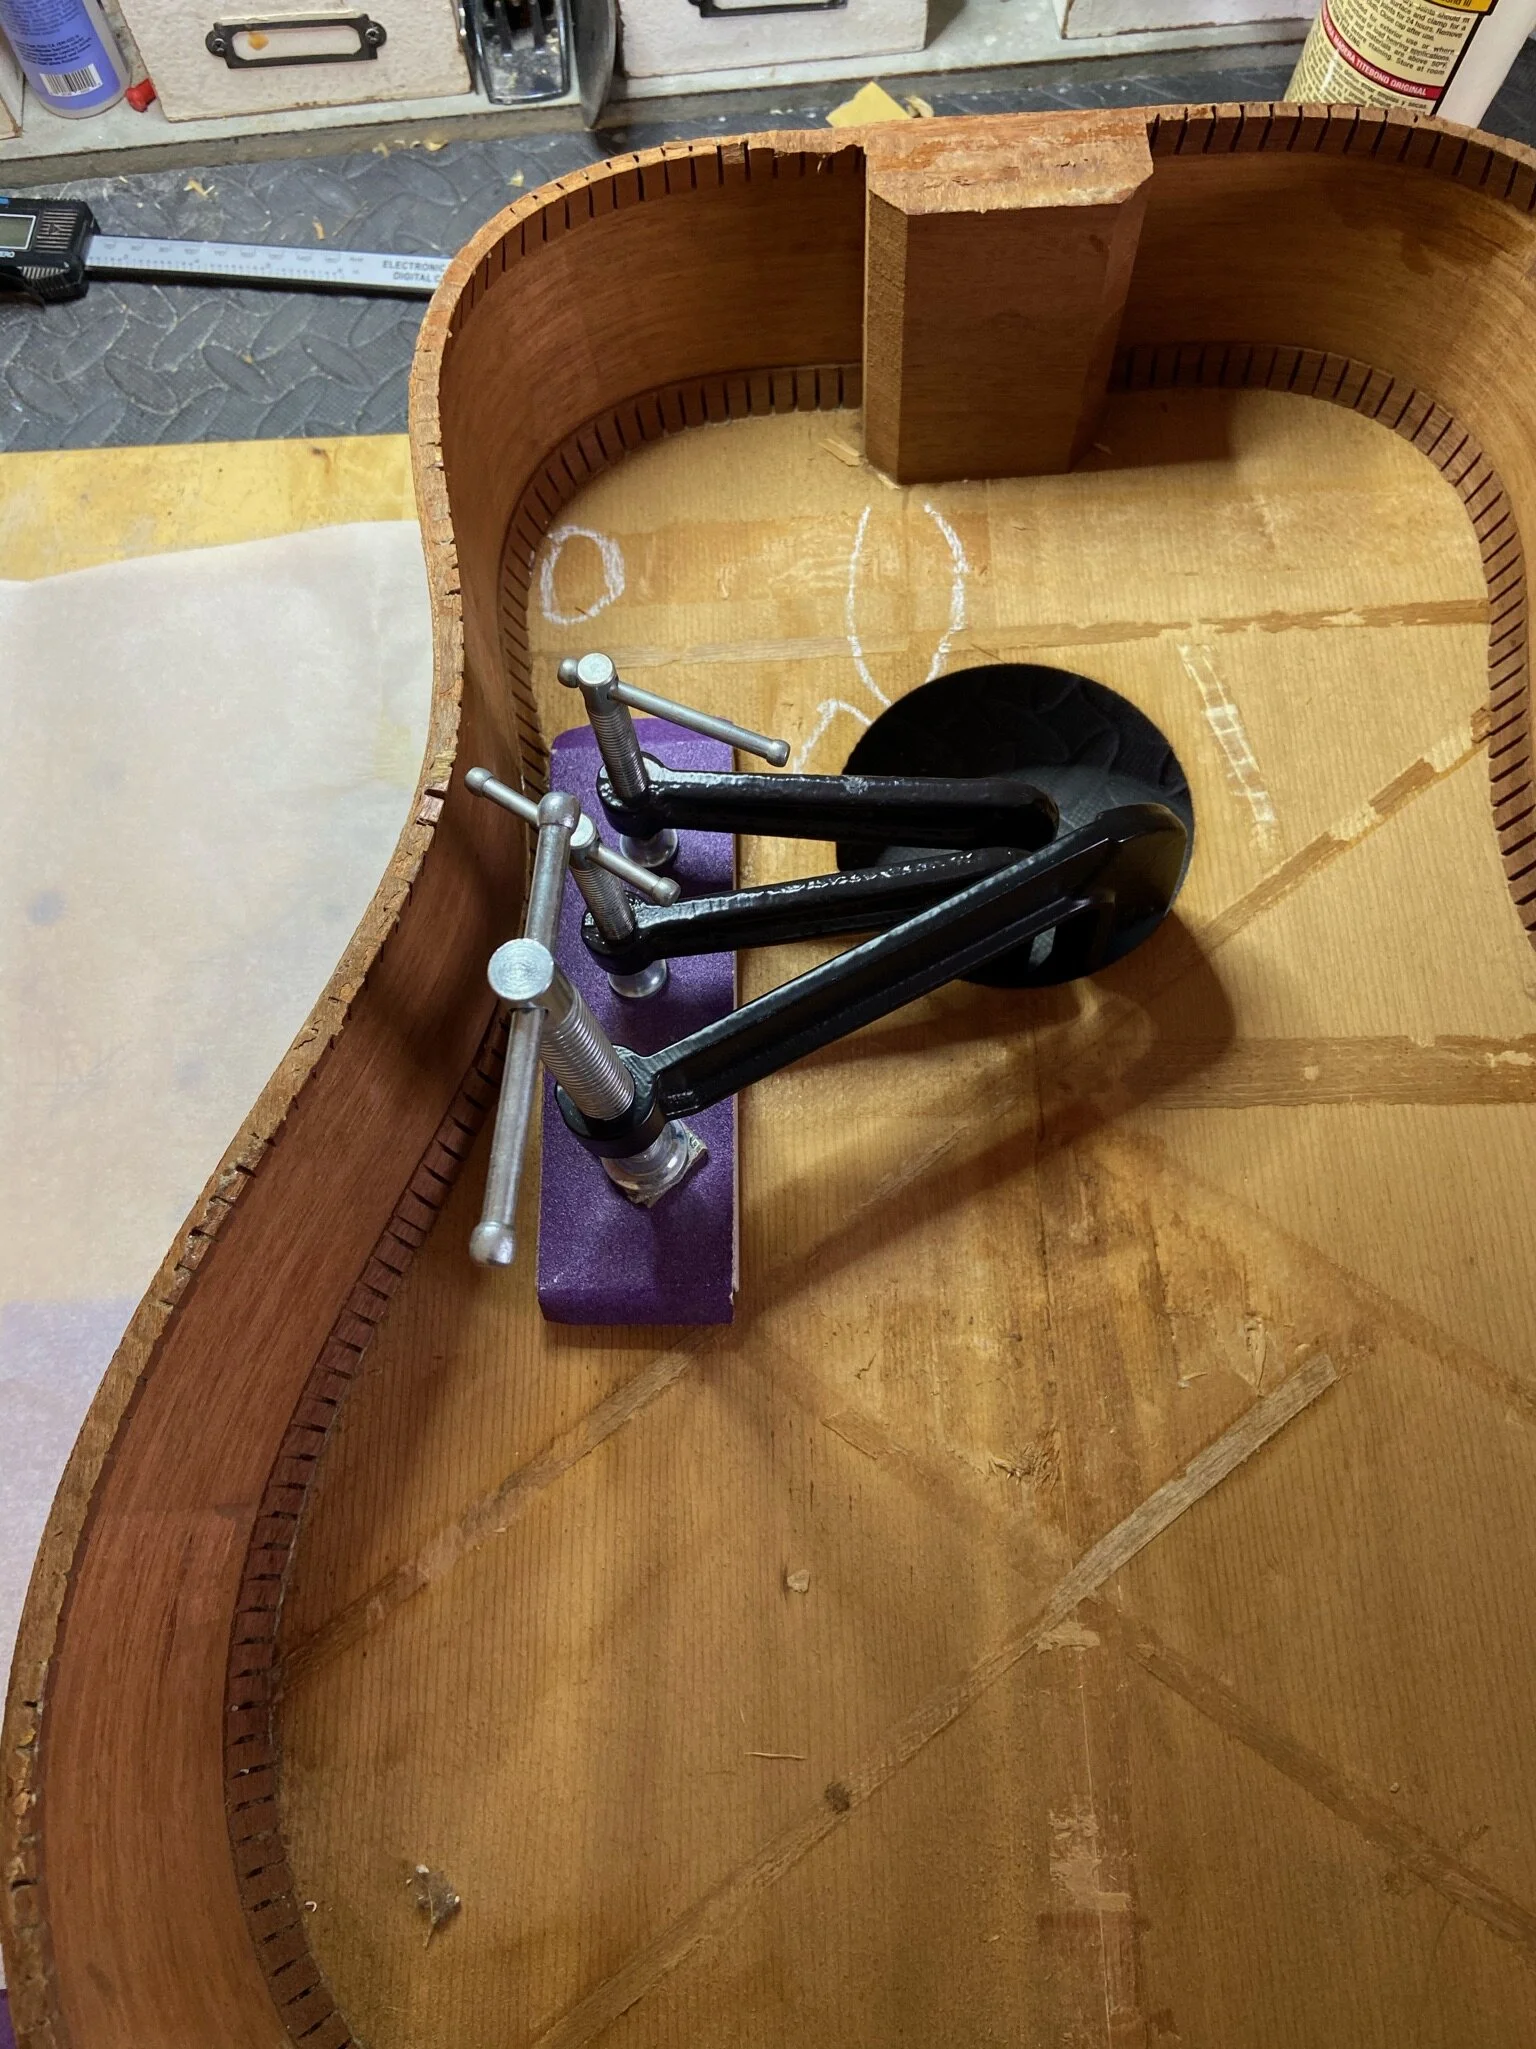
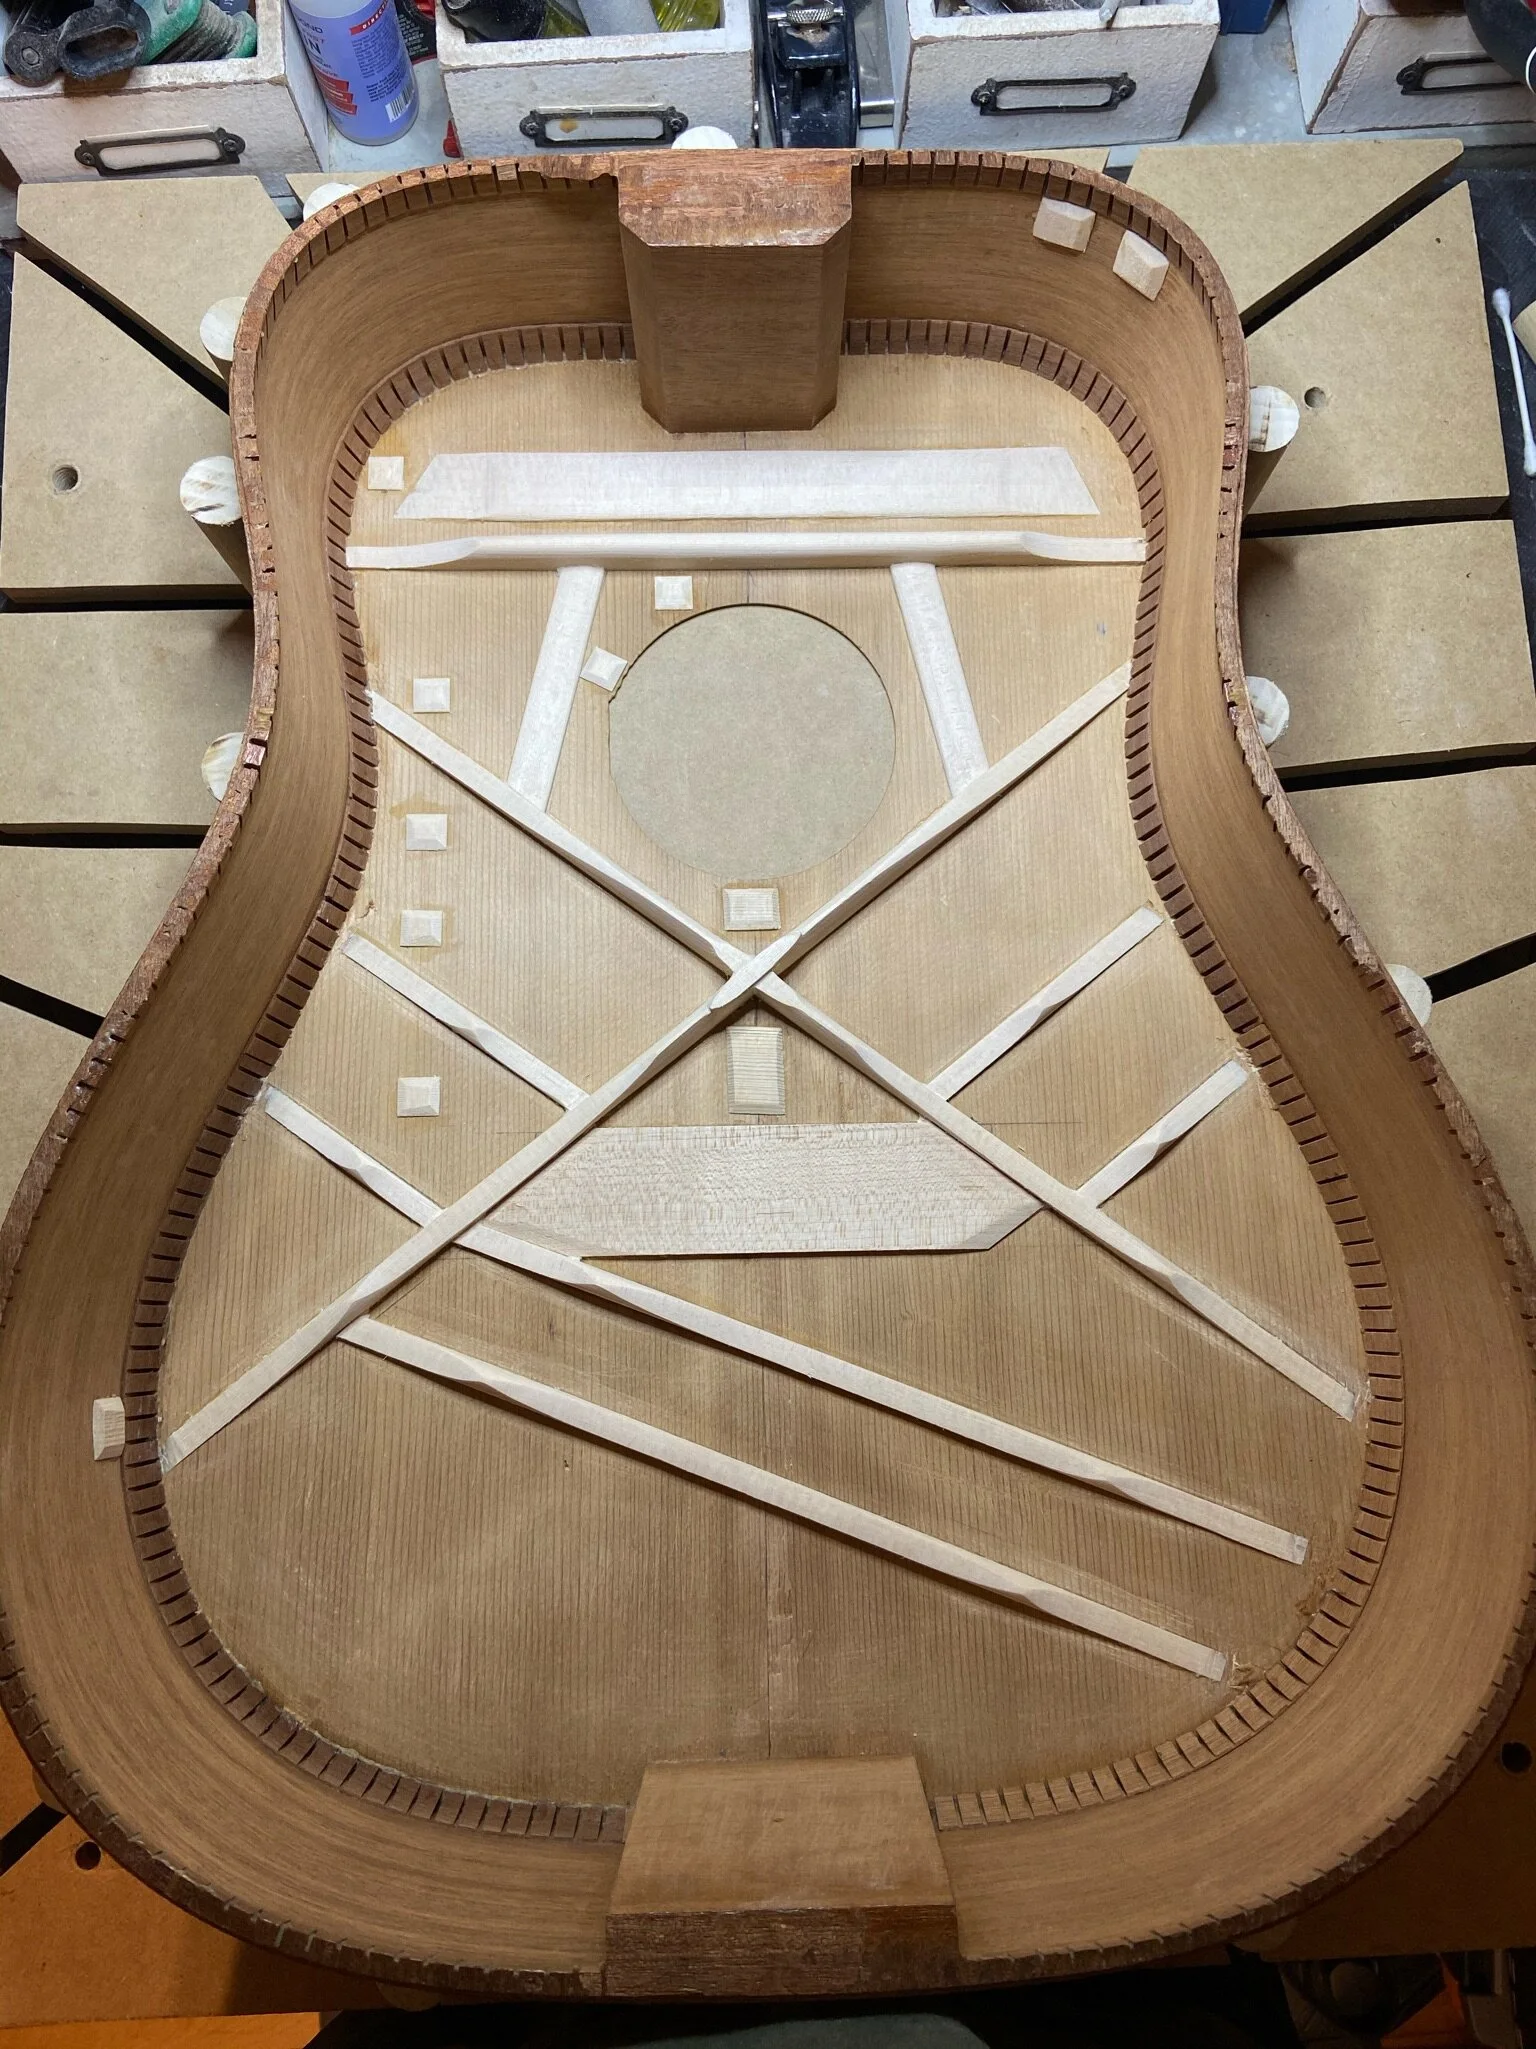
The infamous Gibson double-X brace. Loose in a lot of places and could've been salvaged, but new bracing altogether will improve the tone considerably. There's a reason this era of Gibsons aren't very sought after.
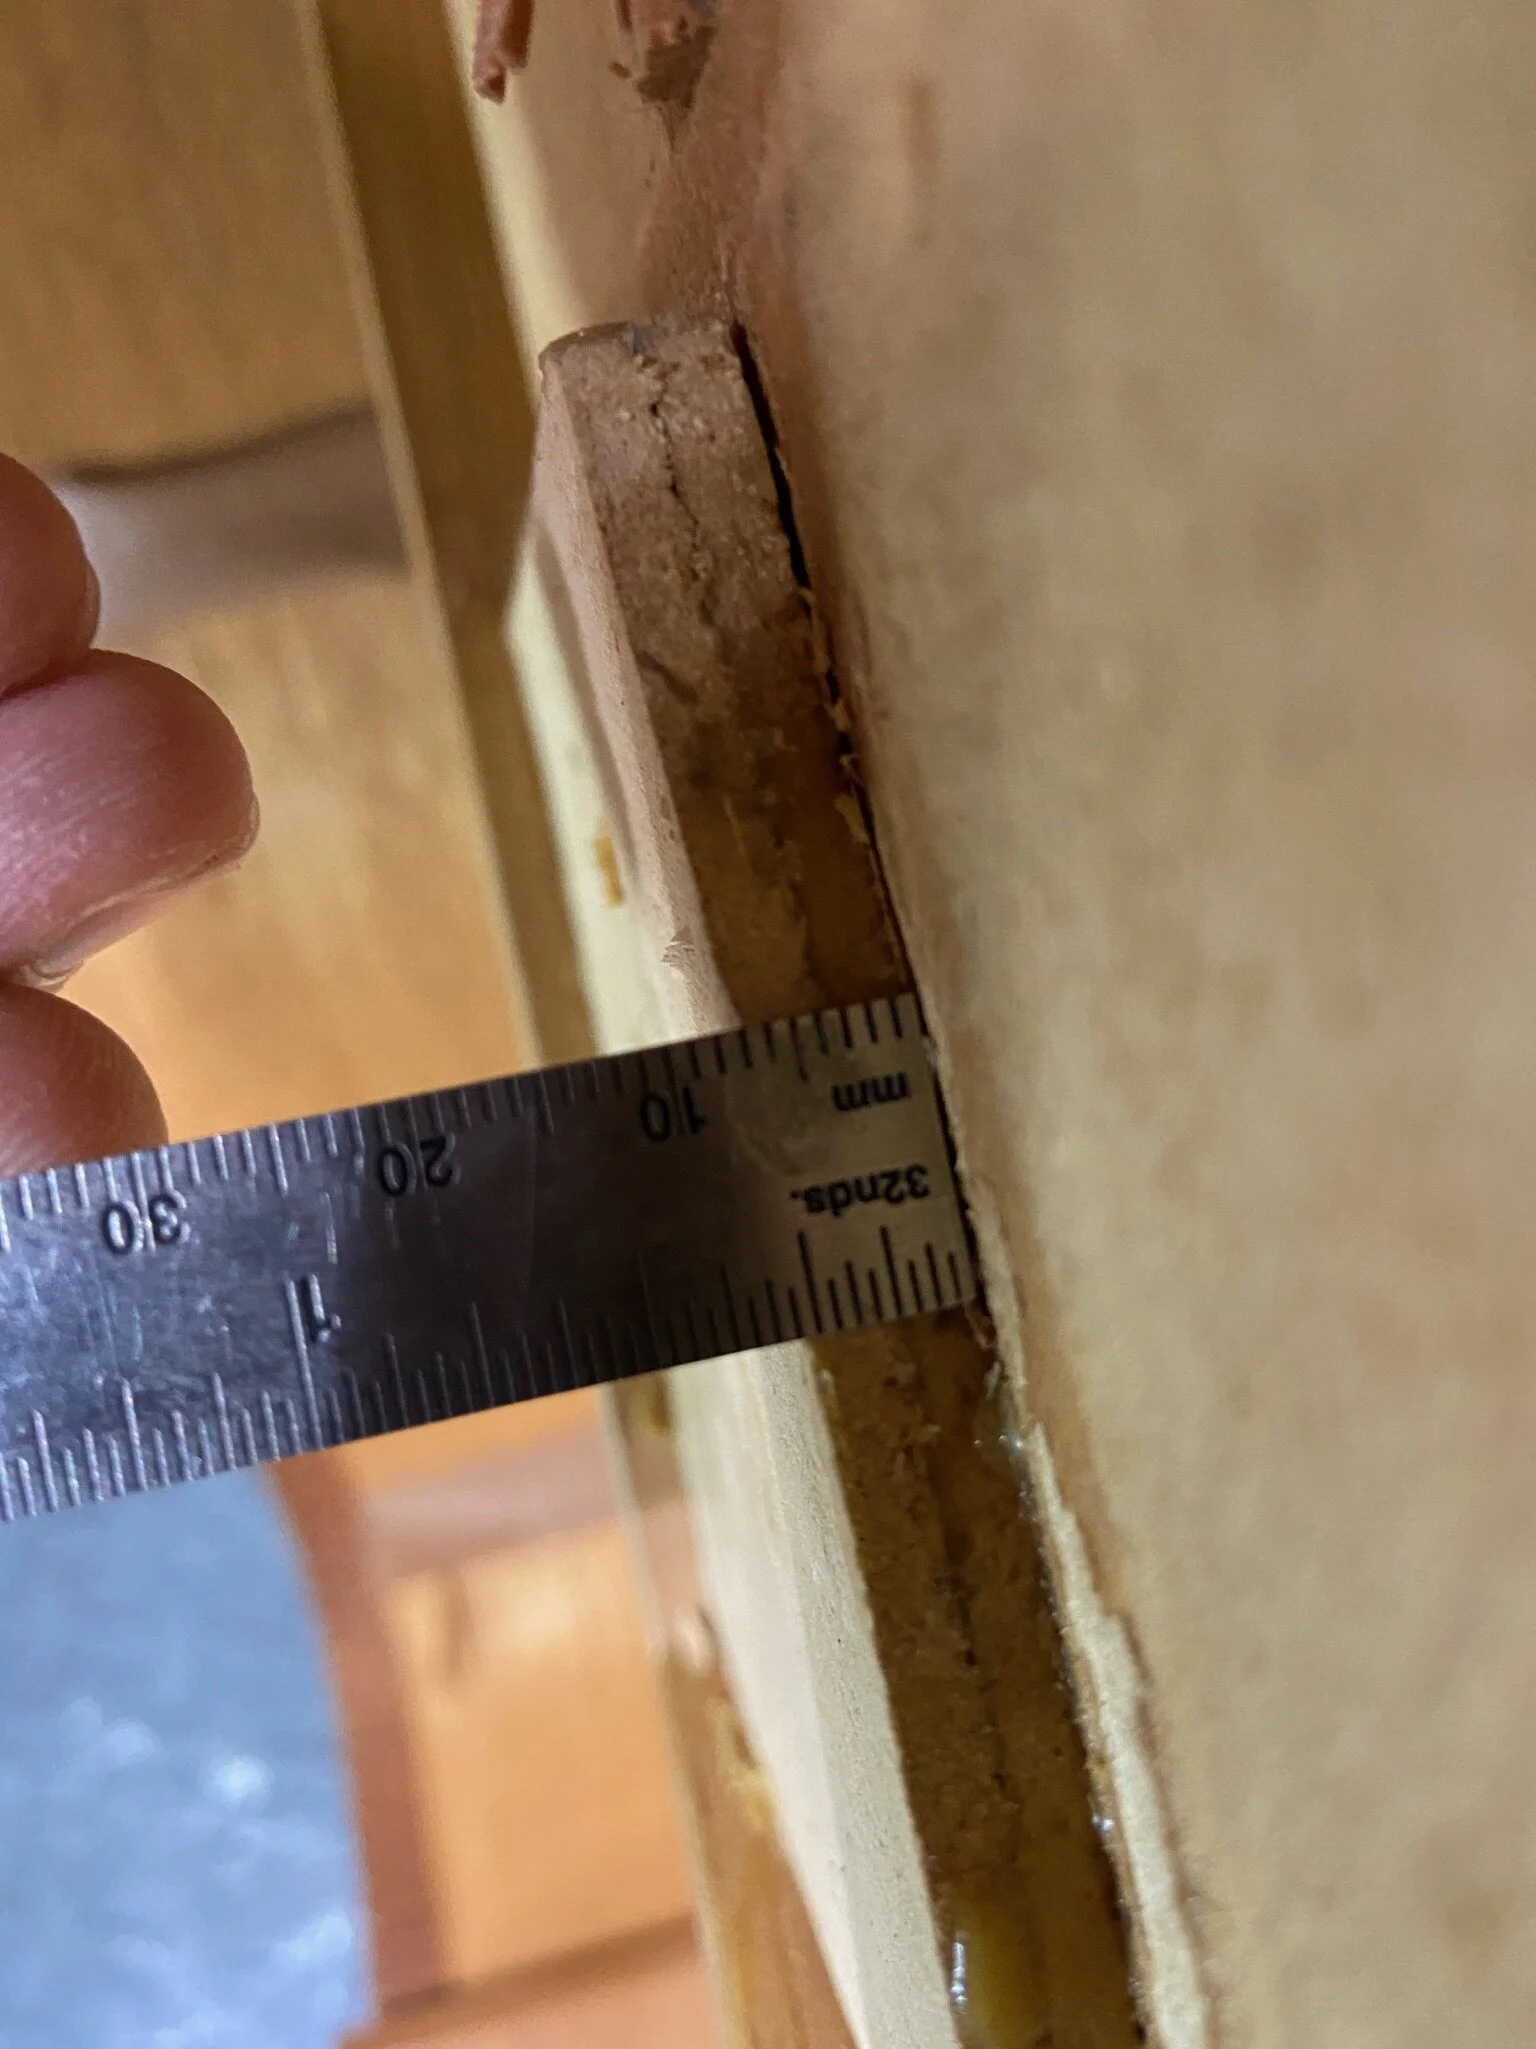
Monster of a bridge plate. 7mm thick -- probably two of them glued together.

Bridge plate after removal. Yuck.
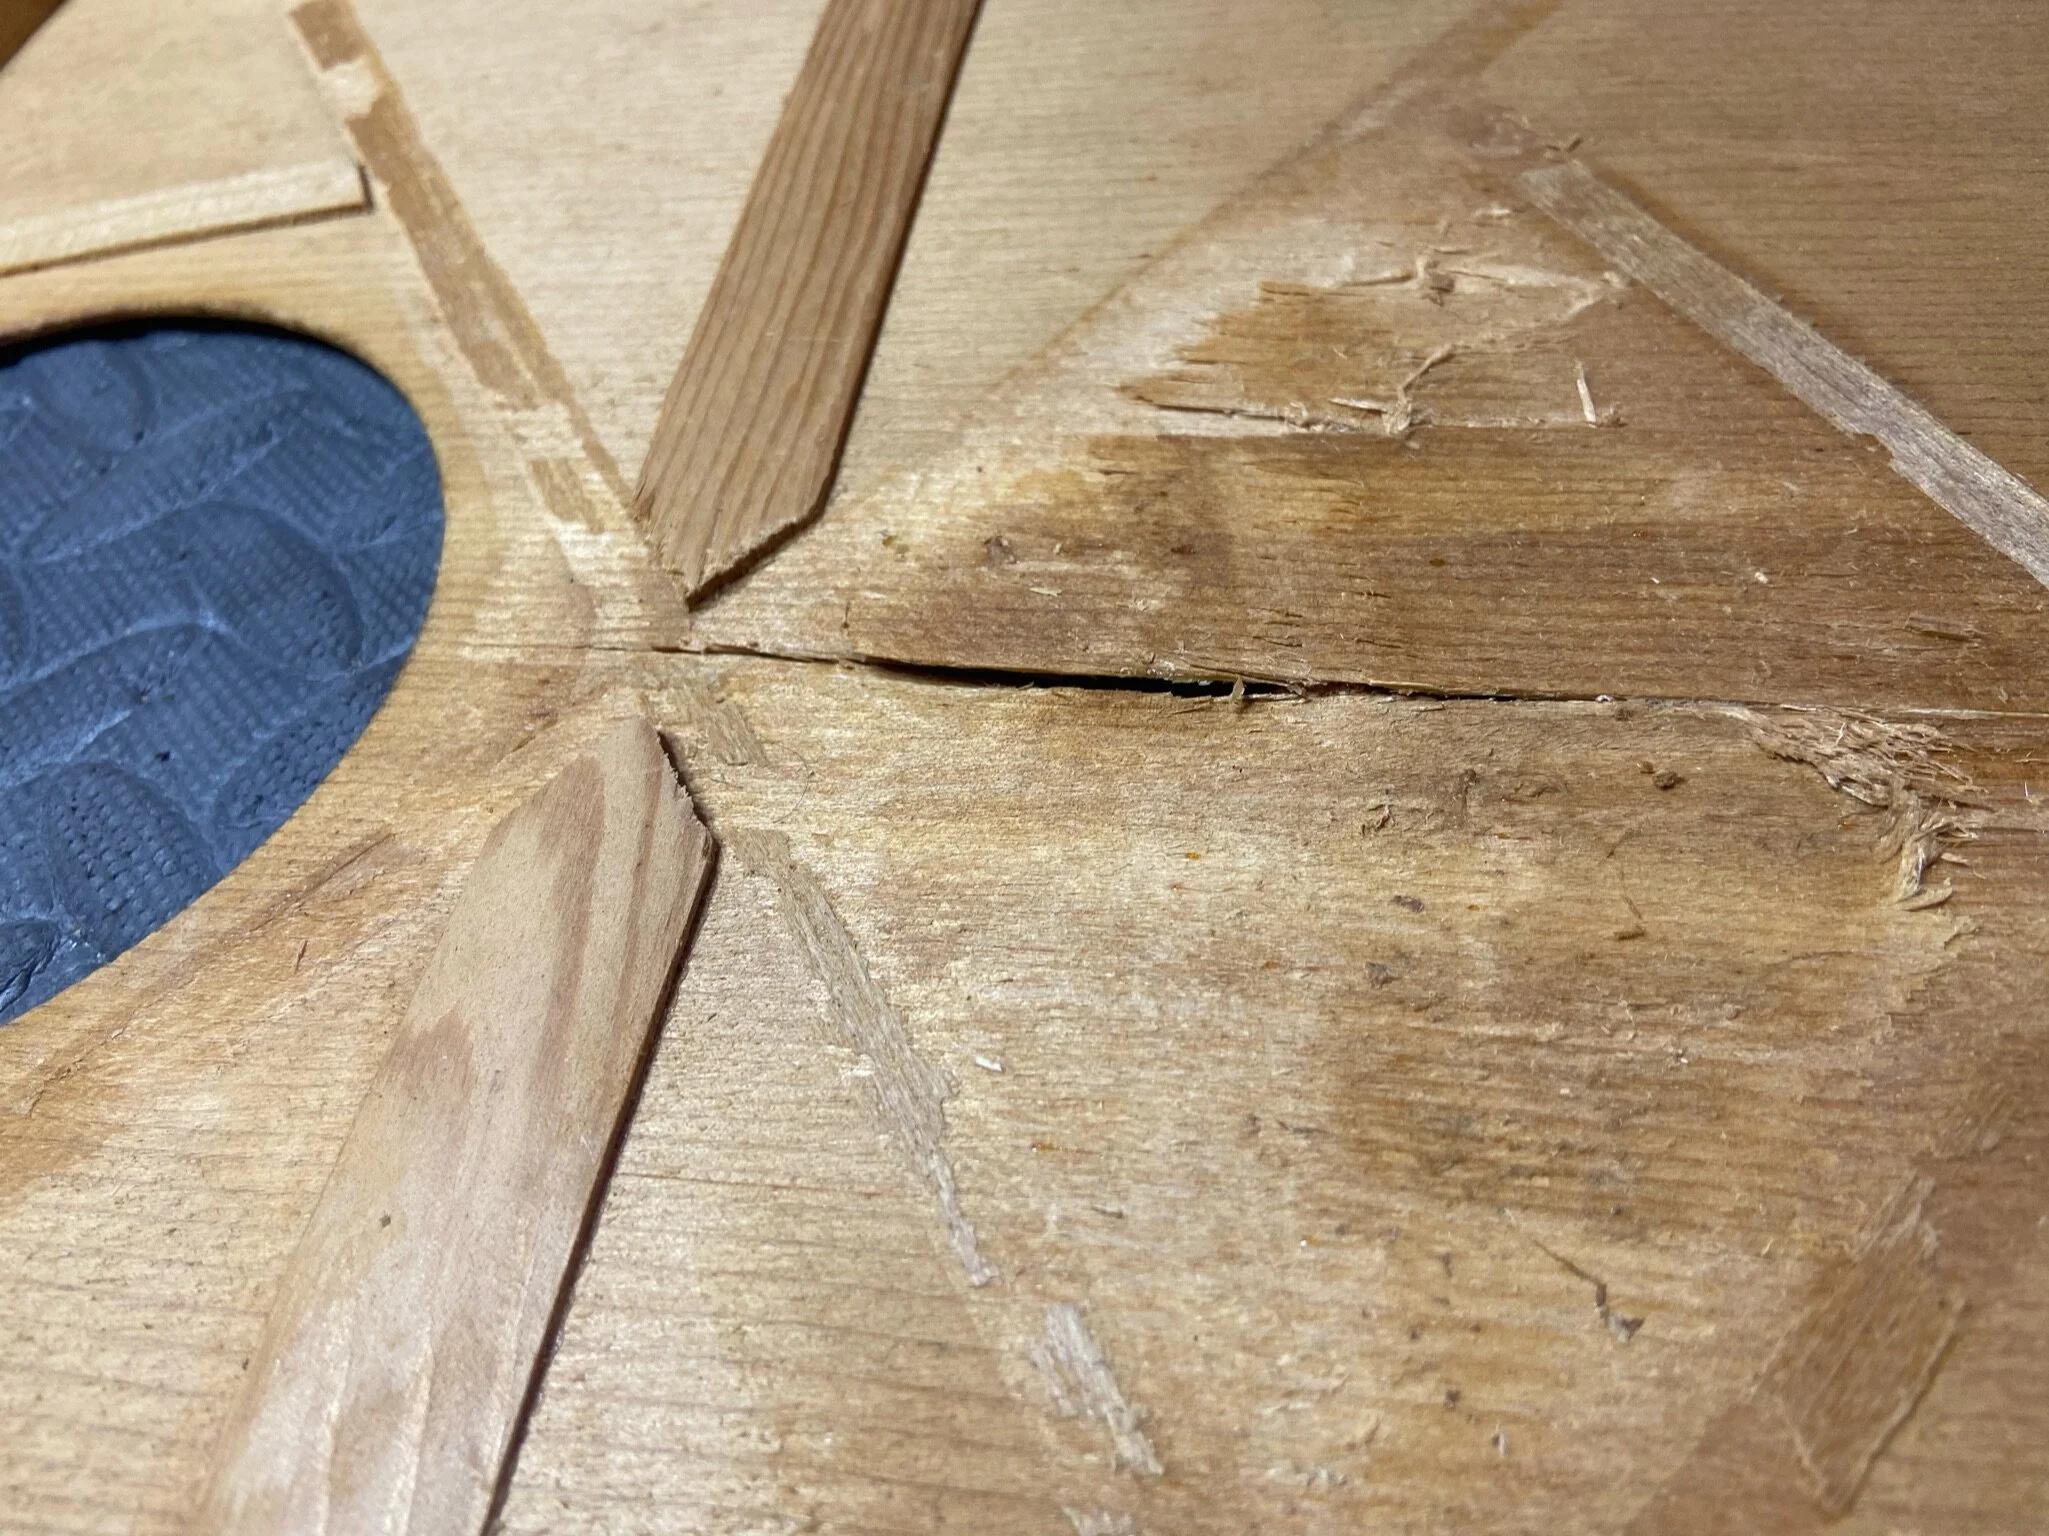
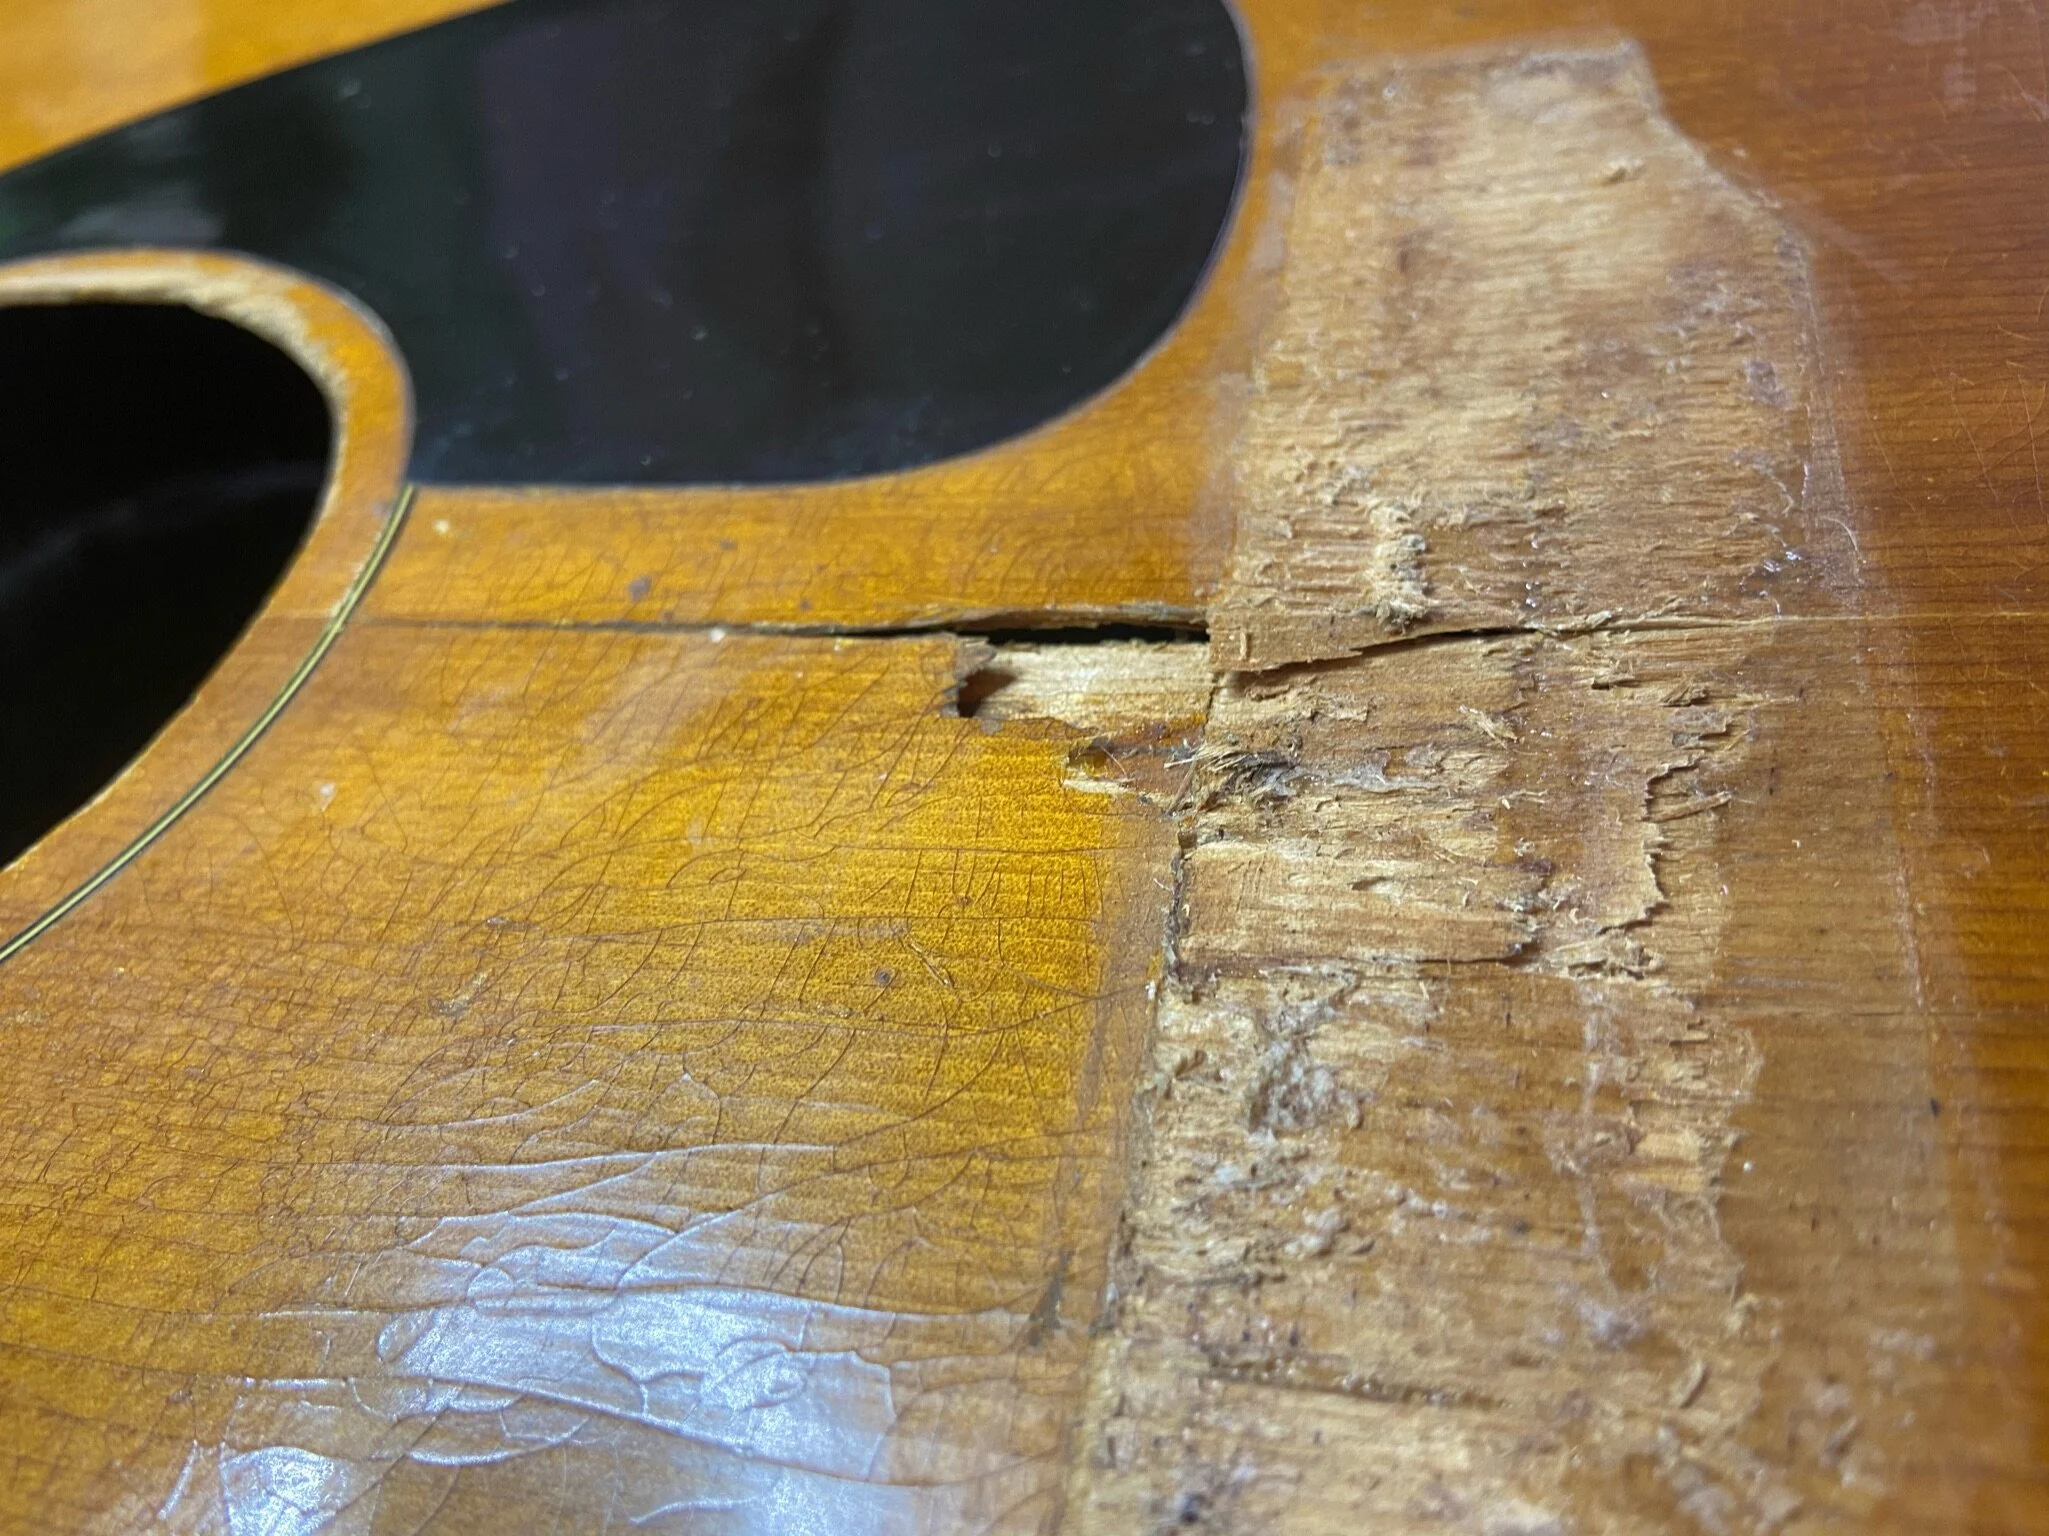
There were sizable cracks all over, but this one was the worst.
From the top.
Gluing some cracks. Cleating will come later, but I want to make the top totally stable before getting deeper into sanding and cleaning.
Didn't get a shot of it, but there was a gnarly side fracture that I'm gluing closed here, too.

Side gouge after gluing closed. It looked 100x worse before this.
Another shot of the glued-closed side gouge. That was essentially a jagged hole before. Thankfully all wood was still attached, so I didn't need to graft in another piece of Mahogany.
Closing up more cracks.

Gluing a couple of cracks that occurred while removing the back.
The back braces. These were in good shape and didn't need to be replaced -- just re-glued.
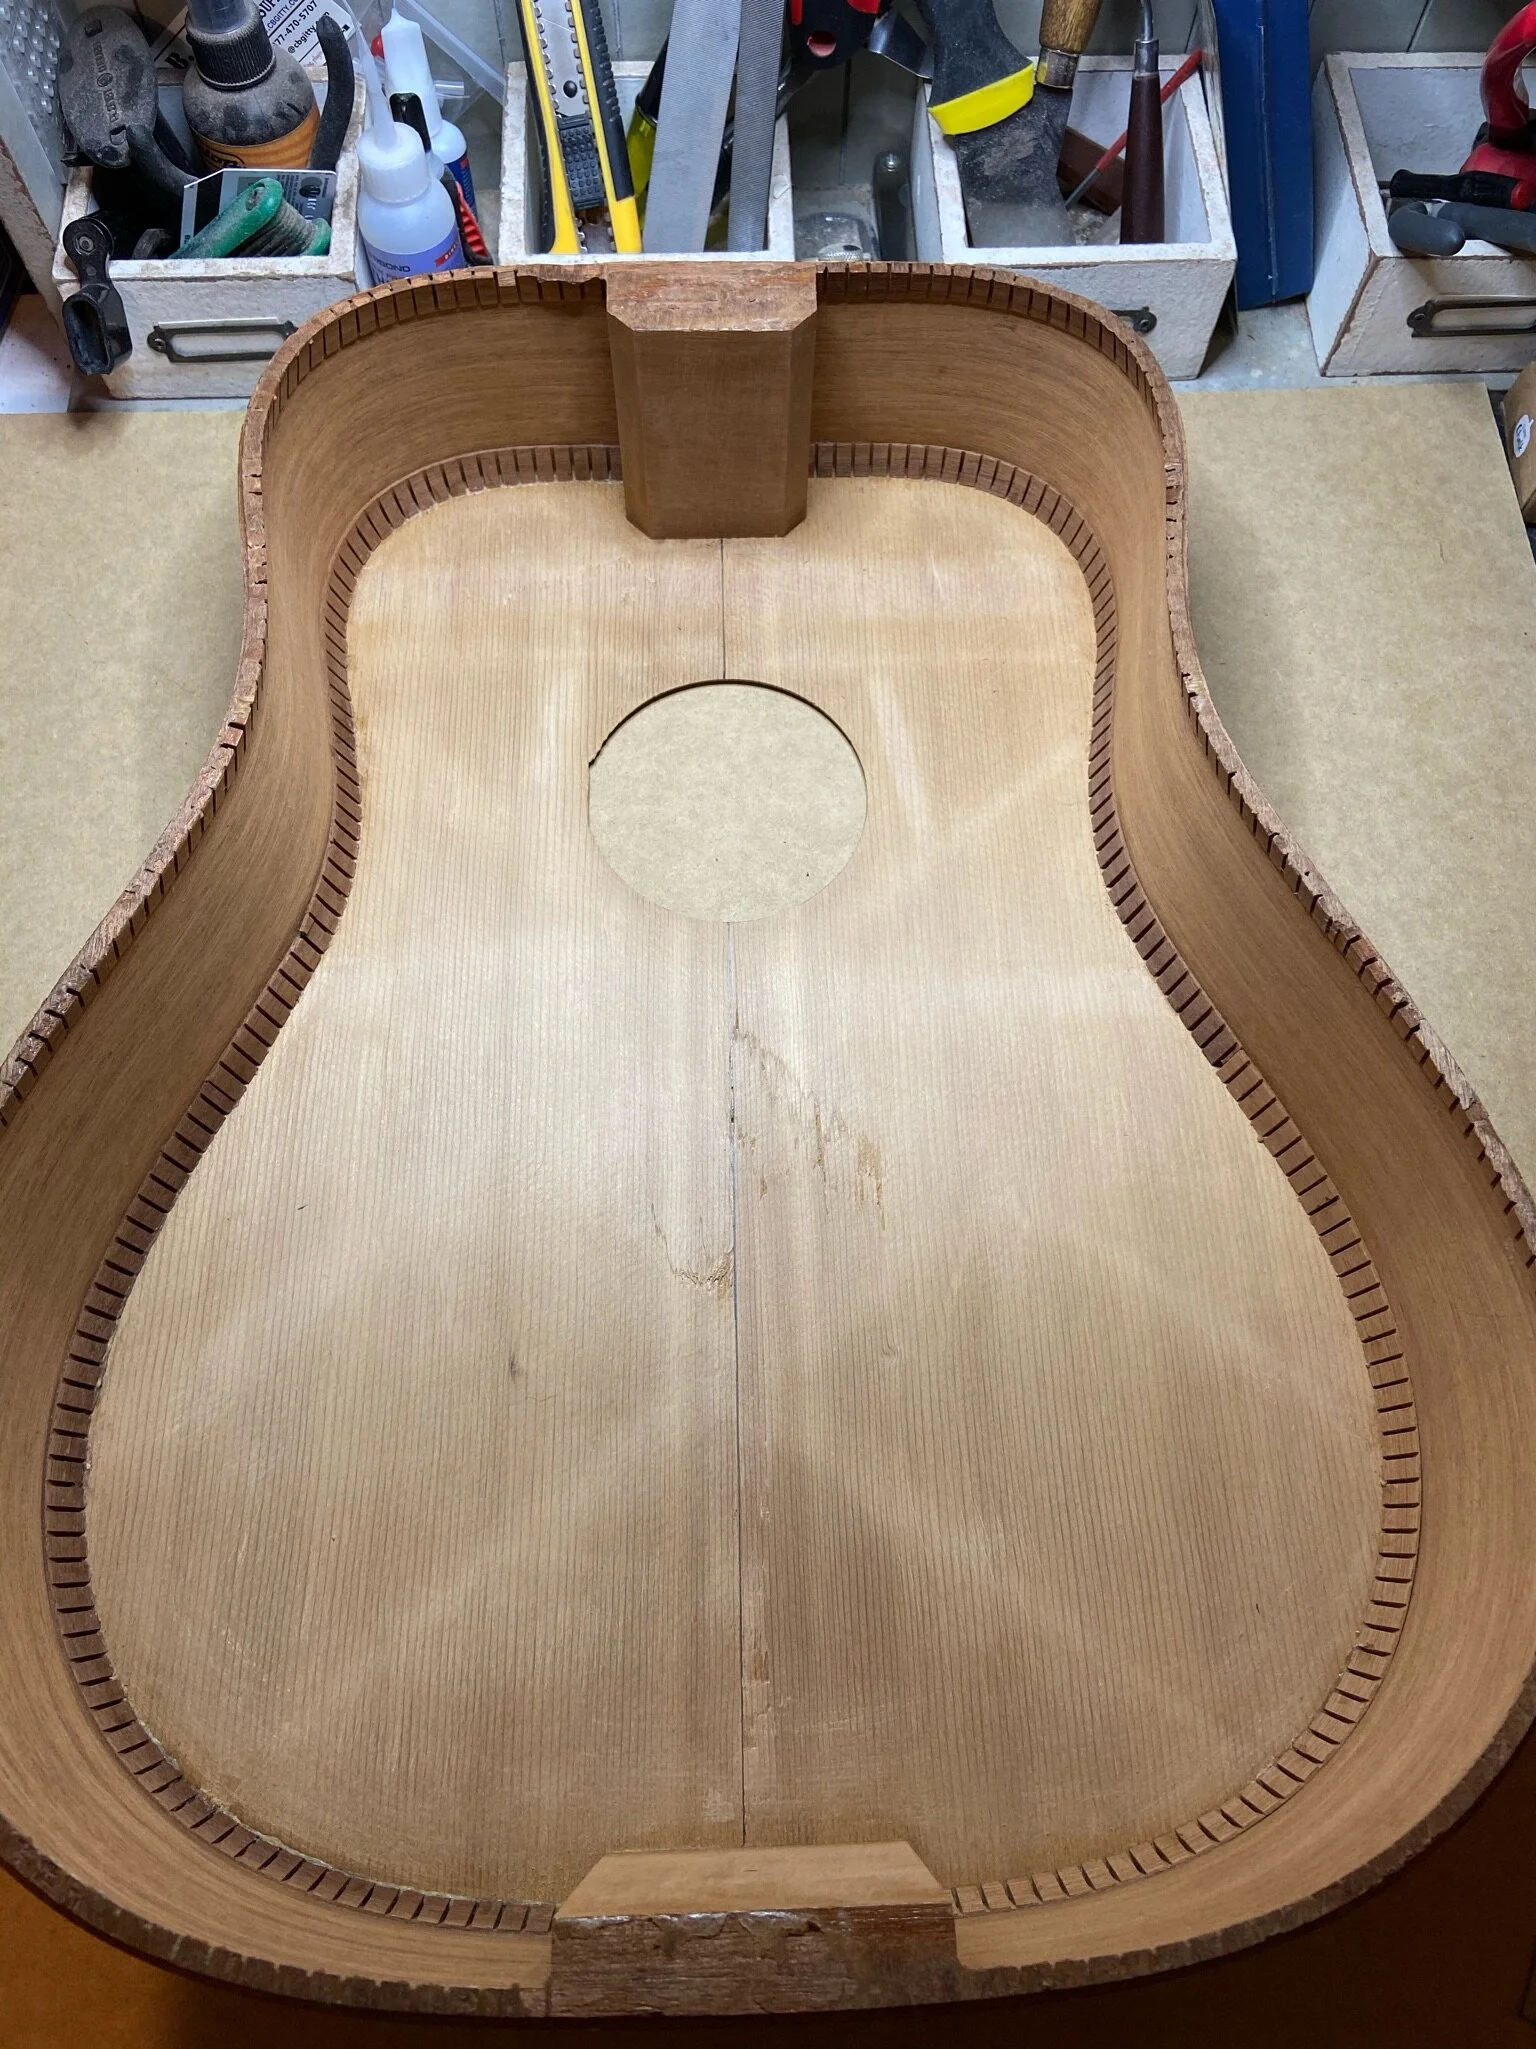
All cleaned up & sanded.
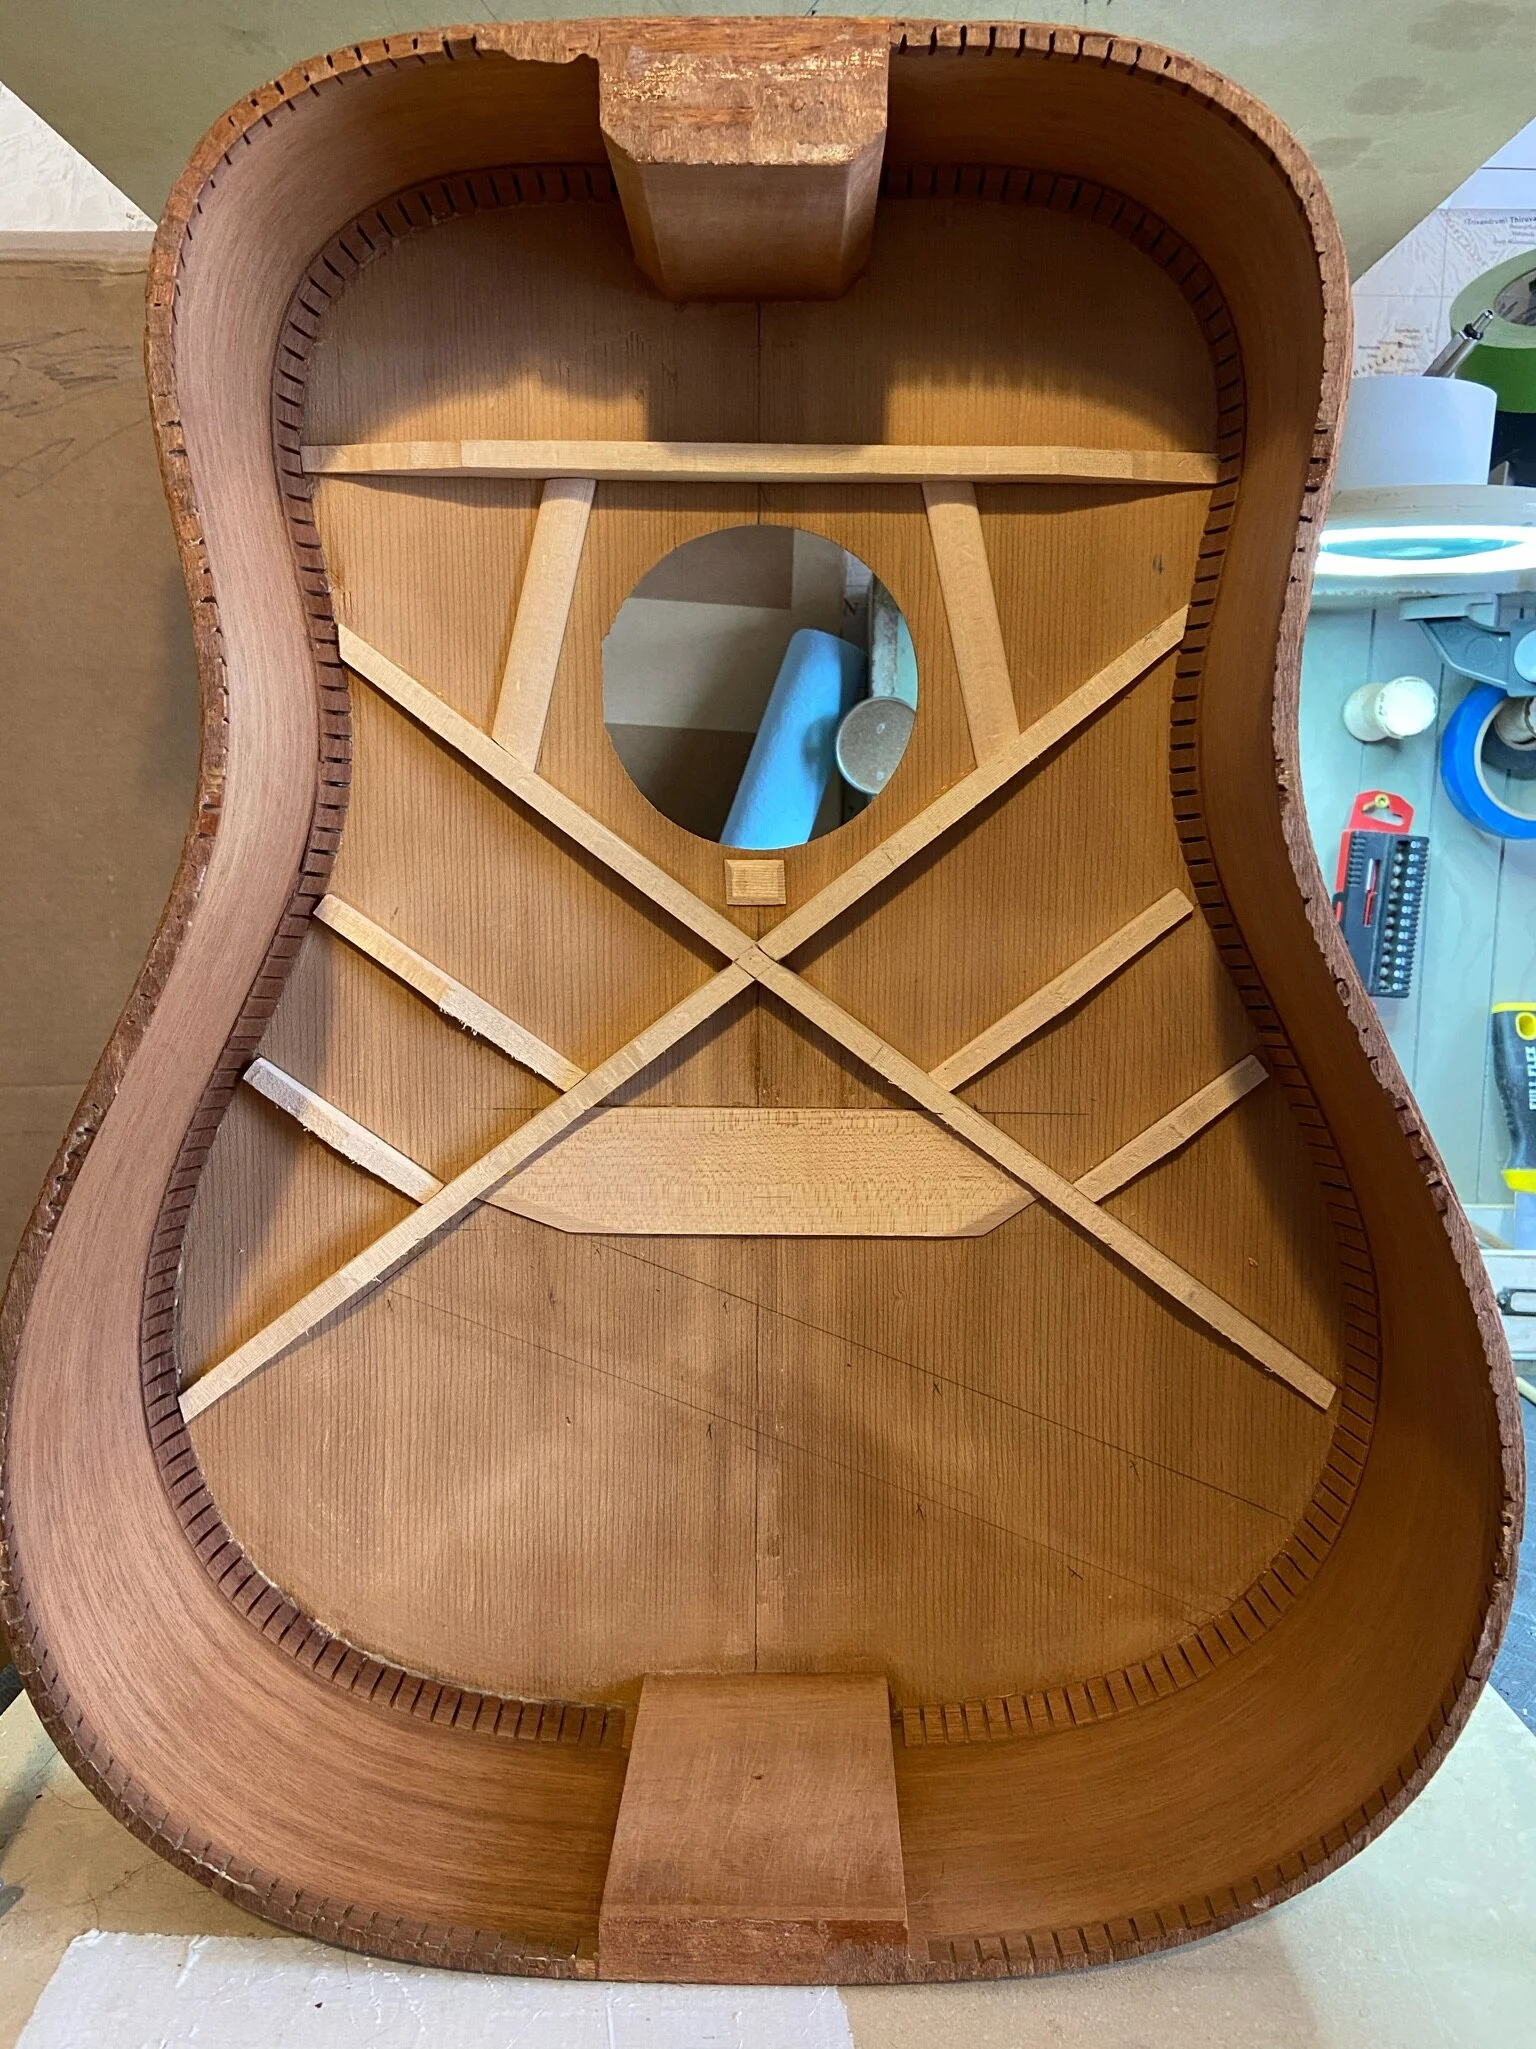
Drafting out my bracing plan. I based my plan on a photo of an old J-45's bracing pattern.
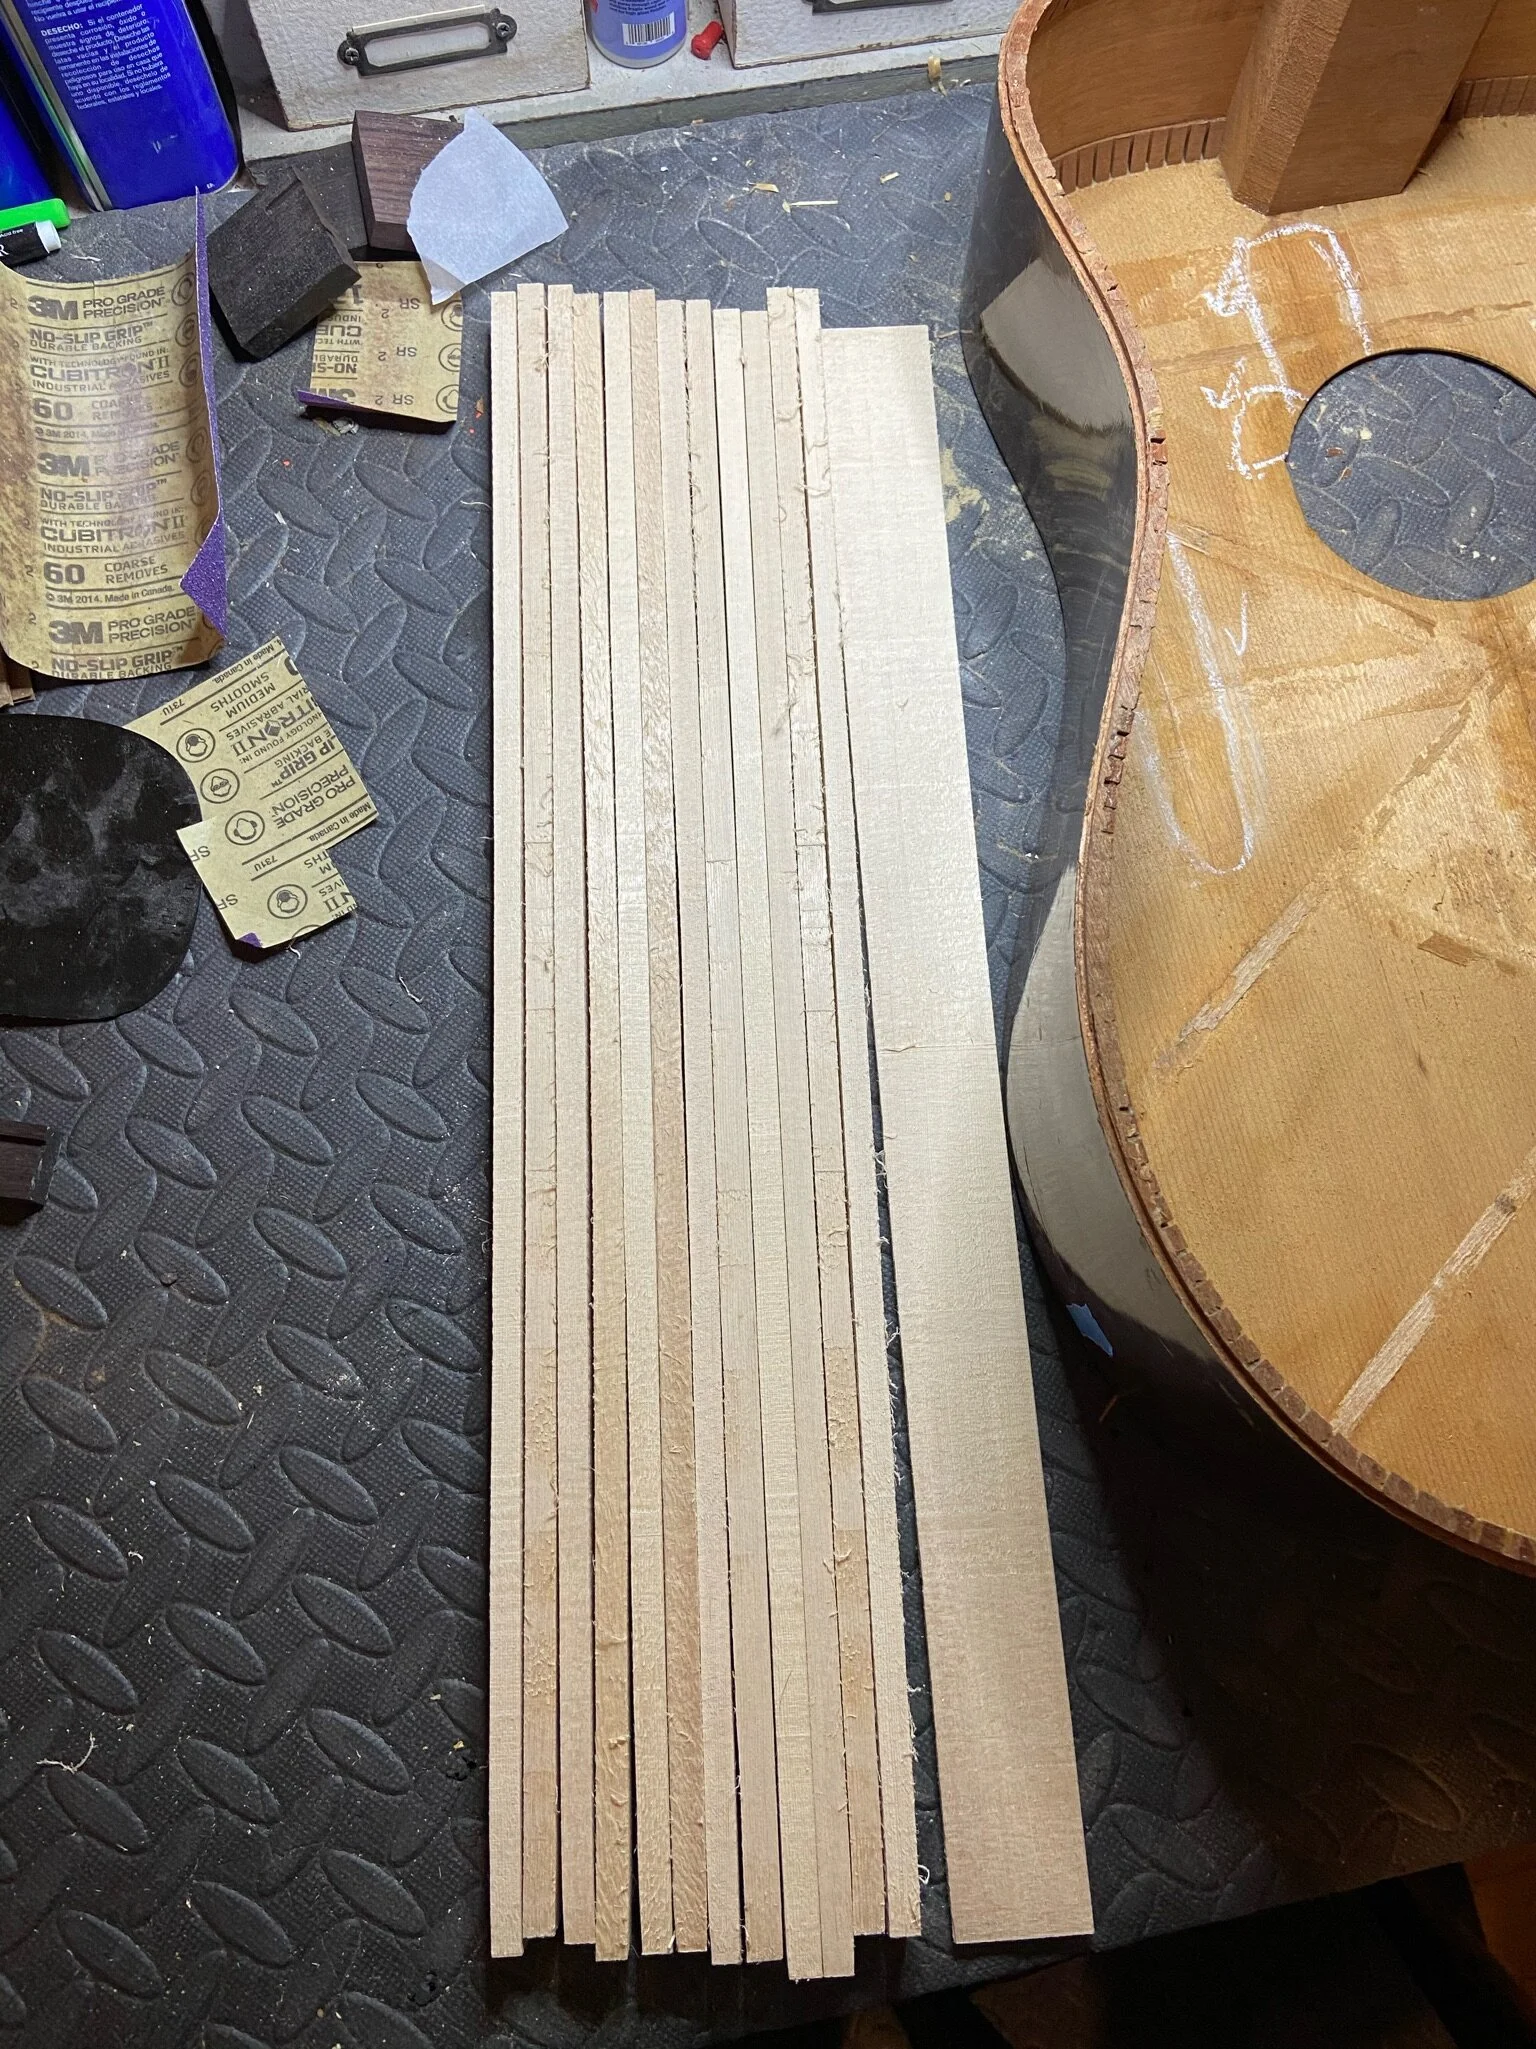
Sitka Spruce brace stock.
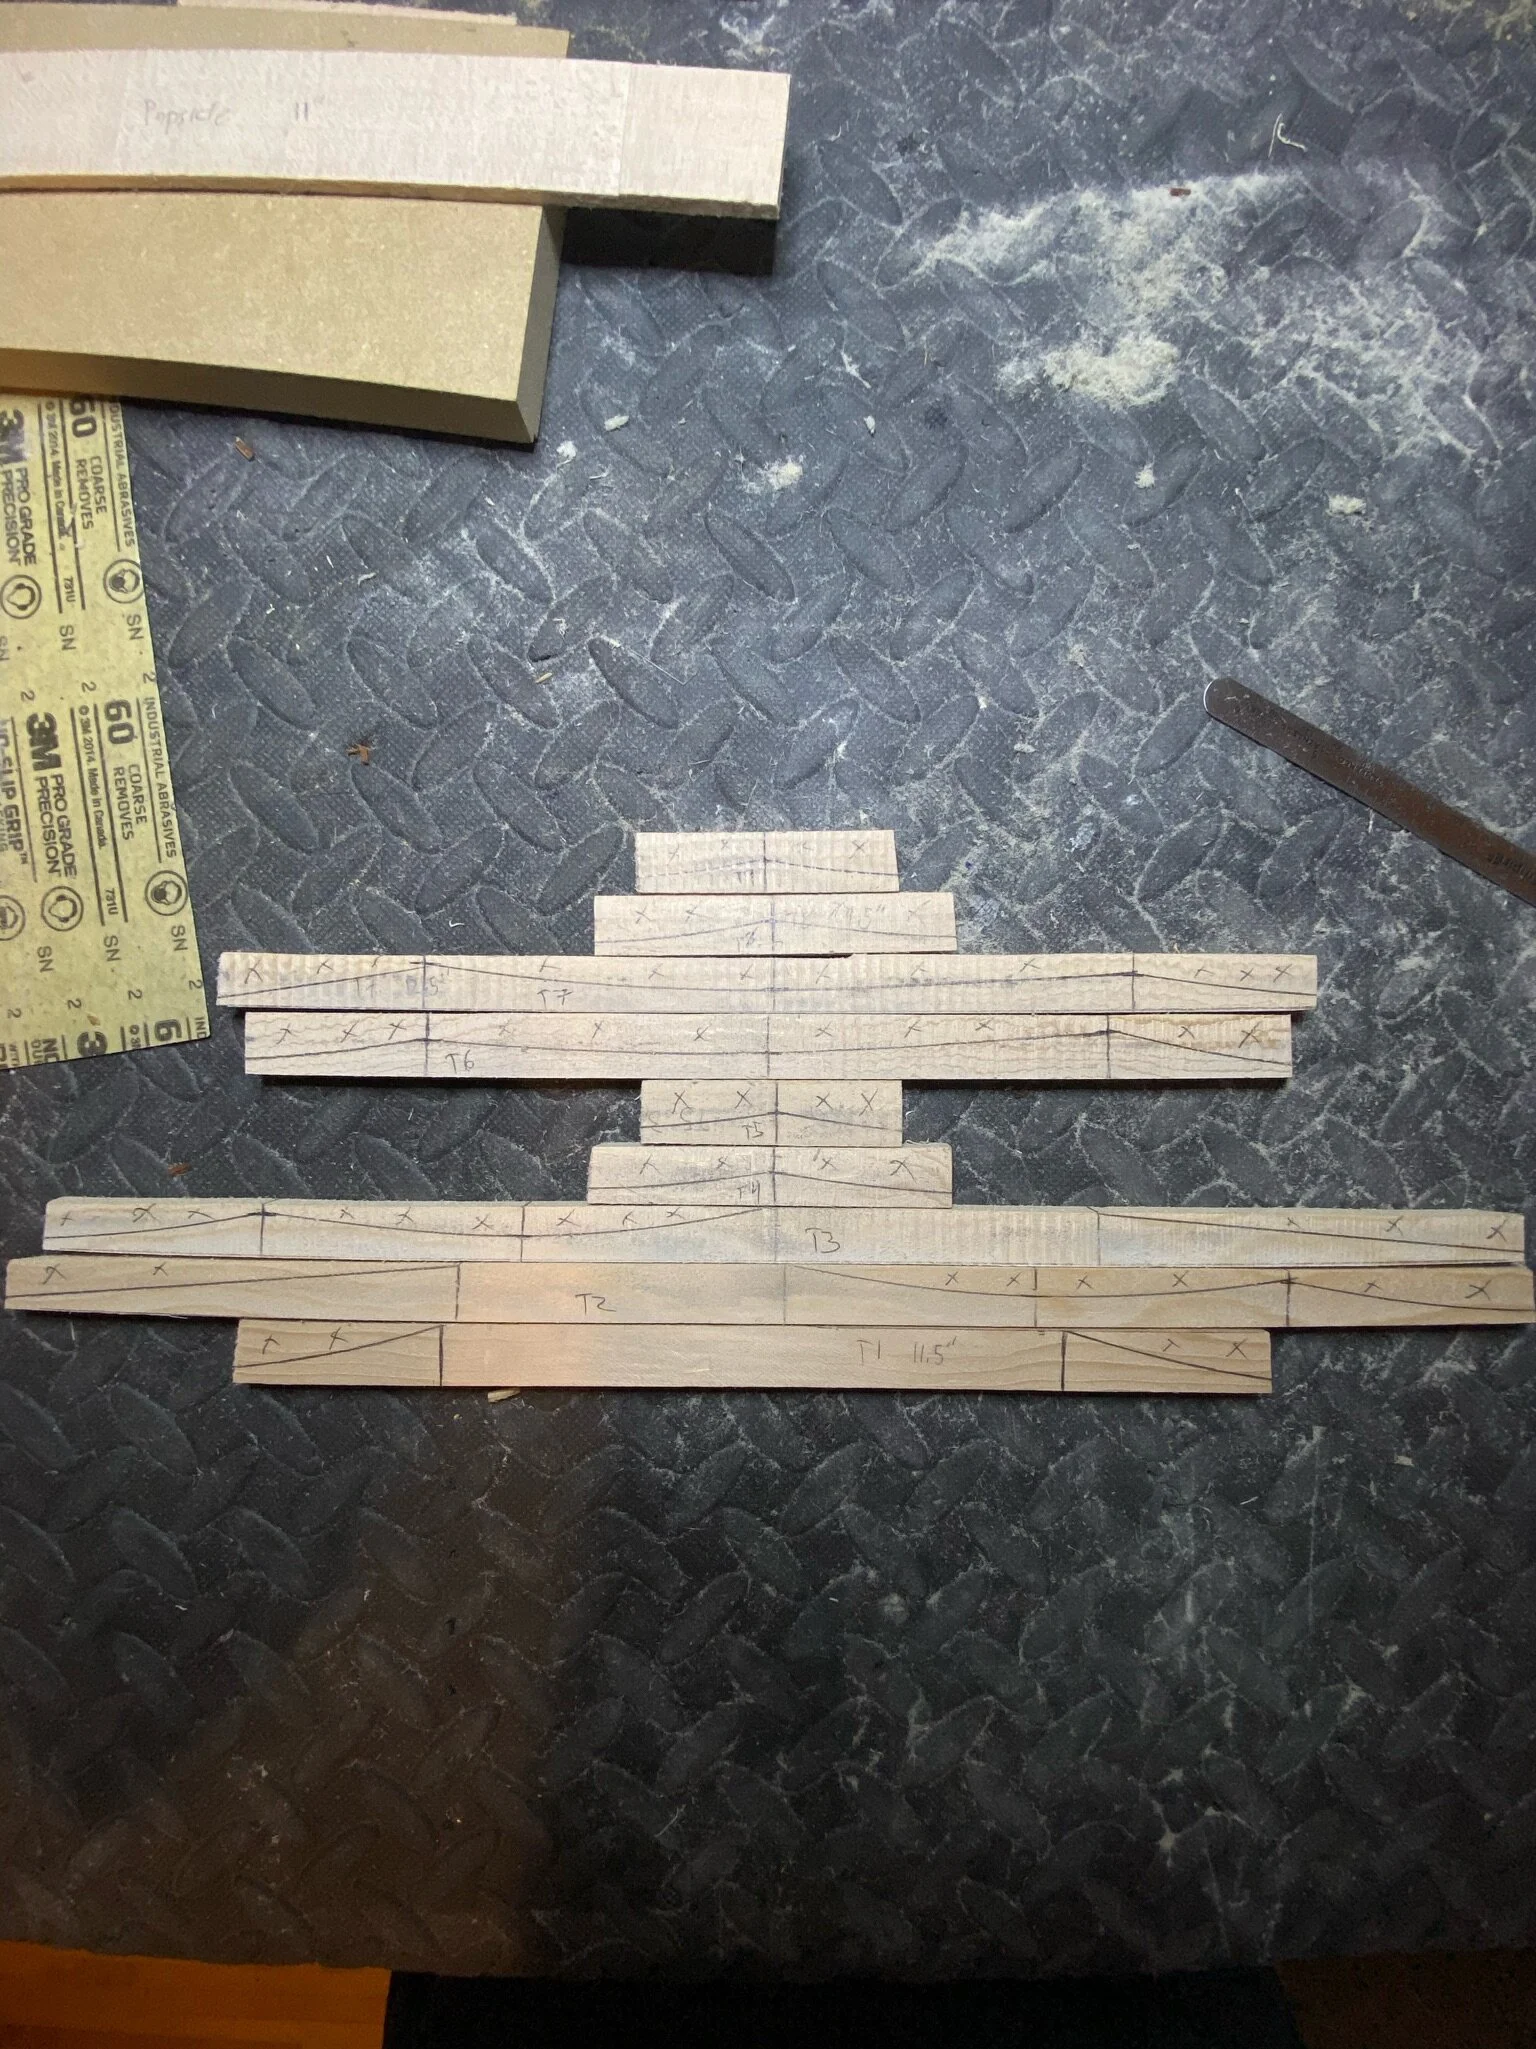
Bracing cut to rough size, with the rough shaping penciled in before taking them to the bandsaw.
Testing out the fit before gluing.
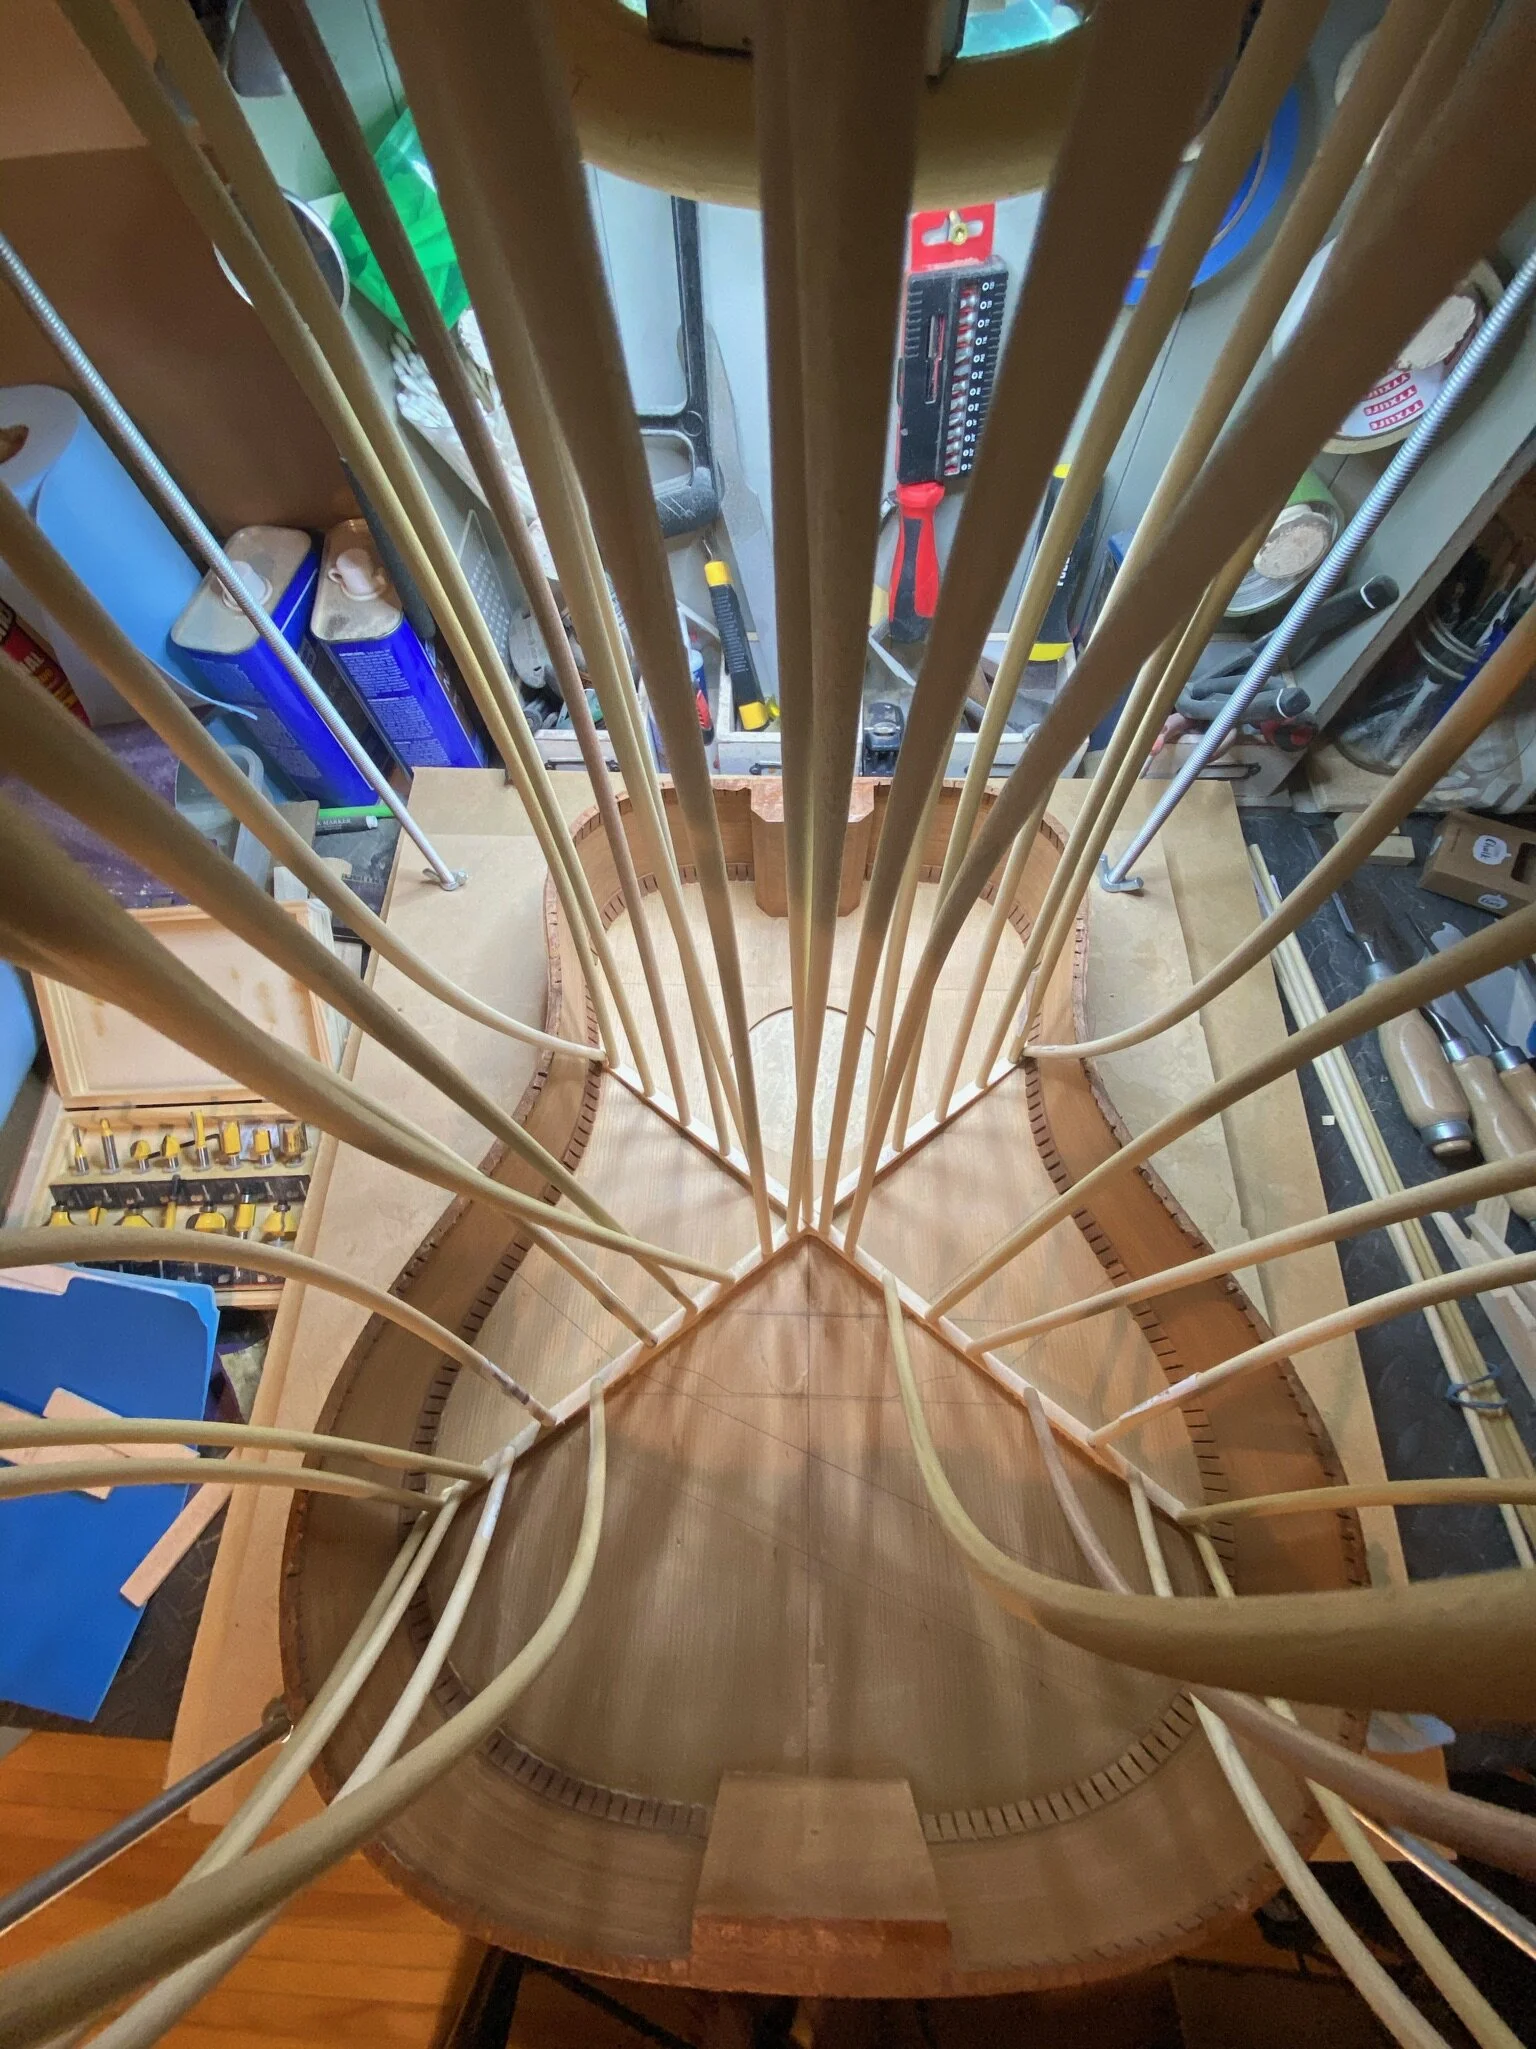
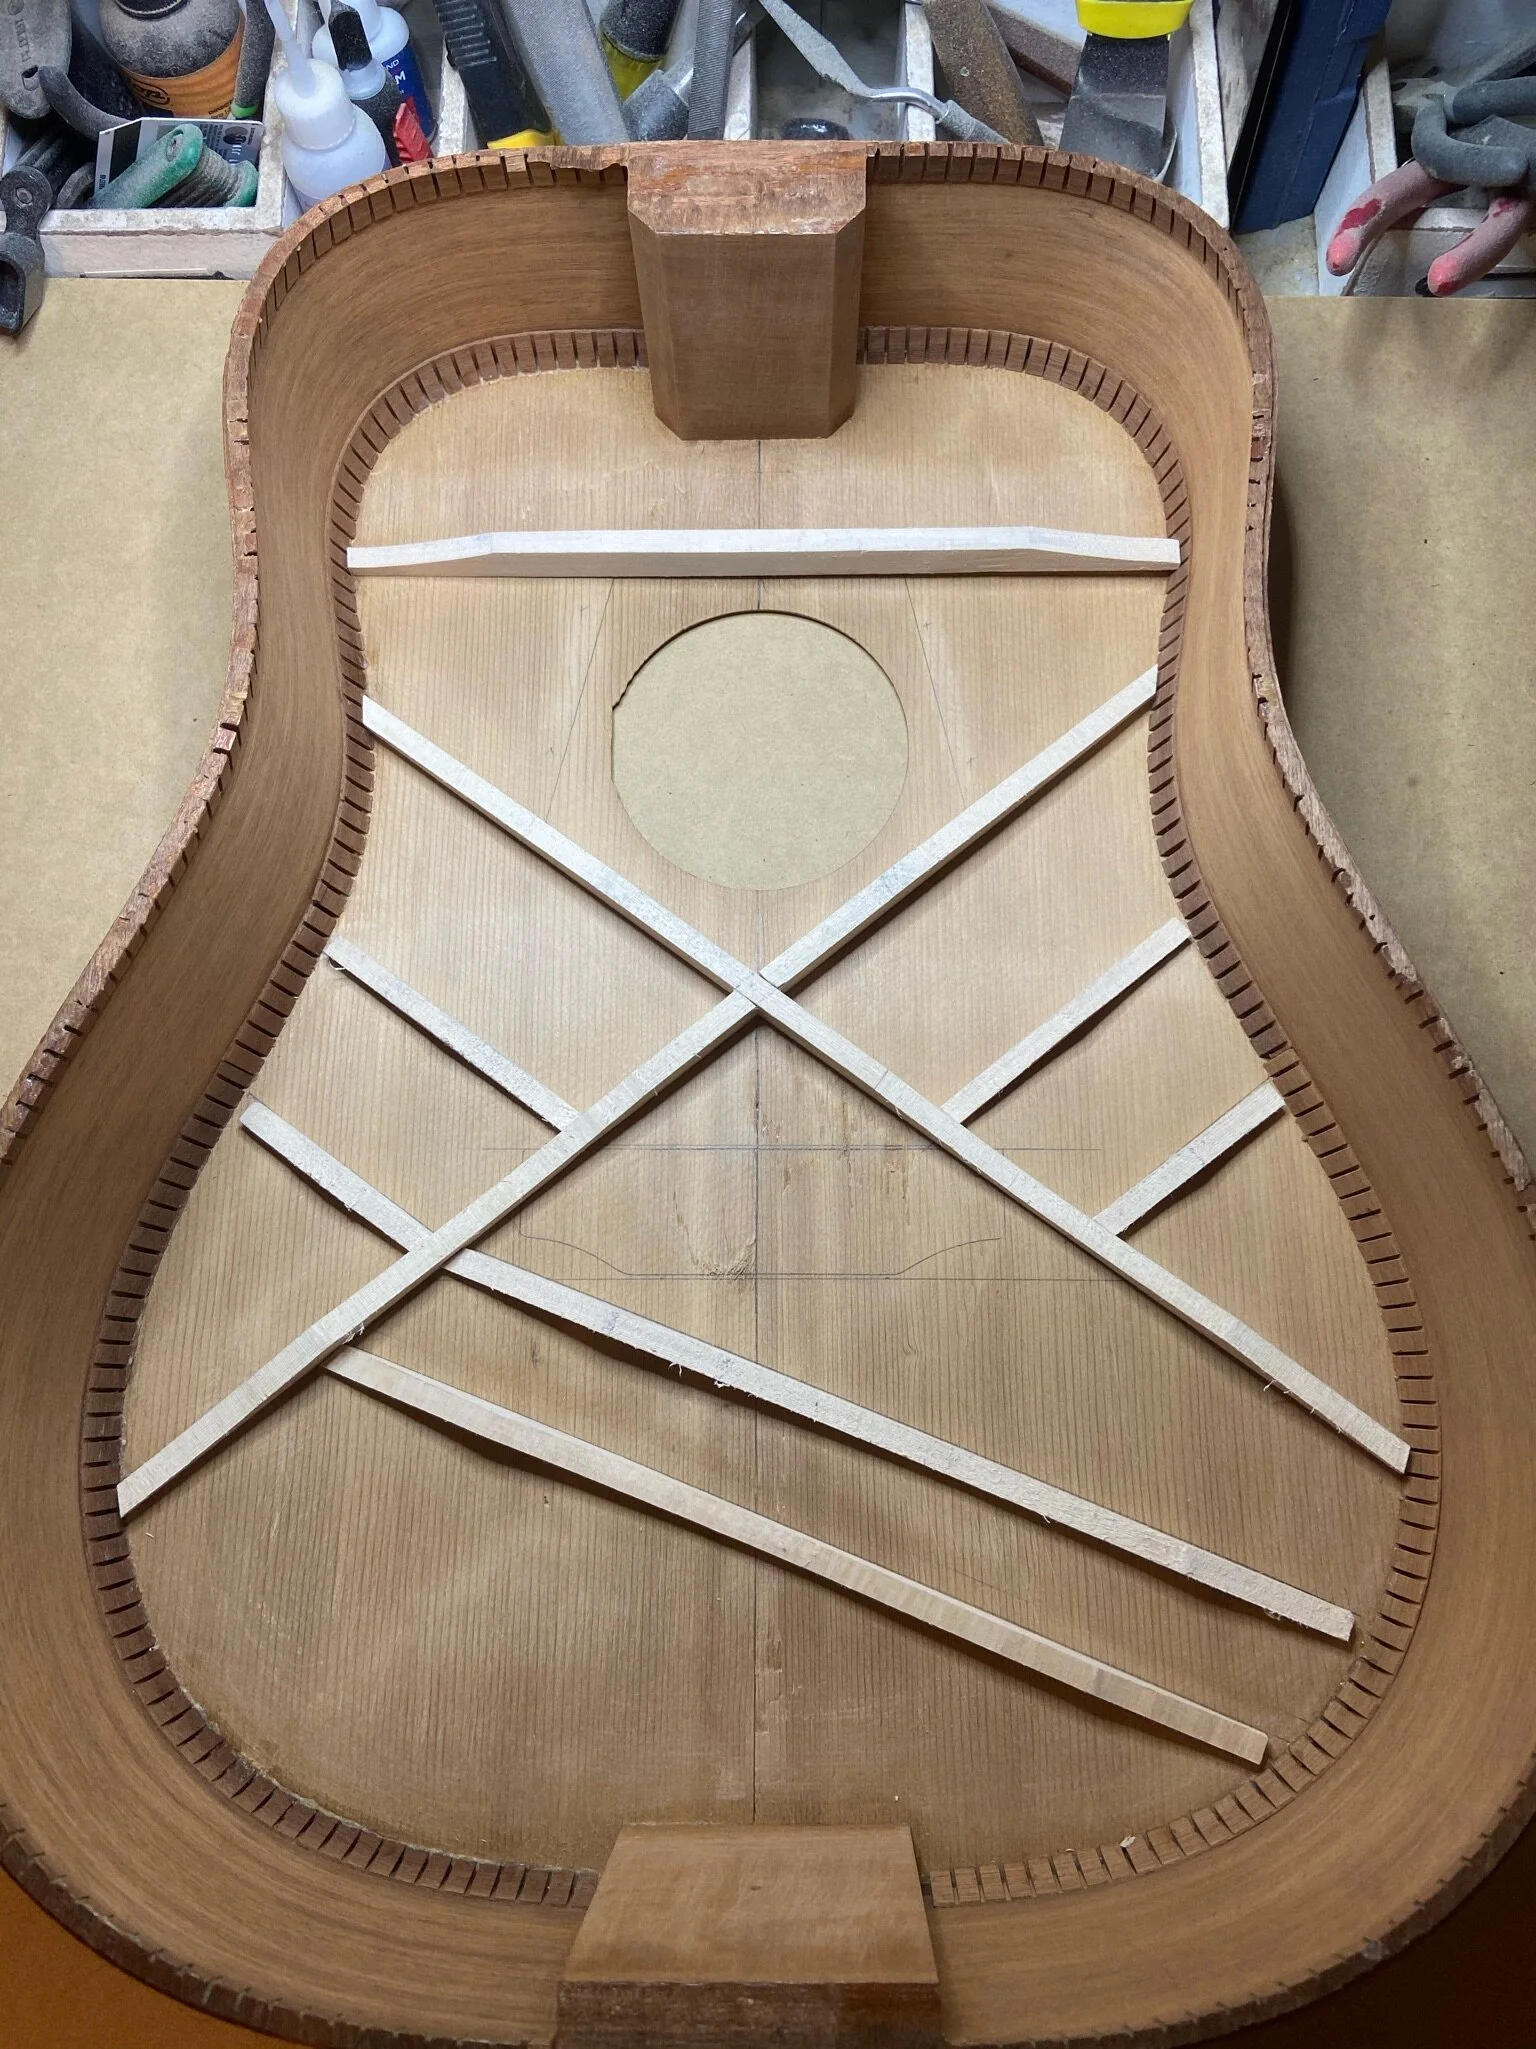
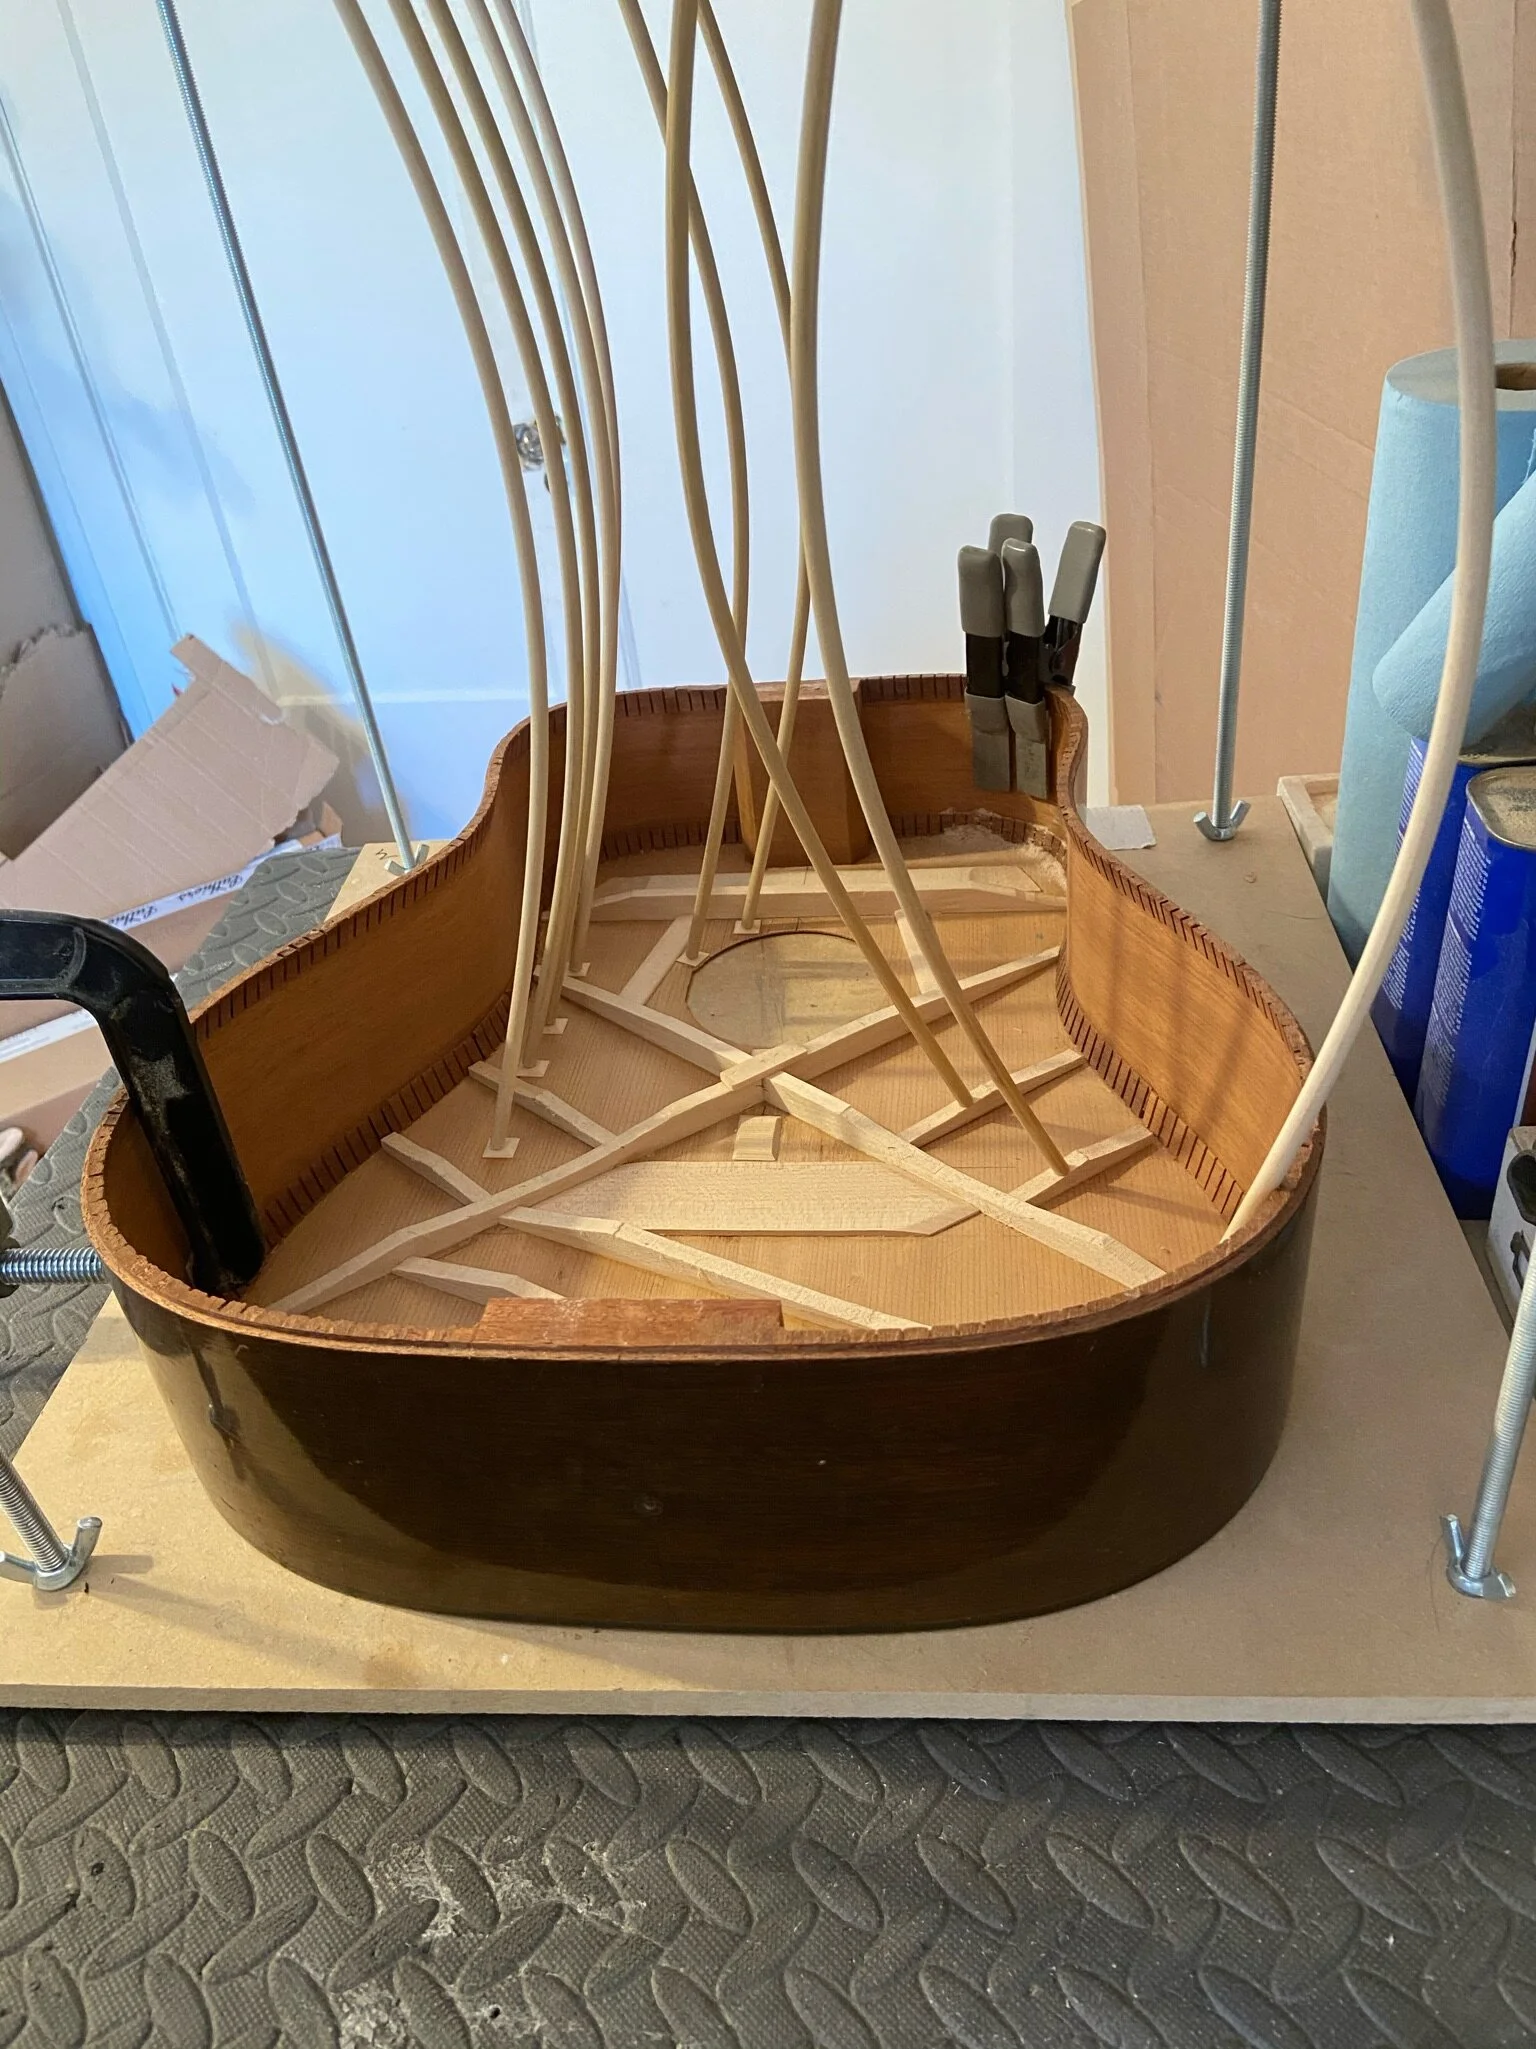
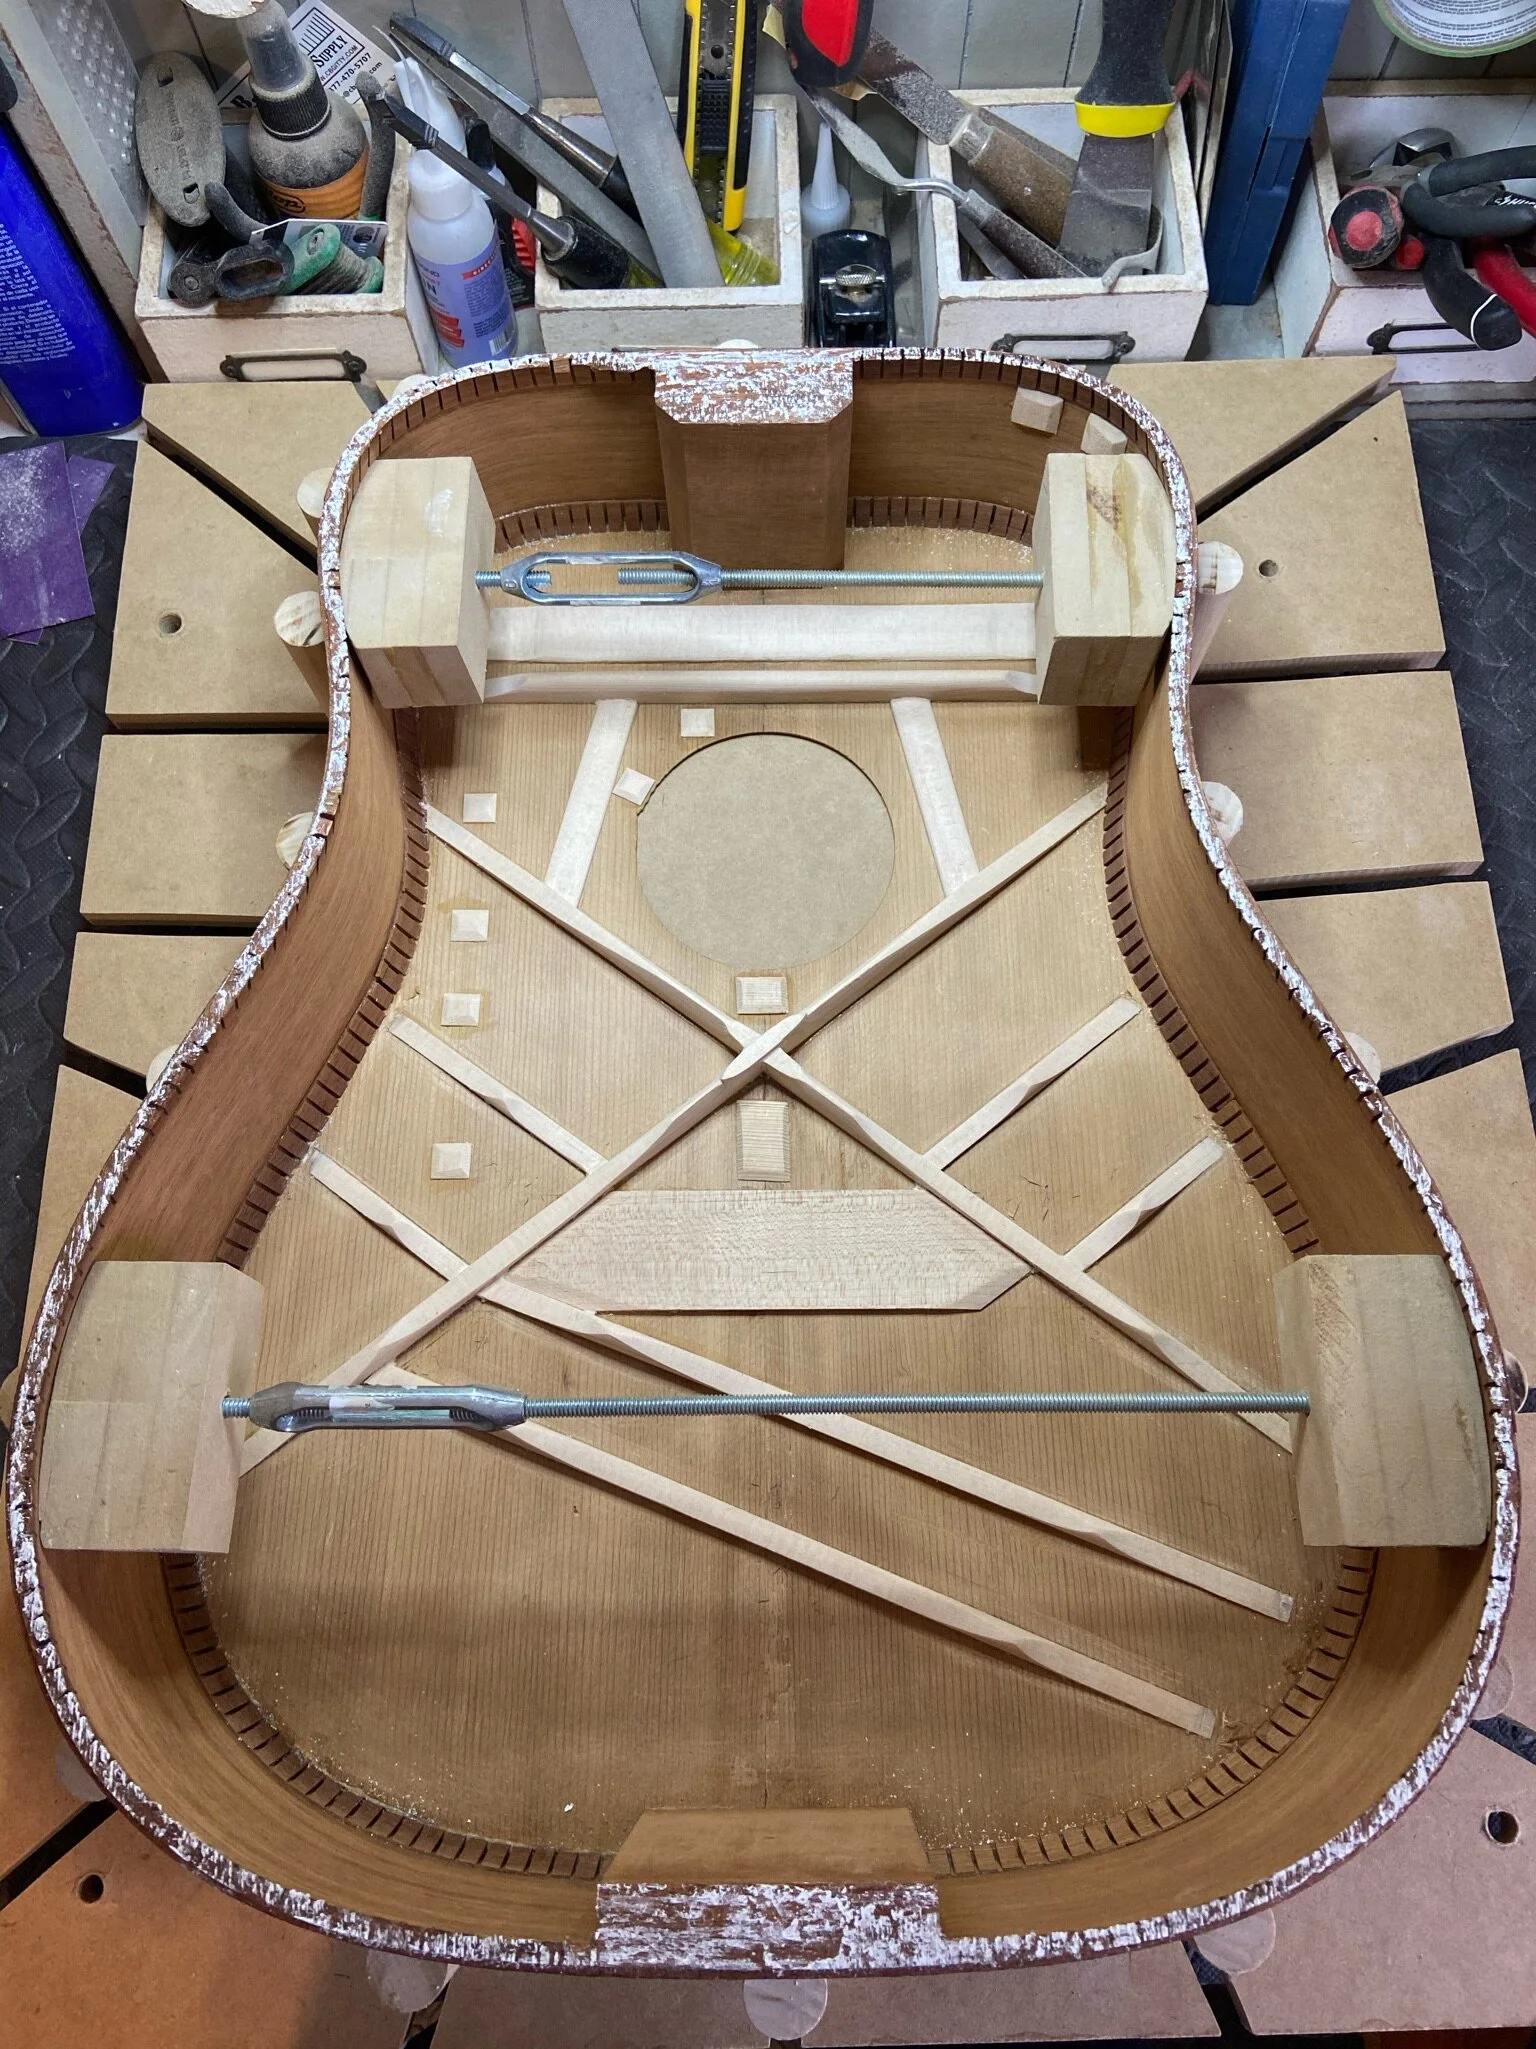
Gluing in the new X-brace. All braces below the soundhole are a 25' radius.
Almost done with bracing.
Adding some cleats to support the many cracks in the top & sides.
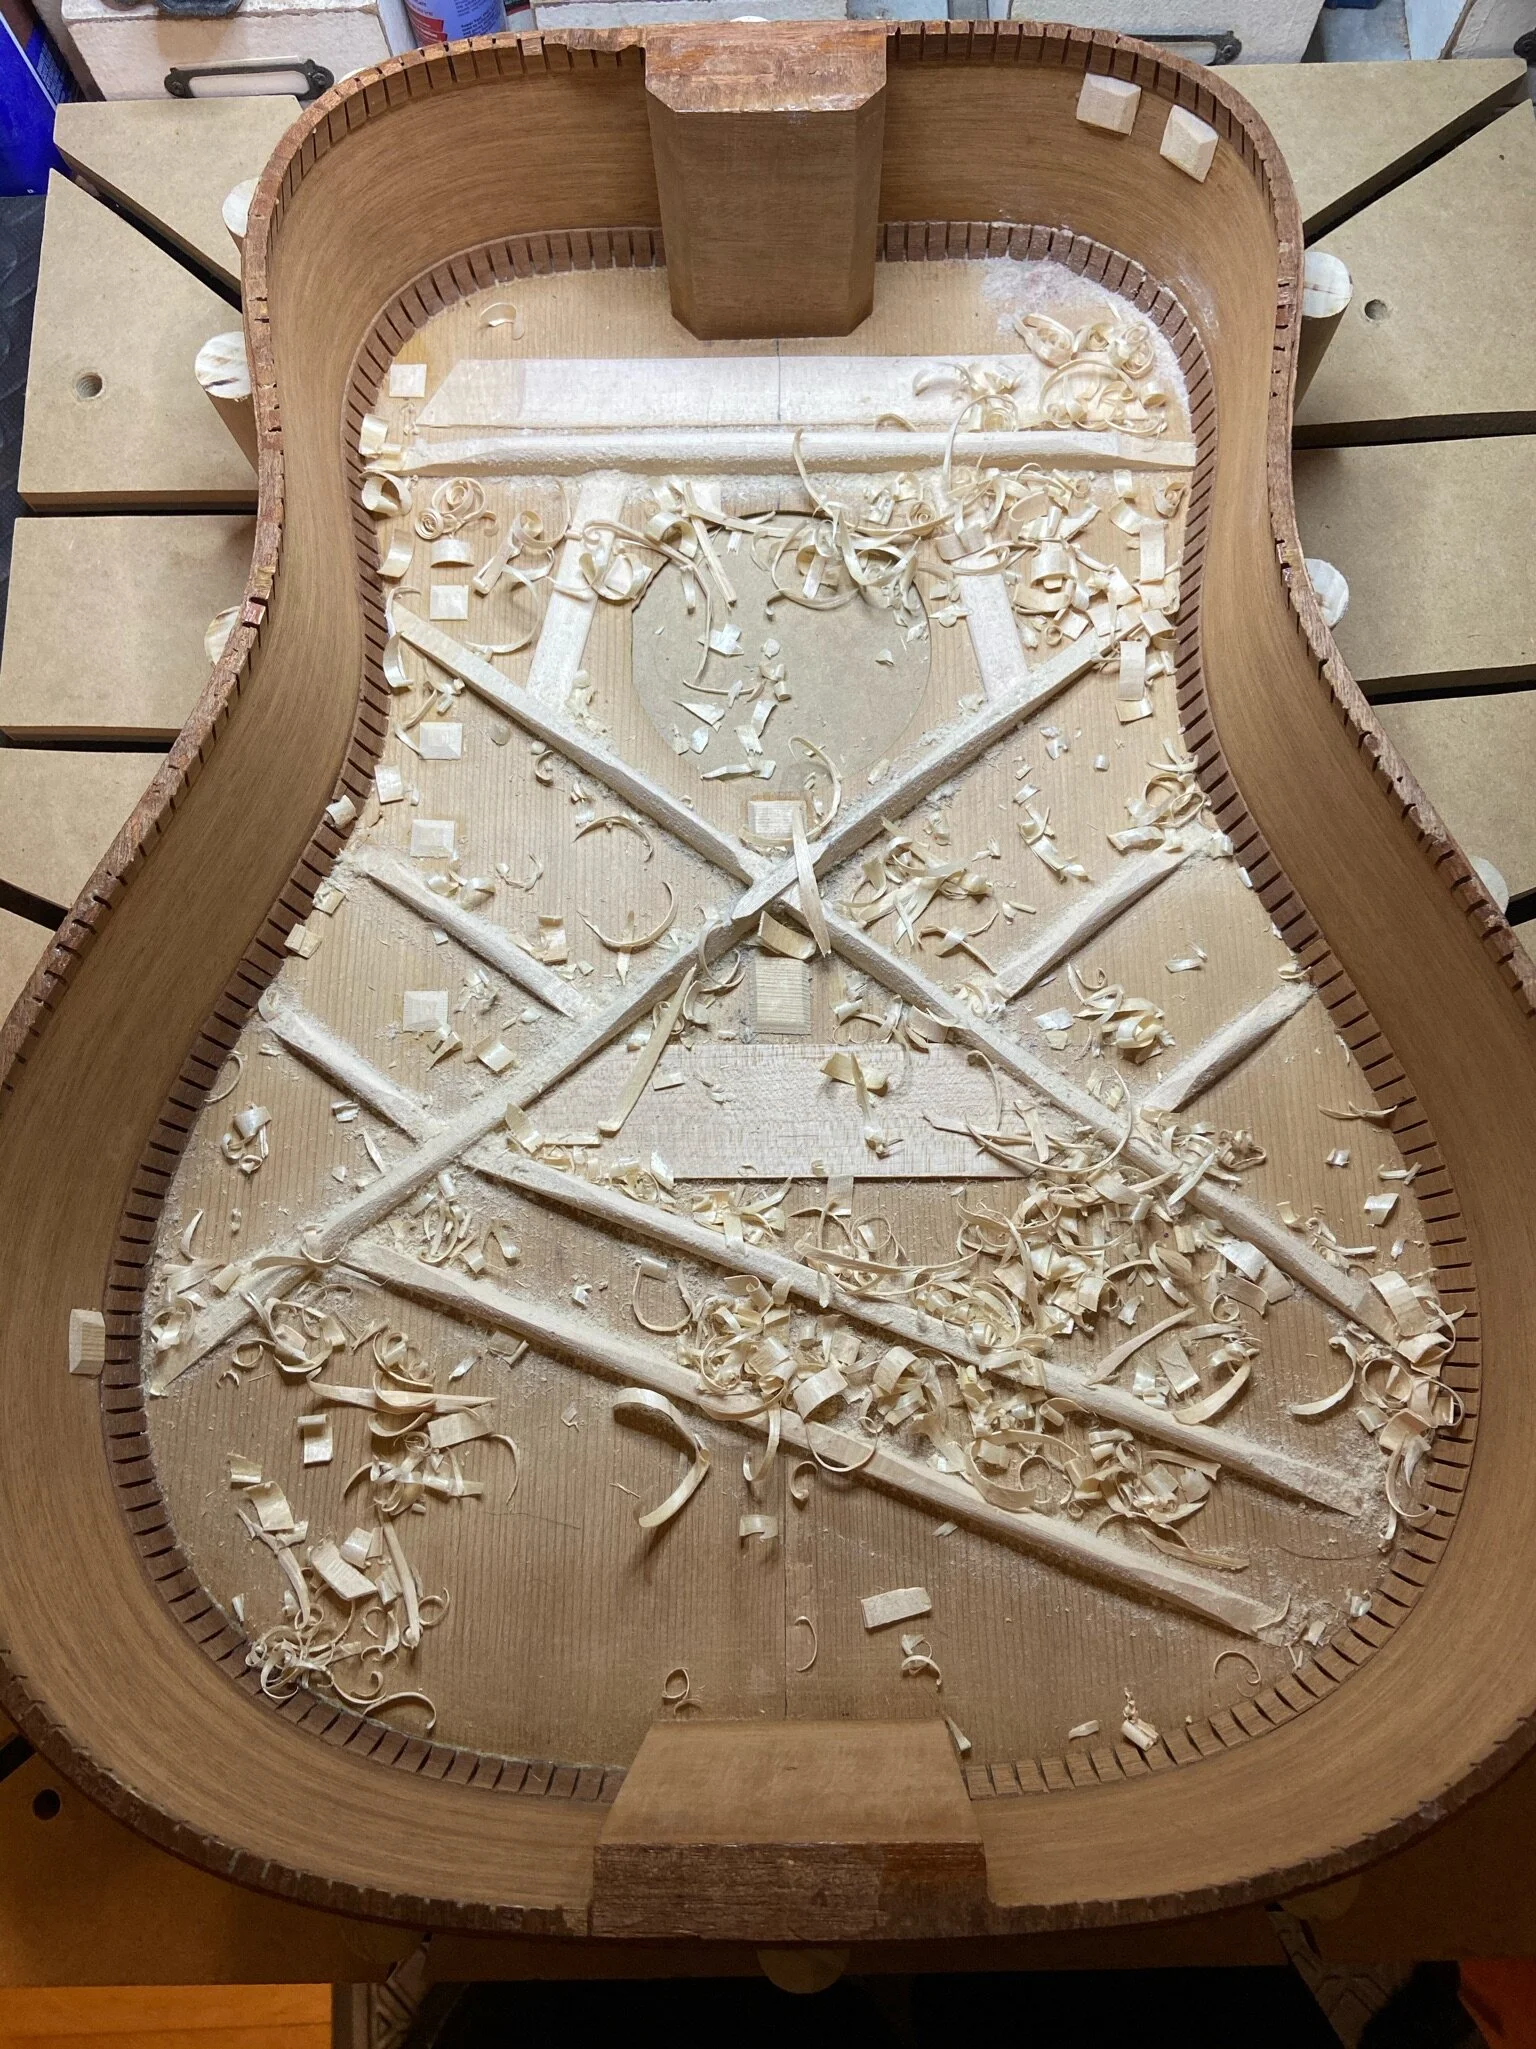
Tuning and further shaping the bracing.
Bracing and cleating done. Ready to move on to the rest of the guitar now.

Pause for a quick photoshoot.
Ready to radius the sides to match the radius of the back. By using a radius dish covered in sandpaper, I'm able to rotate the dish on top of the sides, which slowly conforms them to the radius and removes all the chalk.
Body is closed back up and ready for binding!
Taping & clamping the binding. Unfortunately the original binding wasn't able to be re-used, so this received a fresh strip.
Binding glued and scraped flush with the body. While going through the major surgery of removing & re-attaching the back, some finish blemishes are tough to avoid.
Shot of the binding from the side.
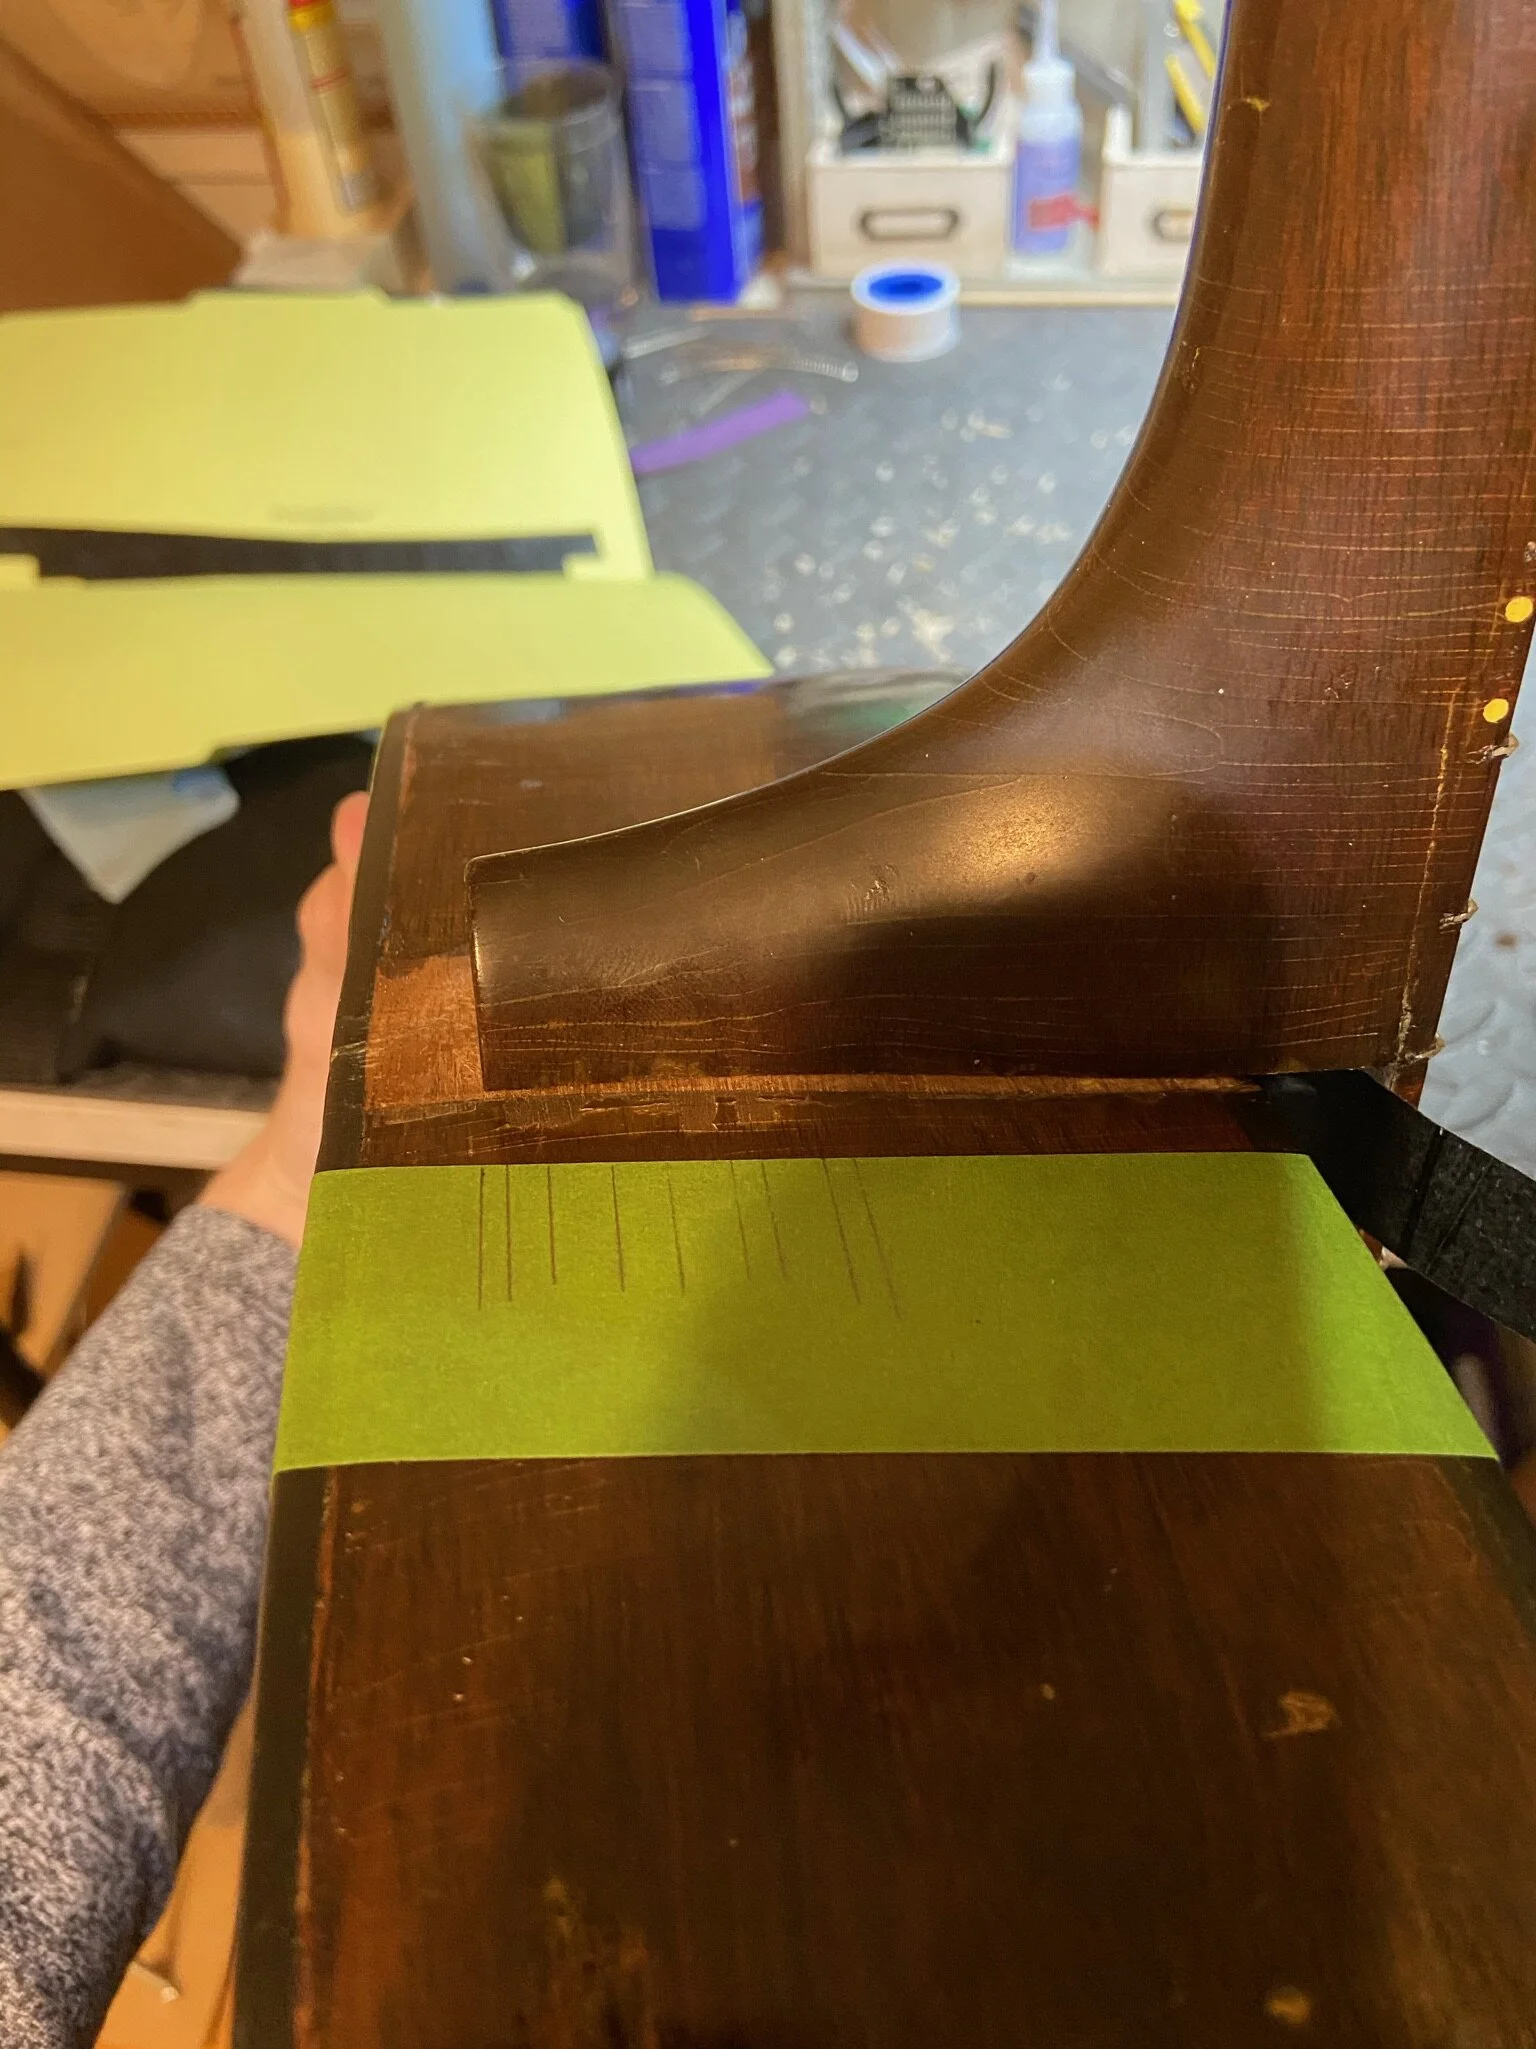
Starting the neck reset. The goal is for a straightedge to lay flat across the frets and land right on top of the piece of wood. For that to happen, I'll need to remove material at the heel to change the angle of the neck.

Neck angle is done -- now to shim the joint so that it's a tight fit and holds for many, many years. I started with a 1mm Maple shim on both sides of the mortise, but by the end, the shim was drastically smaller.
Slowly getting the fit right. I'm impatient, so I like to mark my progress on a piece of tape to have some feedback -- plus it helps me see how much progress I make compared to the amount of shim I remove. The last thing I want to do is to take too much shim off and have to start from the beginning.
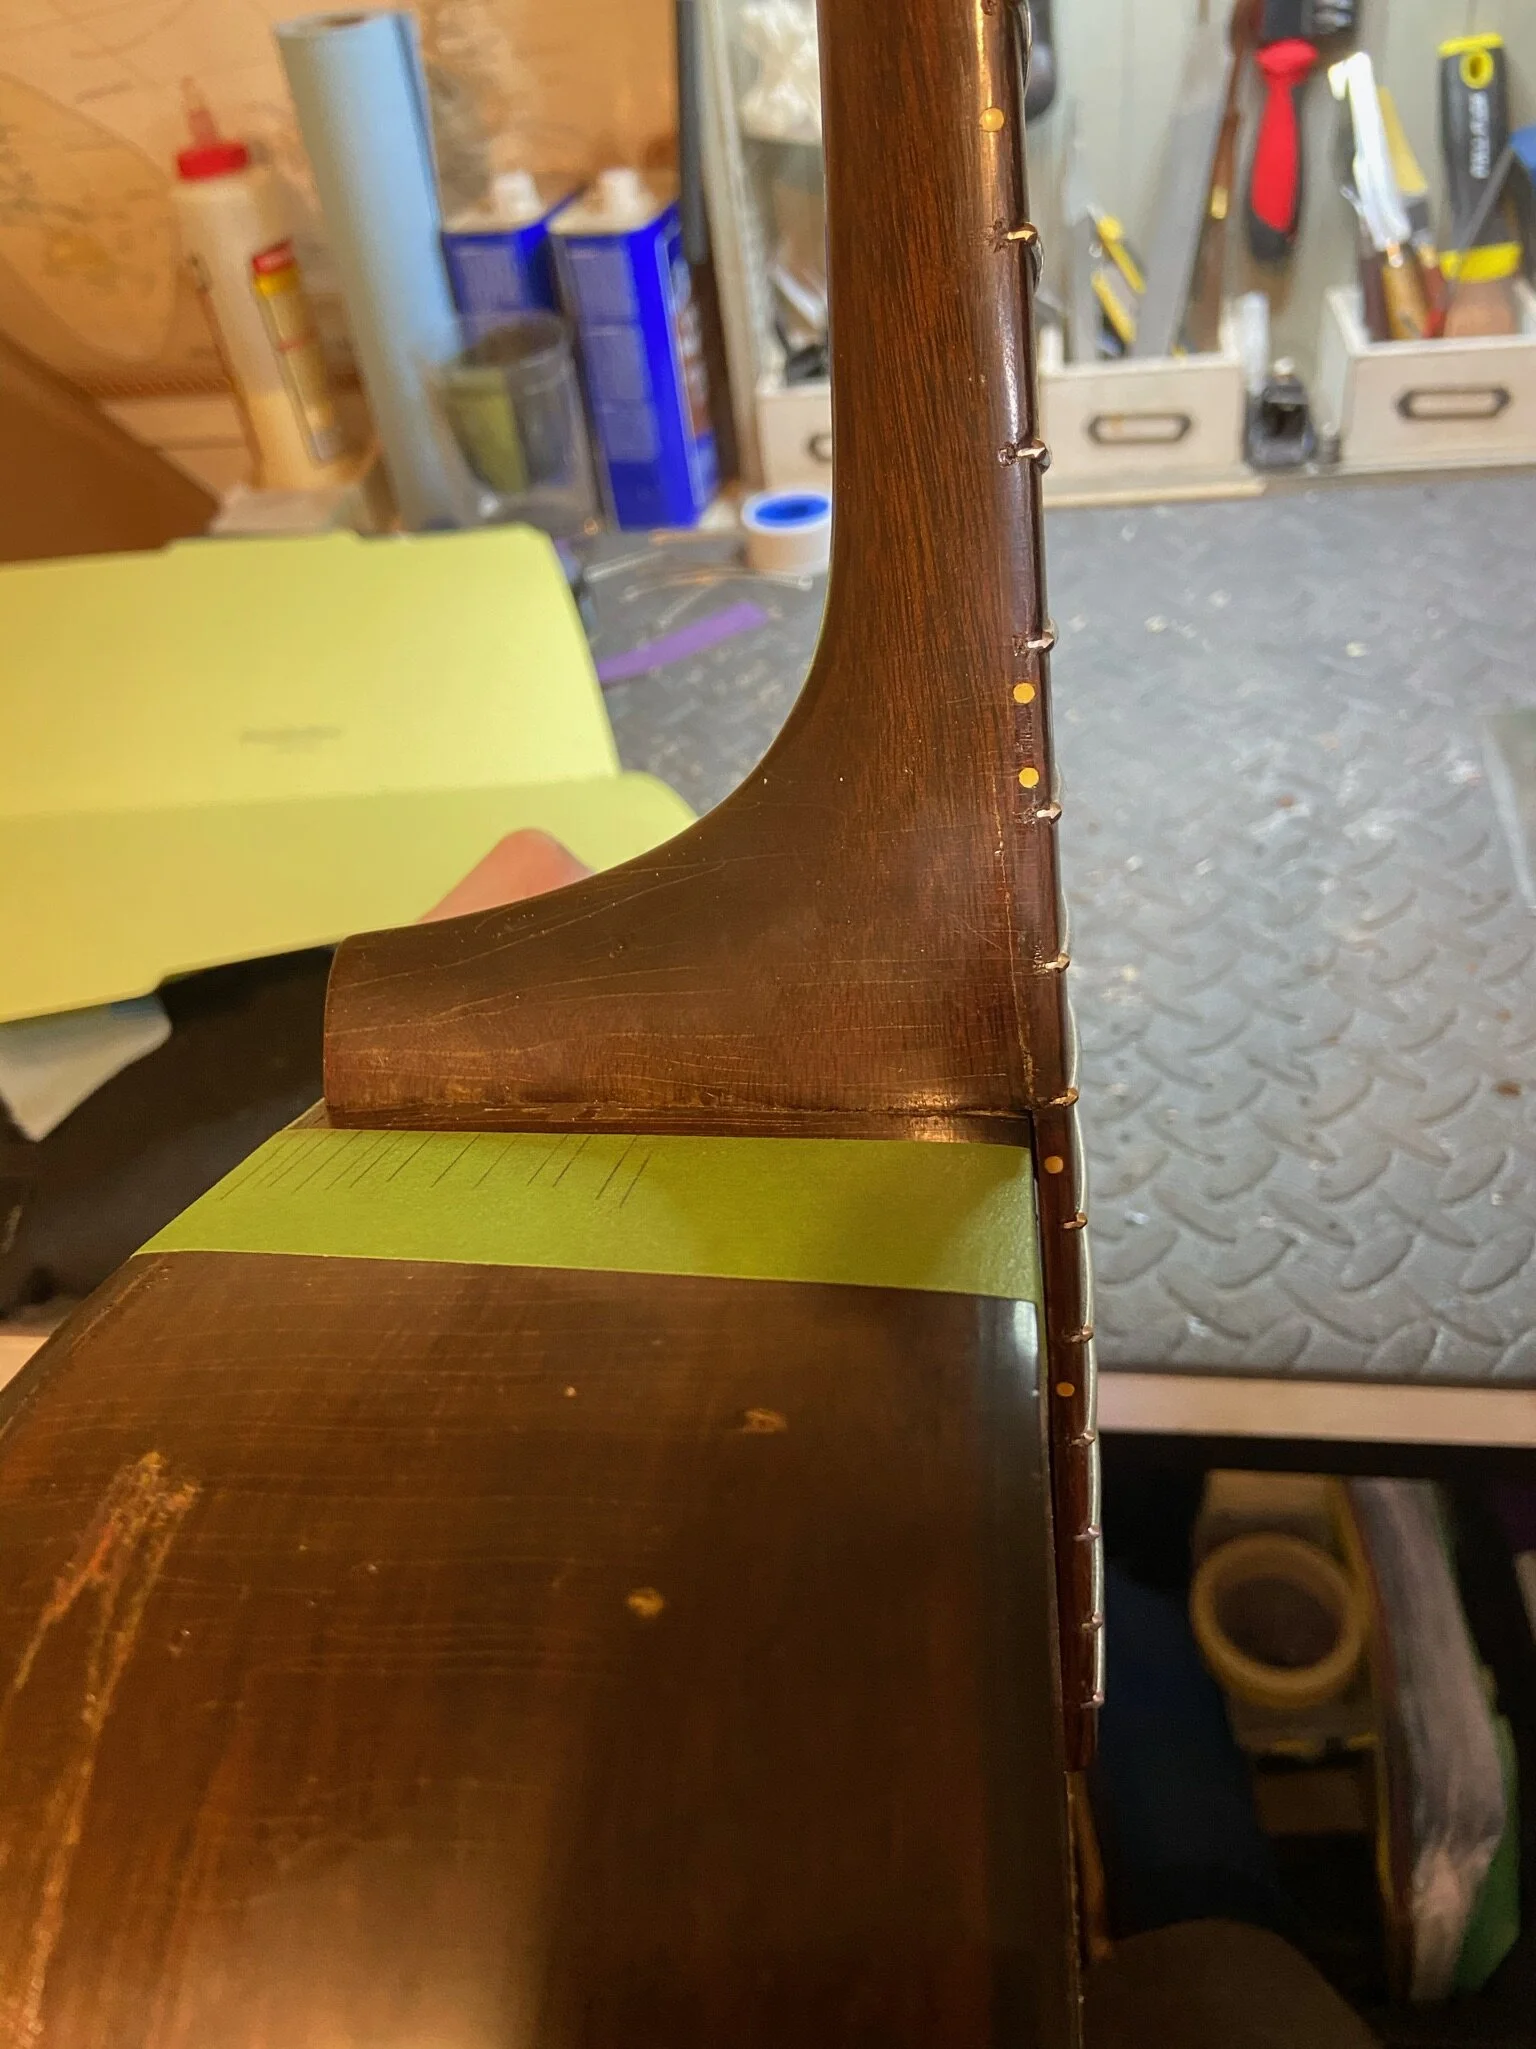
All good now. There's a tiny, tiny bit left to go, which will close up nicely once the glue and clamps are added.
Gluing up the neck and fingerboard extension. The end is in sight!
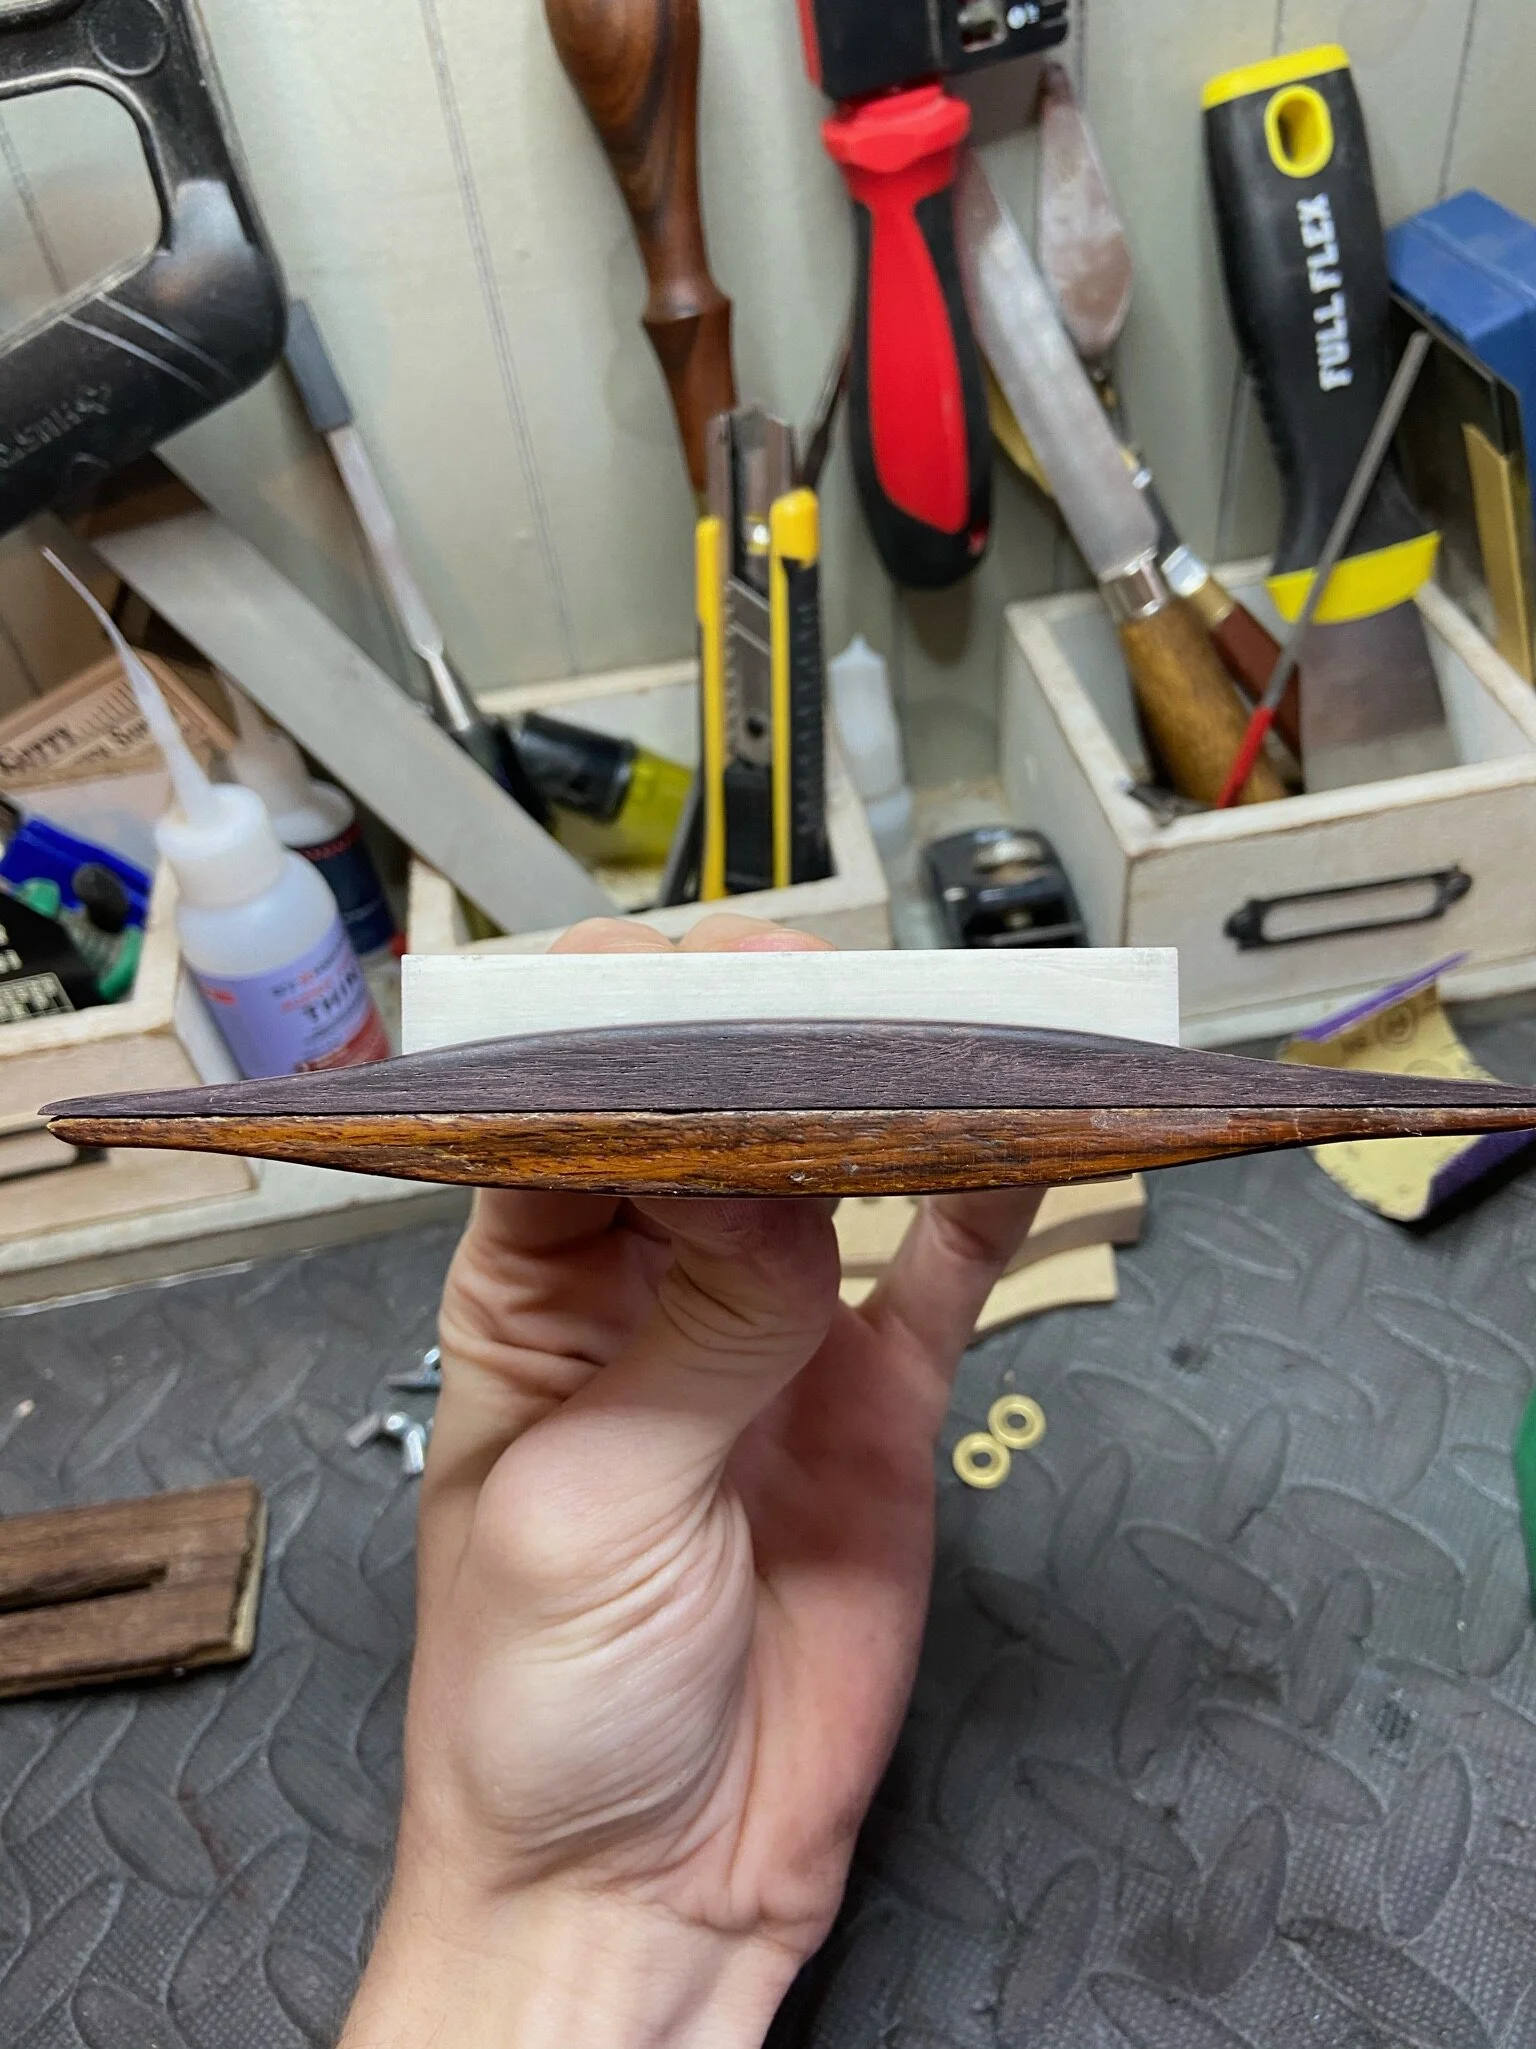
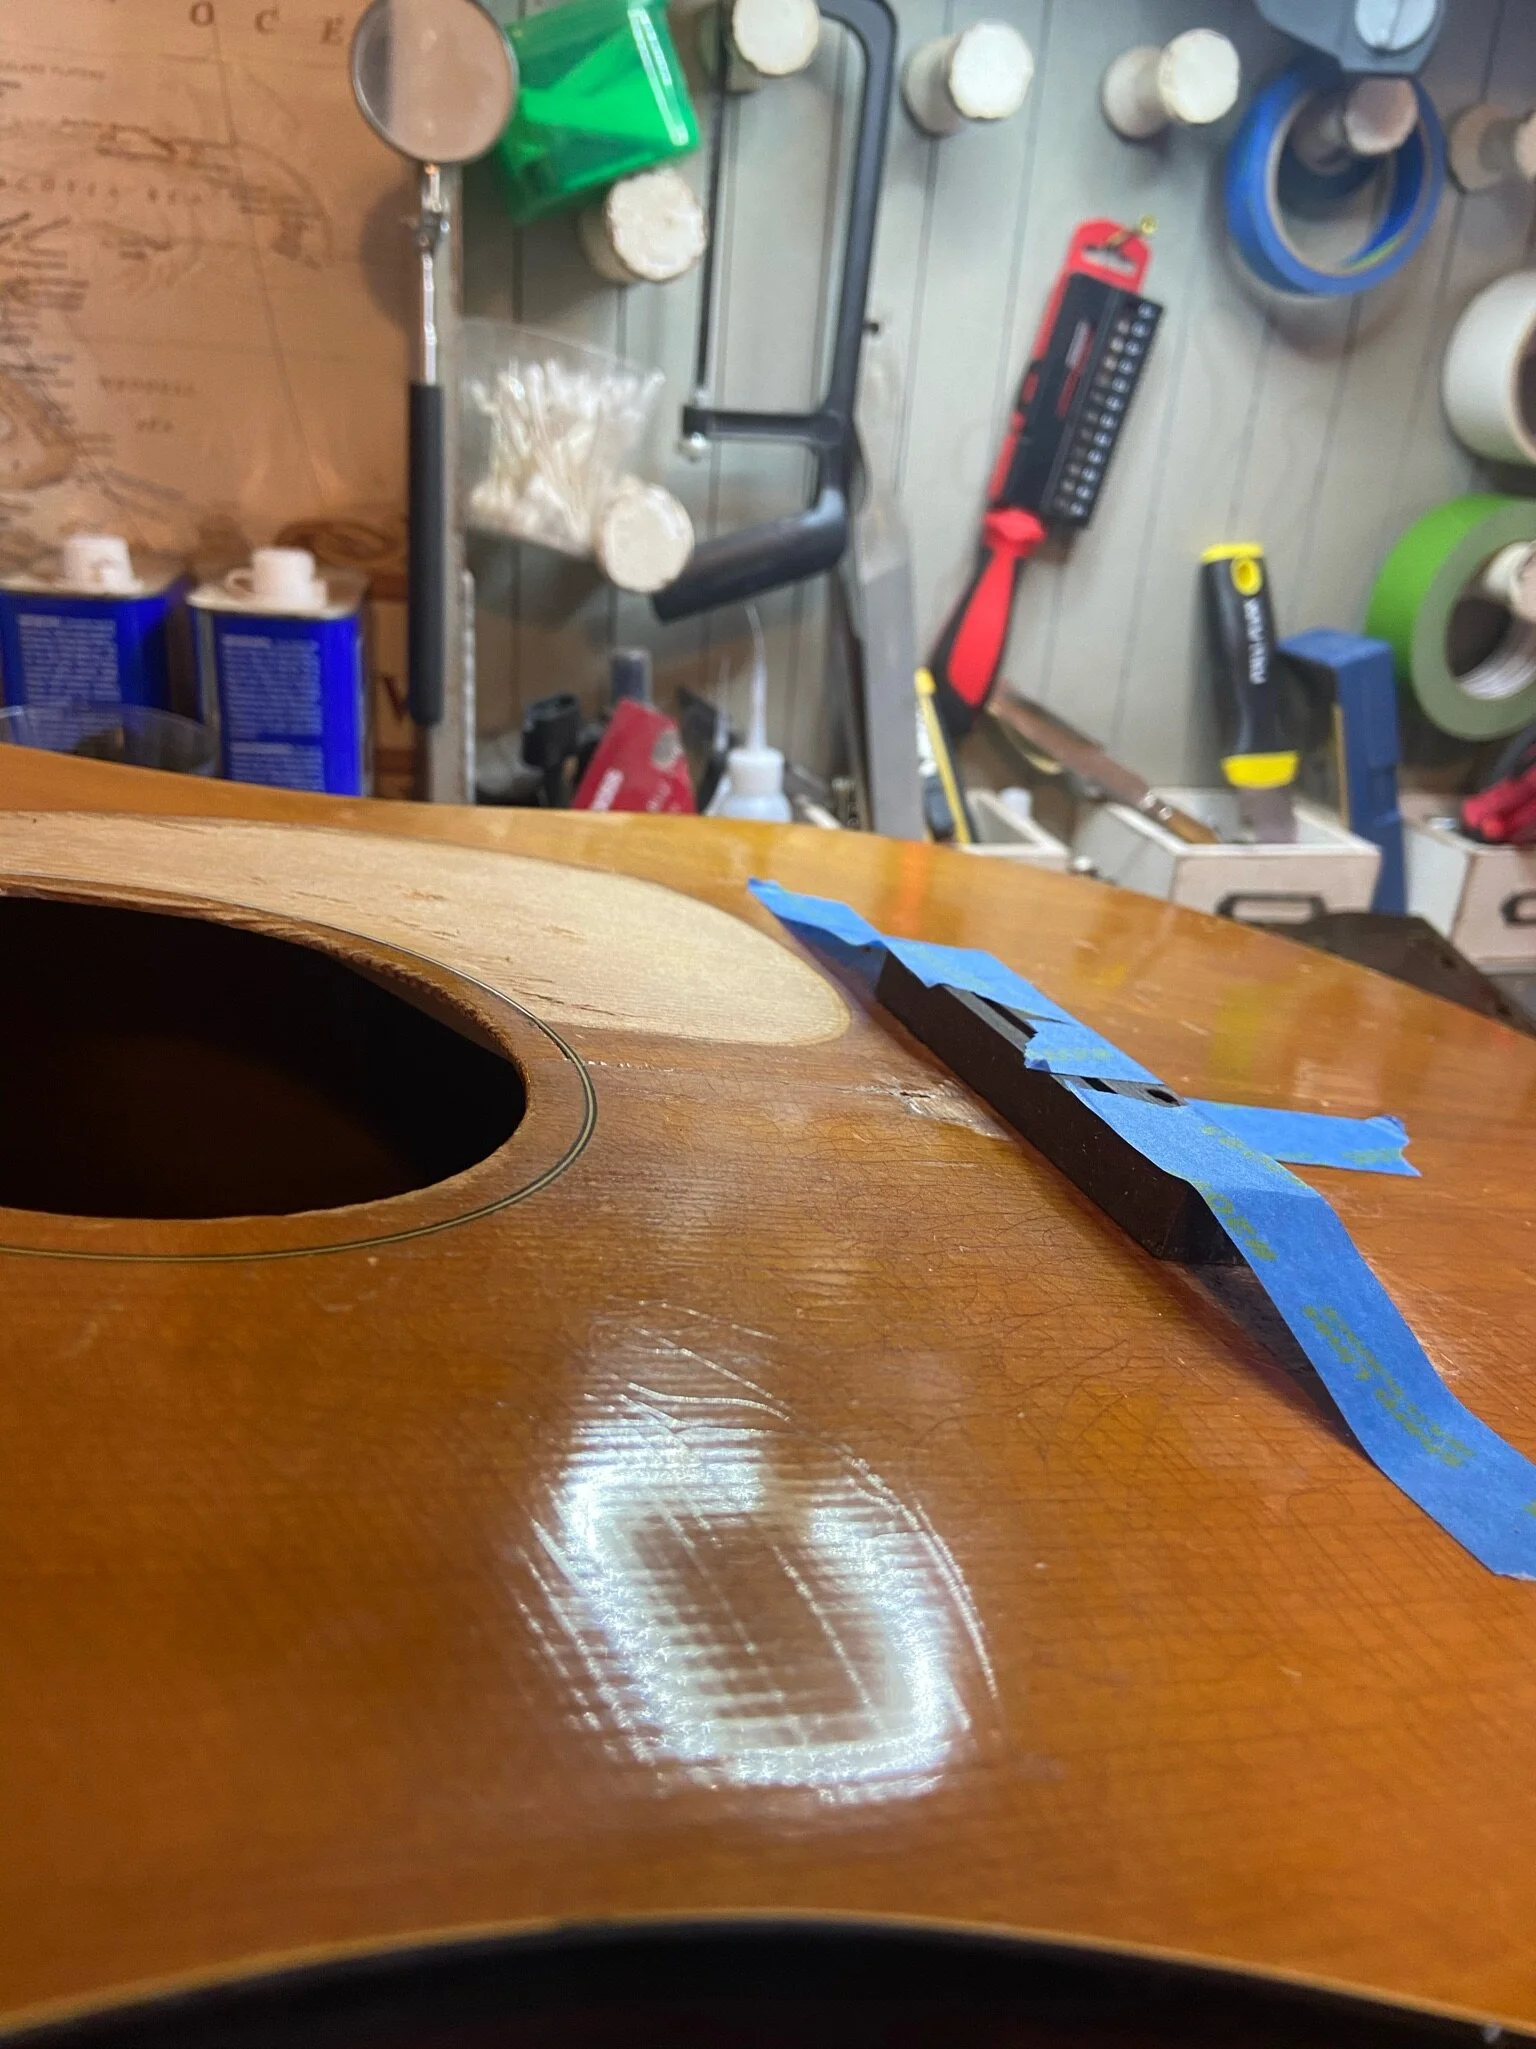
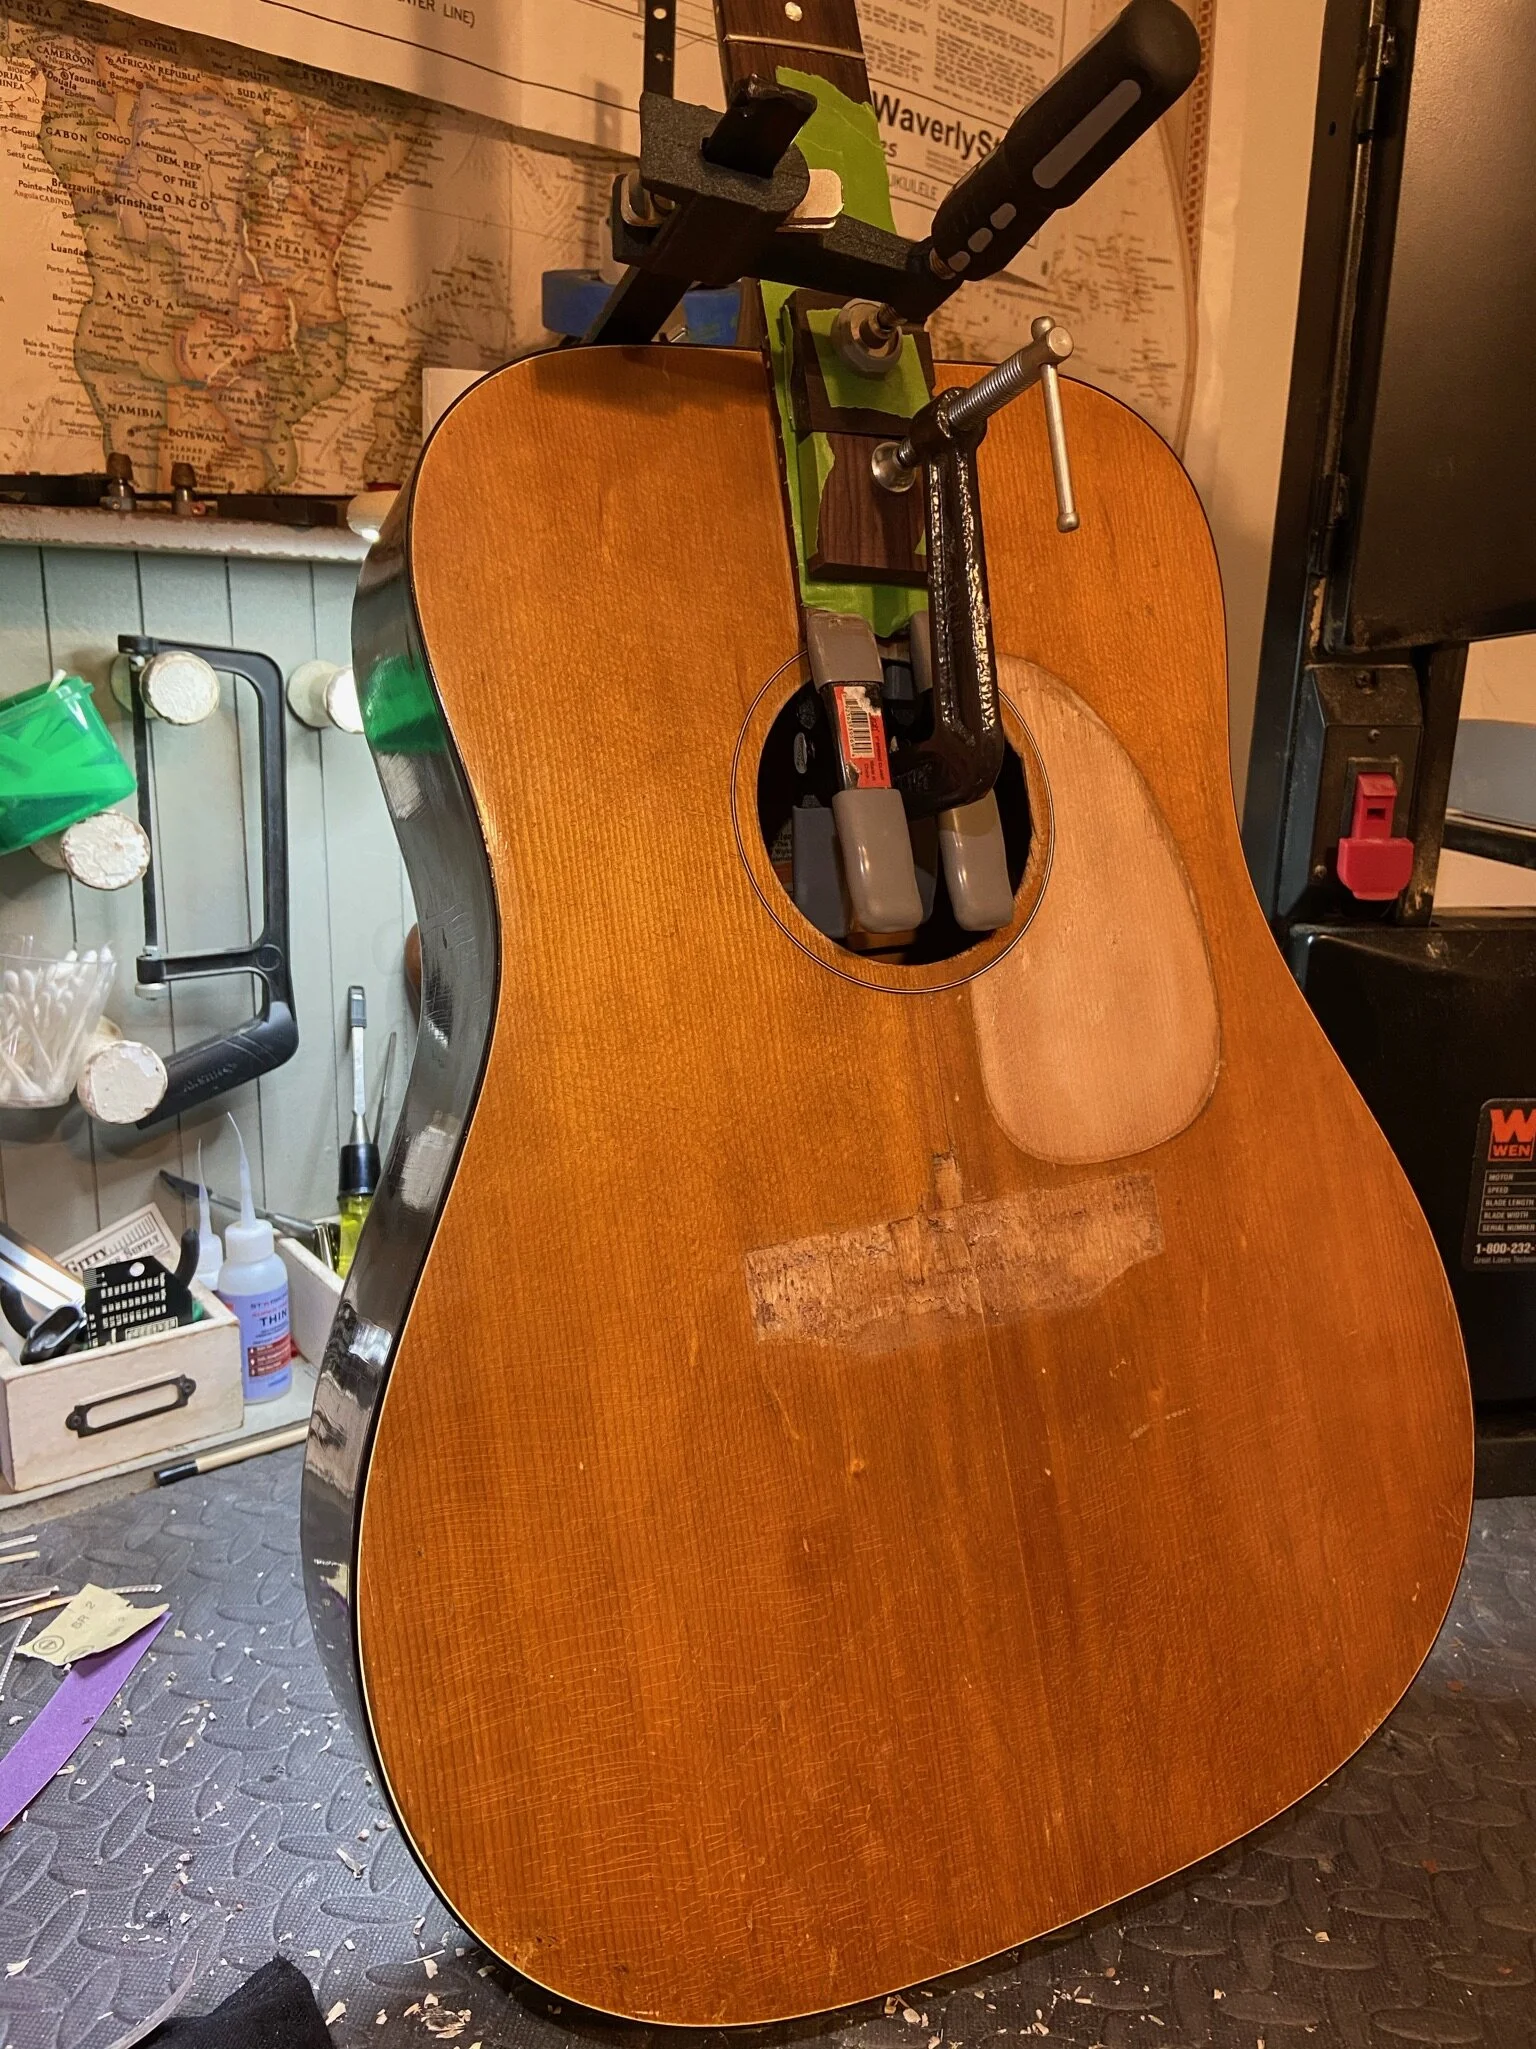
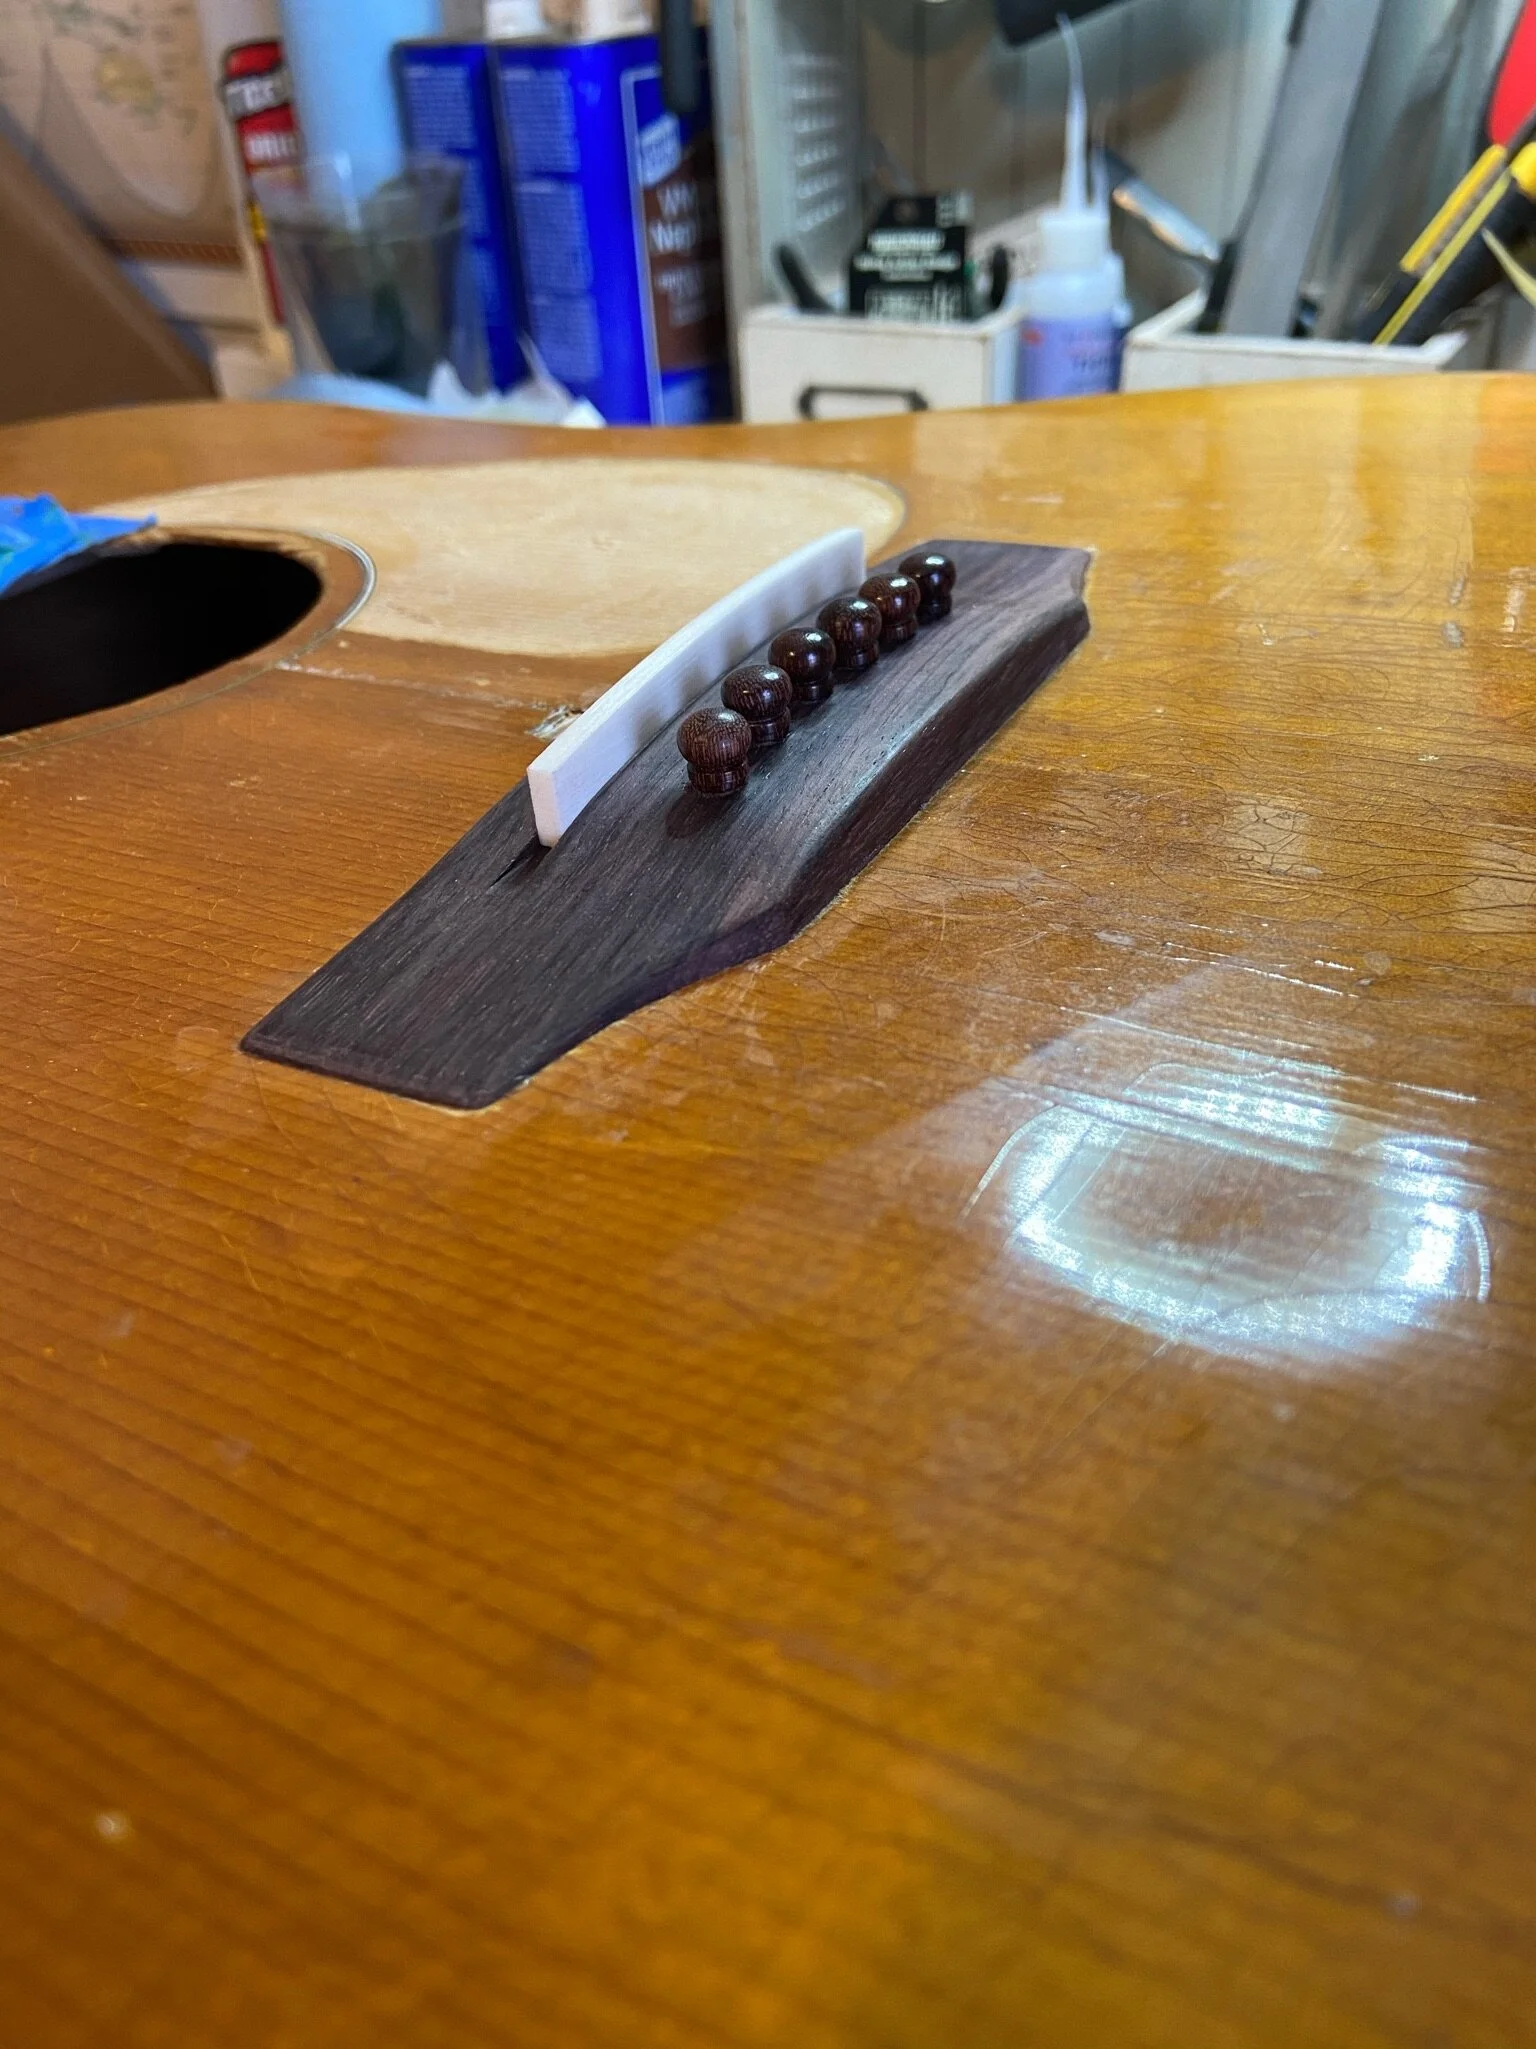
The original bridge was fine, but I wanted to use a pin bridge.
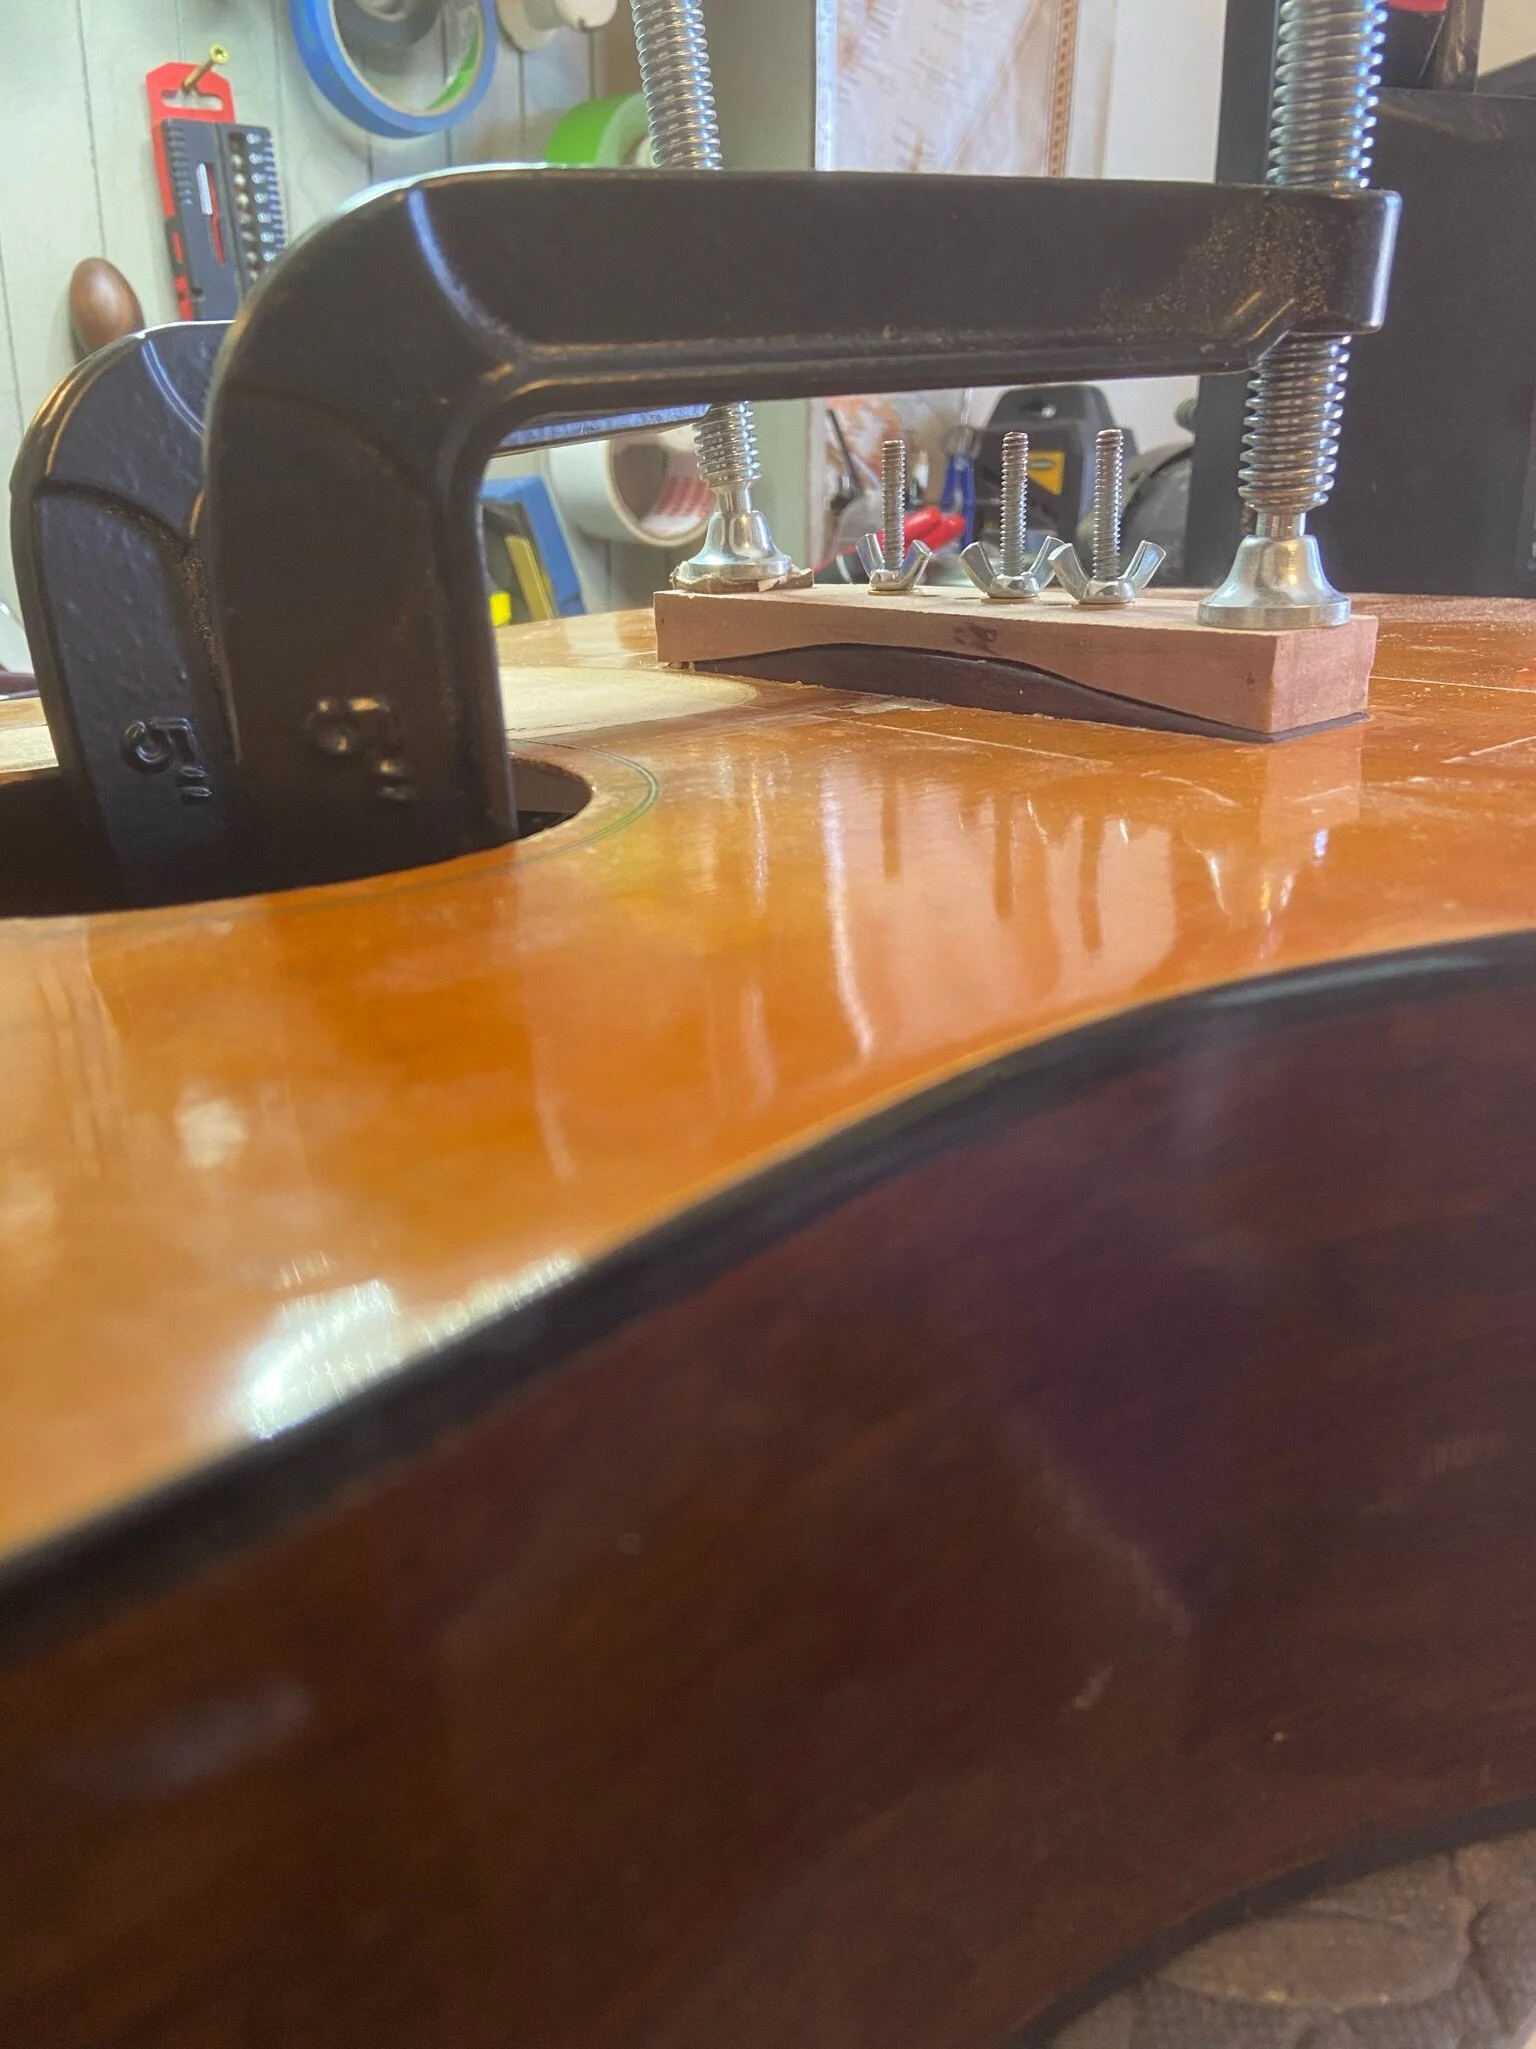
Gluing on the new bridge. I didn't get a shot of it, but I cleaned up the original footprint of the bridge on the top so that it mated well with the new bridge.
Ready to be strung up!

Or.... nevermind. The wing of the headstock had come loose while installing the tuners & bushings. Didn't get a shot of it, but I slid some sandpaper in the gap and cleaned it up, then re-glued.

I really wanted to keep the original nut because it's cool and worn, but it's plastic. So a new nut it is.
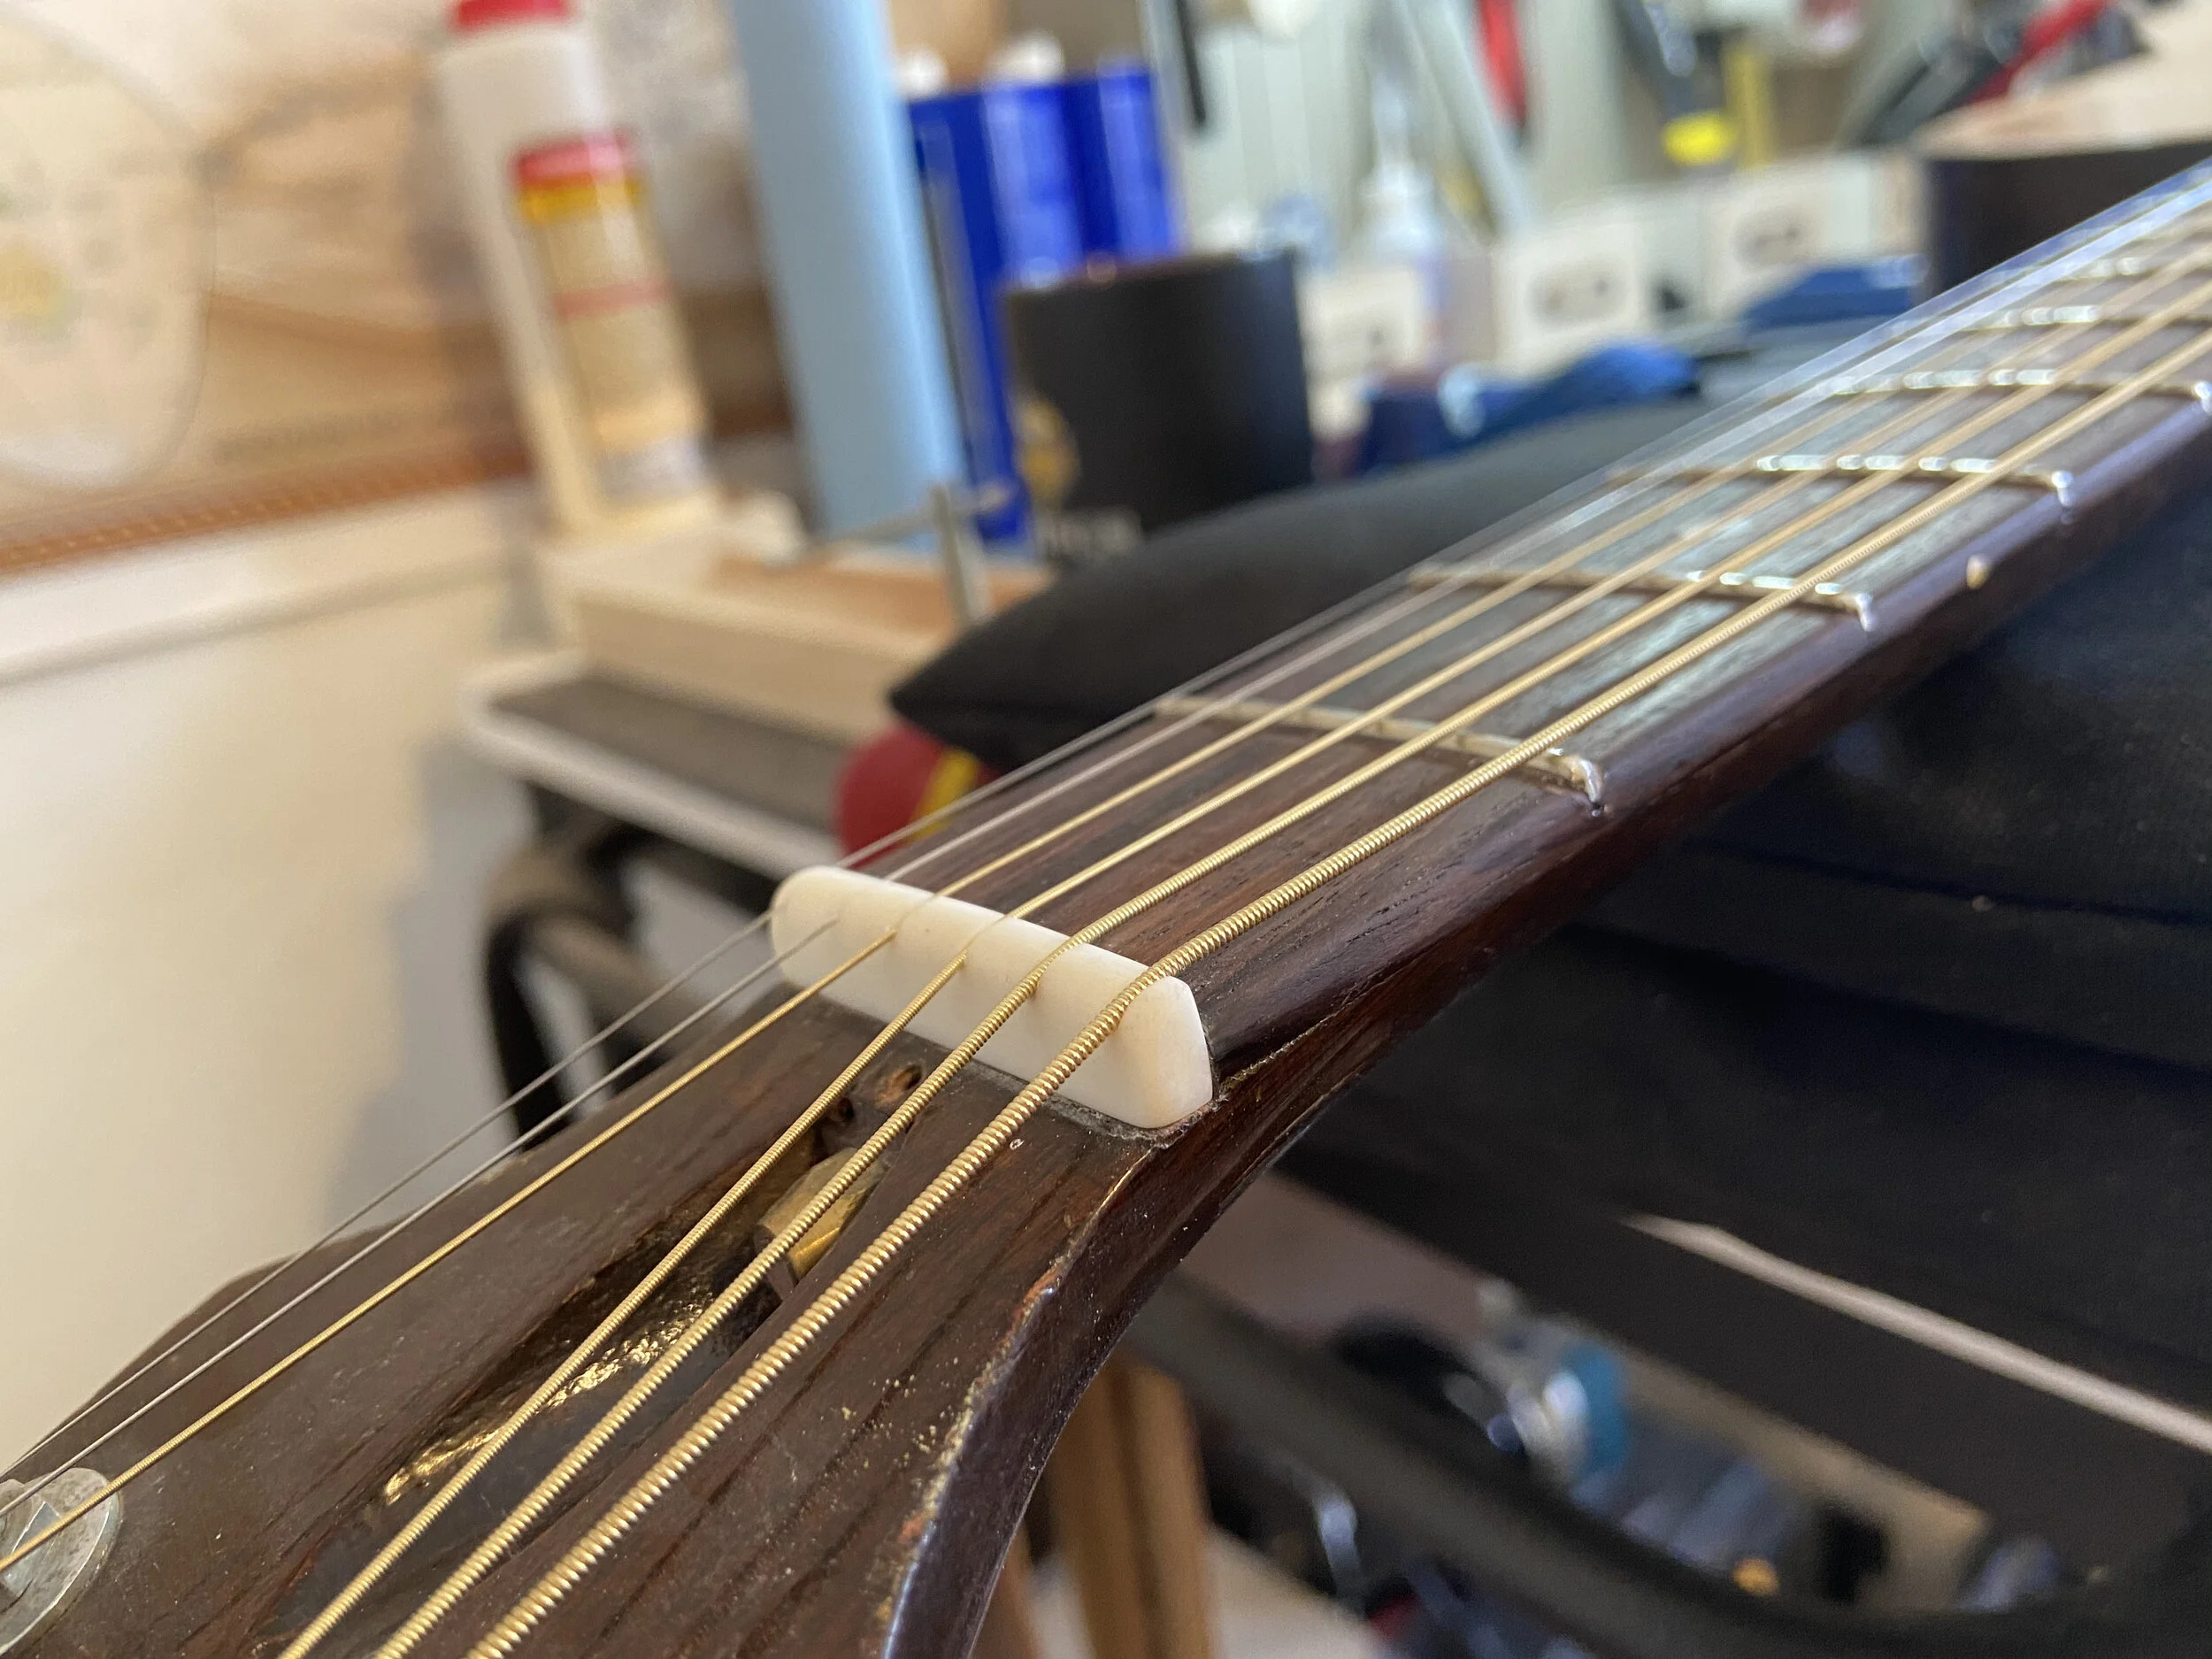
New nut shaped & installed.
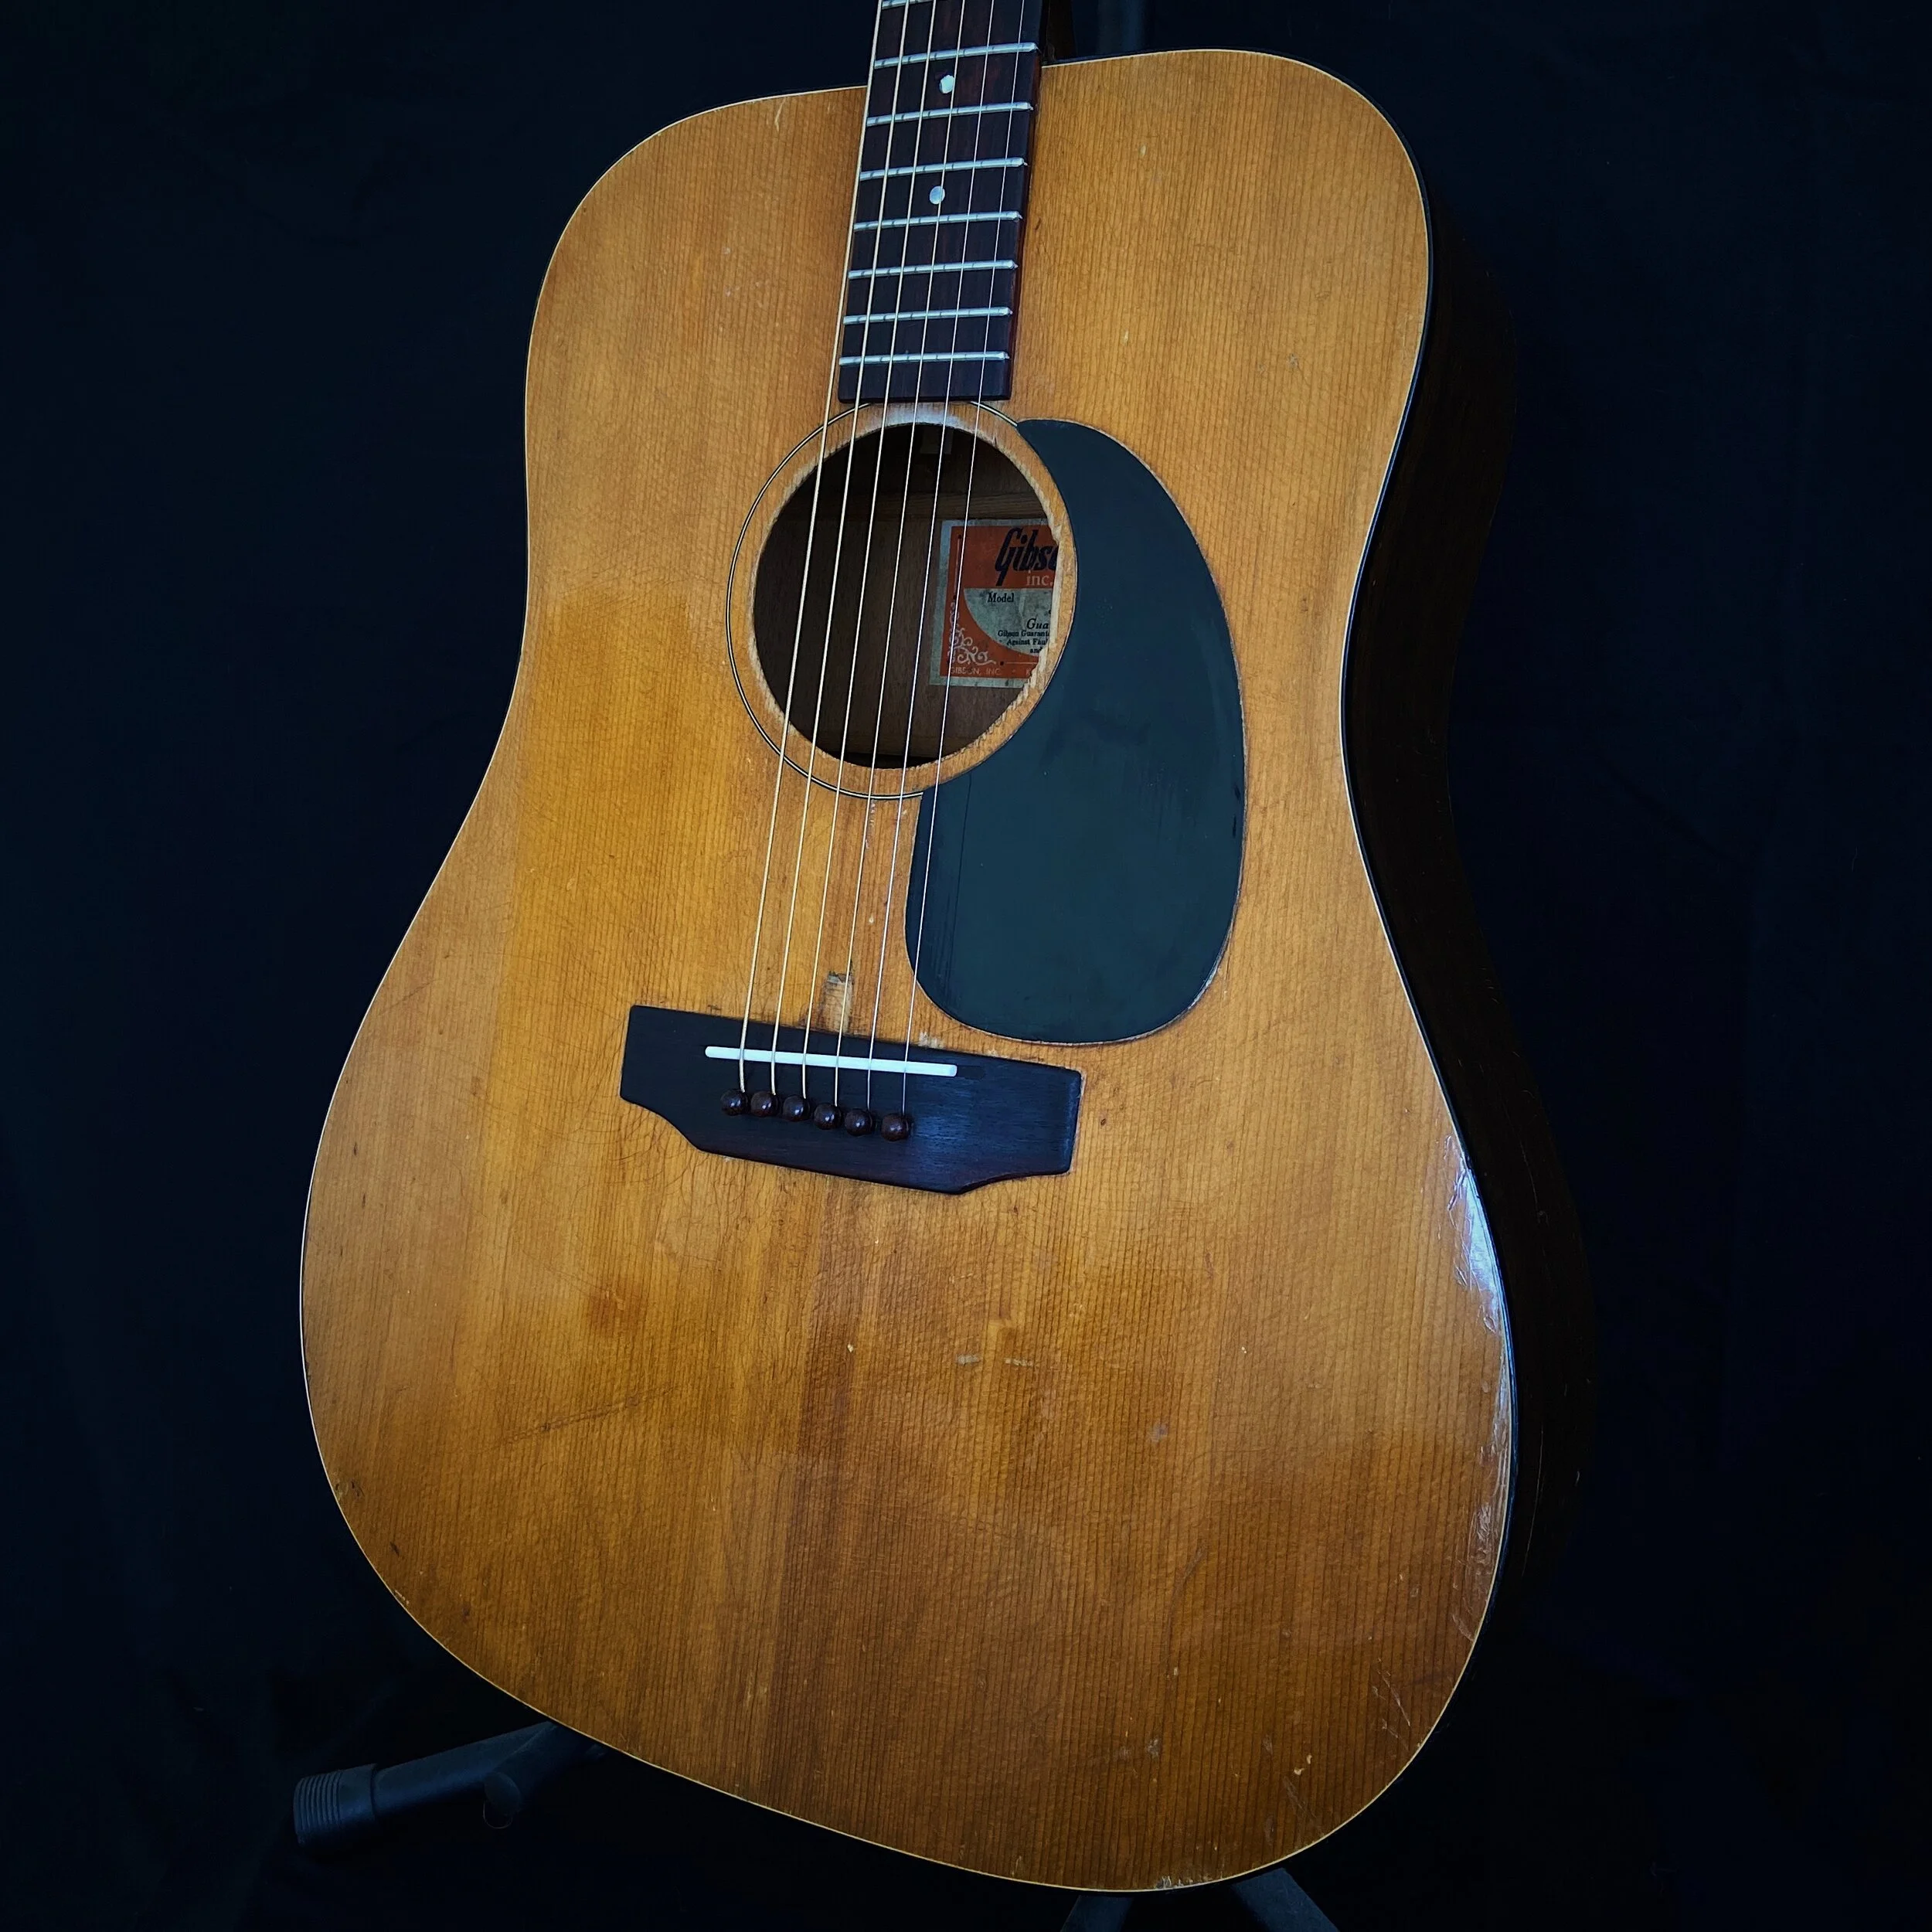
And we're done!